Our (Printable!) Wedding Invitations From Minted
We wanted our wedding invitations to be as simple and affordable as possible. So we chose to go with these printable Ticket To Love invitations from Minted. We totally loved them because:
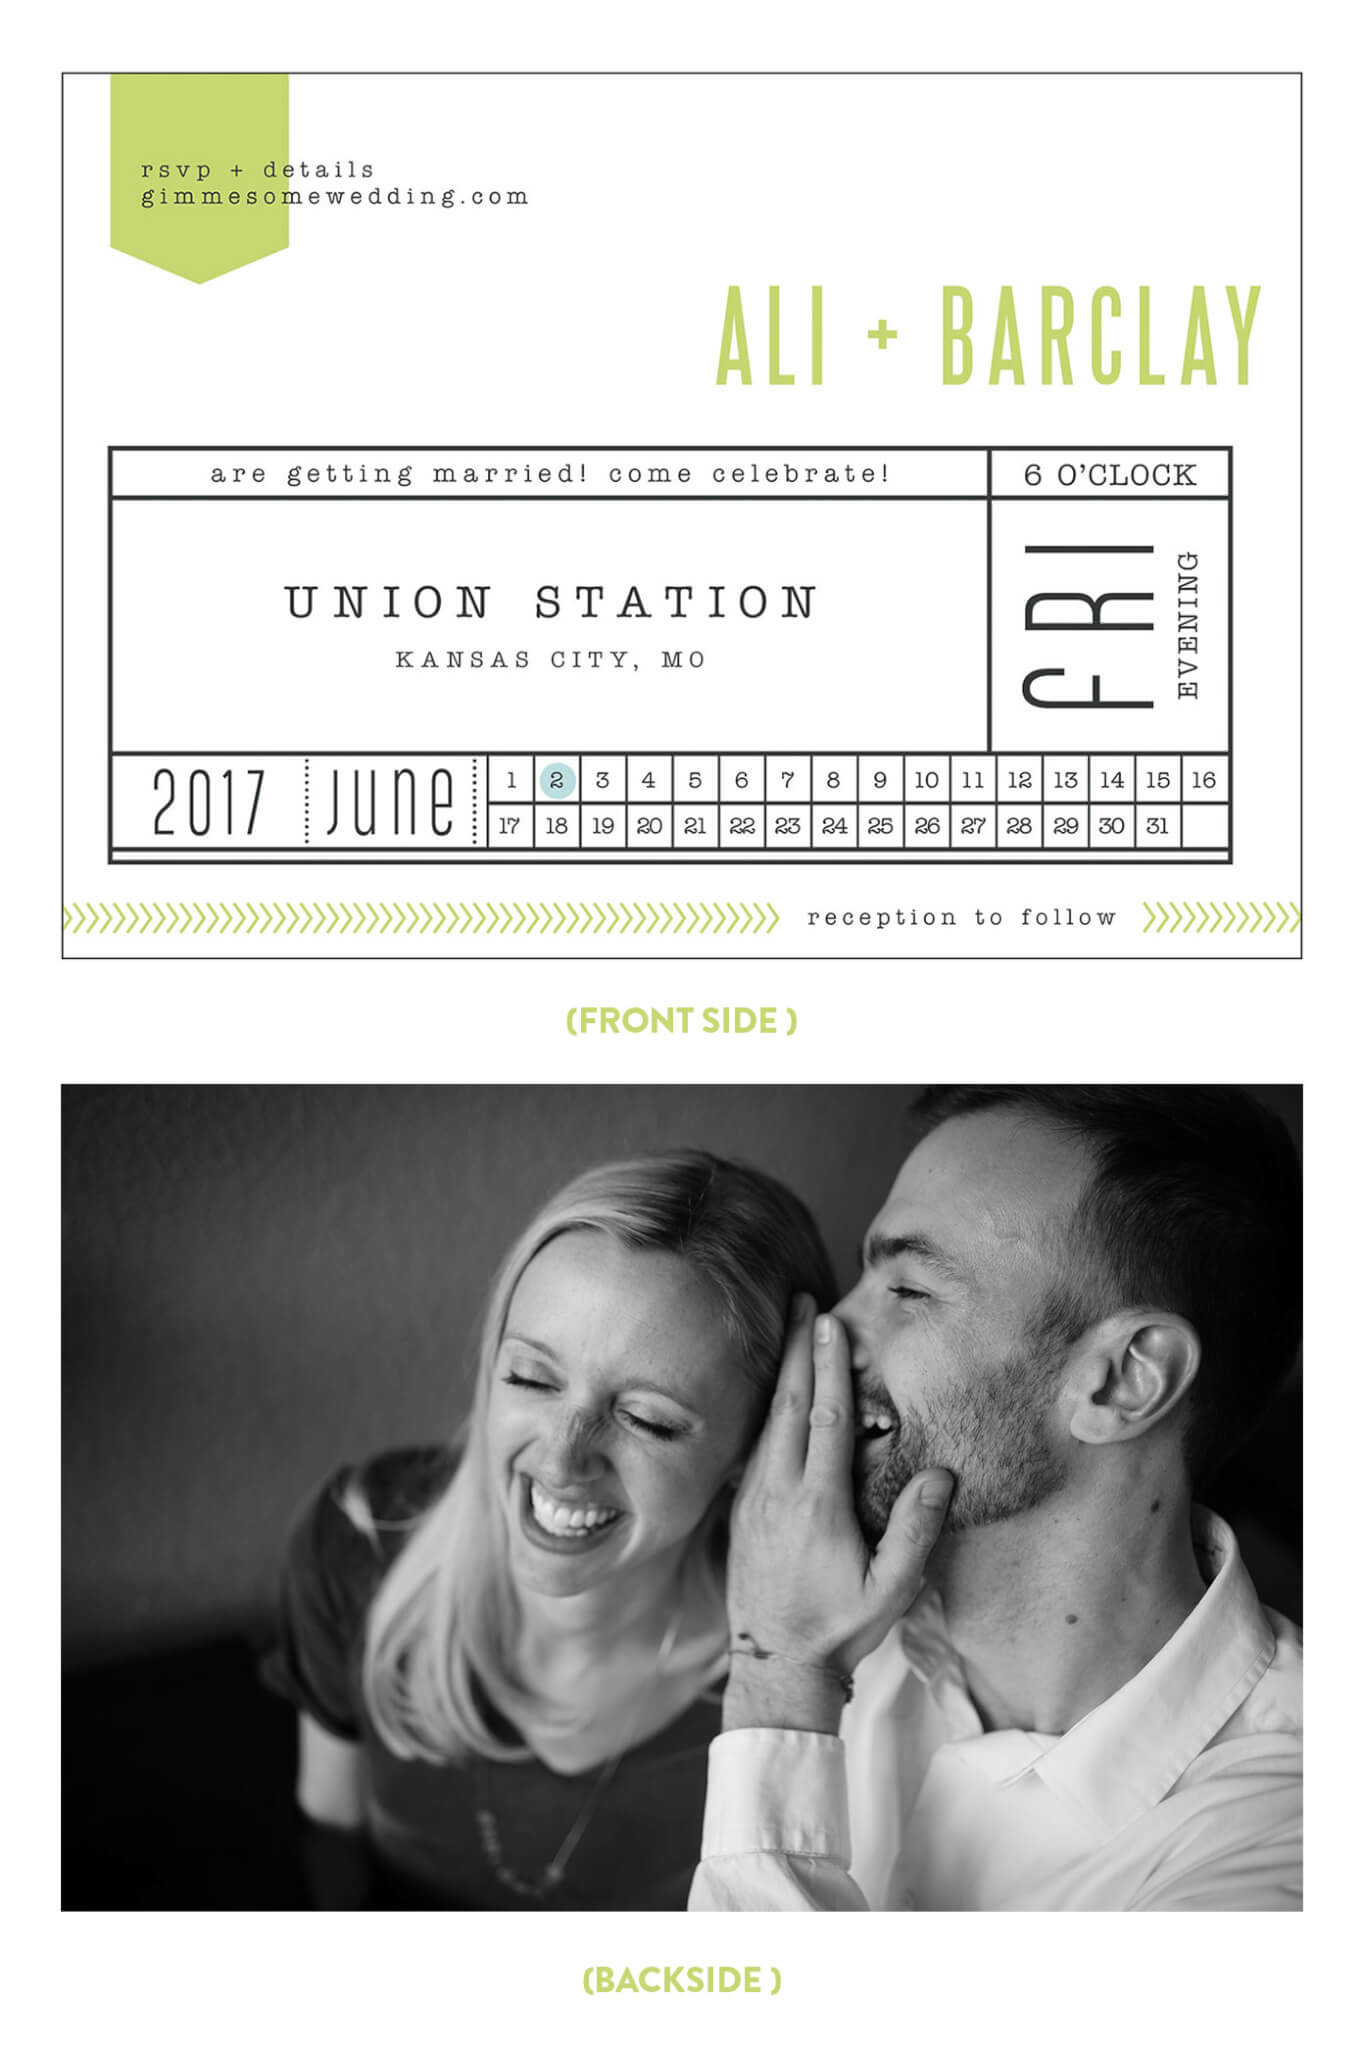
- they totally looked like train tickets, which was perfect for our train station wedding. ?
- they only took about 1 minute to customize — so quick and easy.
- the design ended up being free, since we received a $50 Minted credit when we registered with Minted for our website — yesss.
We just printed them out on thick white cardstock at a local printer, with one of our engagement photos on the back. Then we mailed them to our guests in these pearly white envelopes that I ordered from Amazon (<– loved them, so pretty and just $0.33 each!).
I’m really happy with how they turned out! So easy and fun!
For anyone interested, here’s what the customizing process looked like behind the scenes with Minted:
Step 1: Choose The Invitation
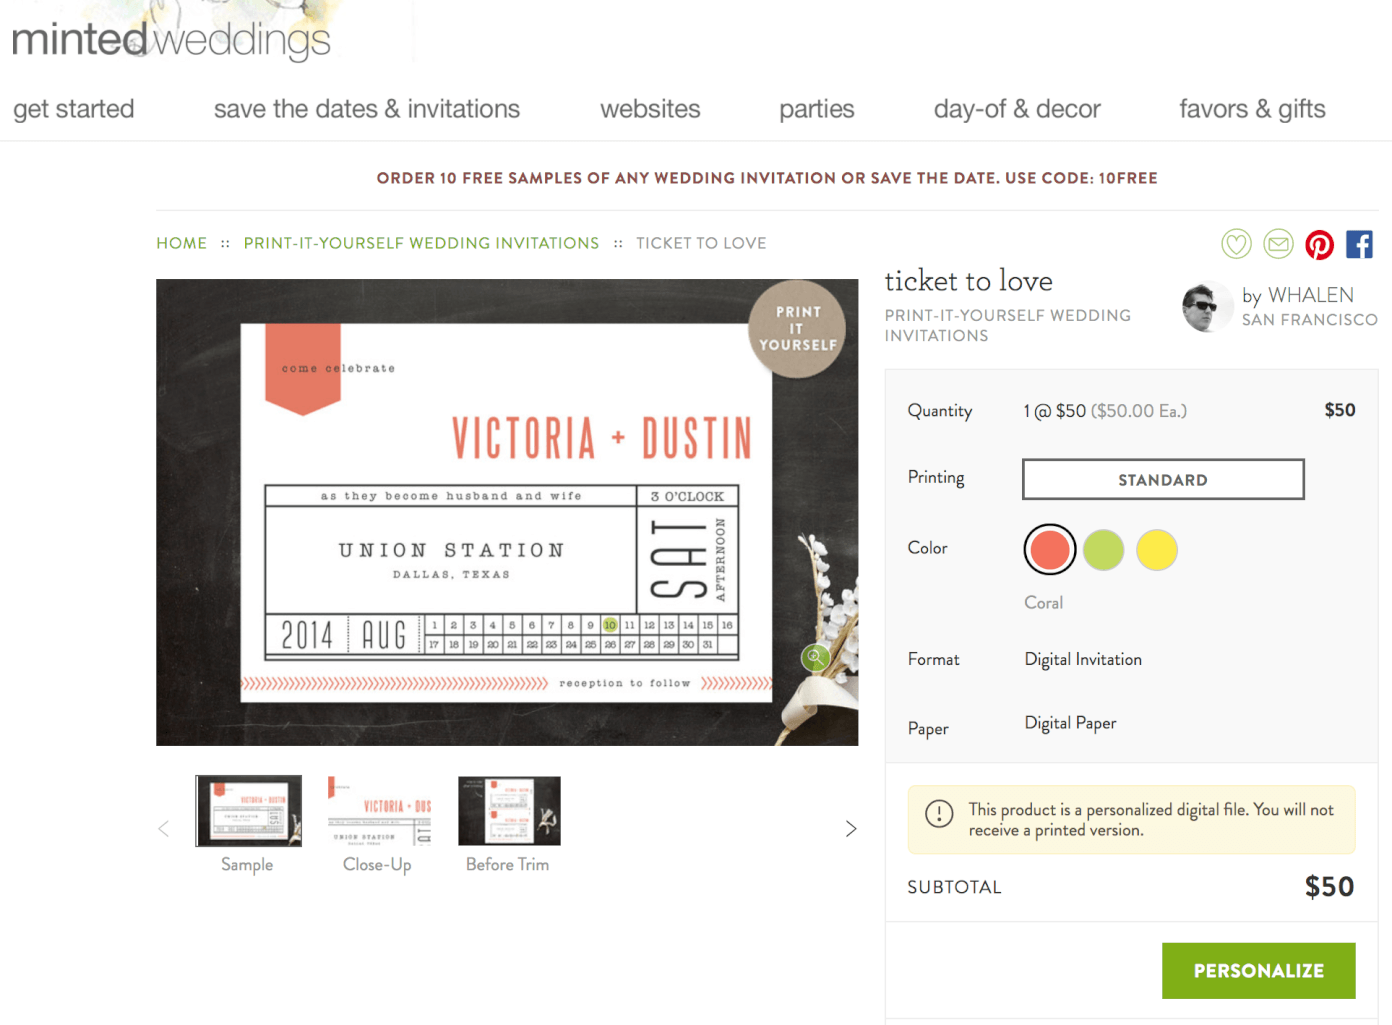
They have tons of printable options to choose from, but we loved this Ticket To Love design. It was available in three different color palates, and all of the text was customizable.
Step 2: Customize with Colors/Text

We went with the lime green color palate, which looked really great in print! And we changed some of the wording. But otherwise, that was it. Like I said, literally took a minute. ?
Step 3: Download & Print!
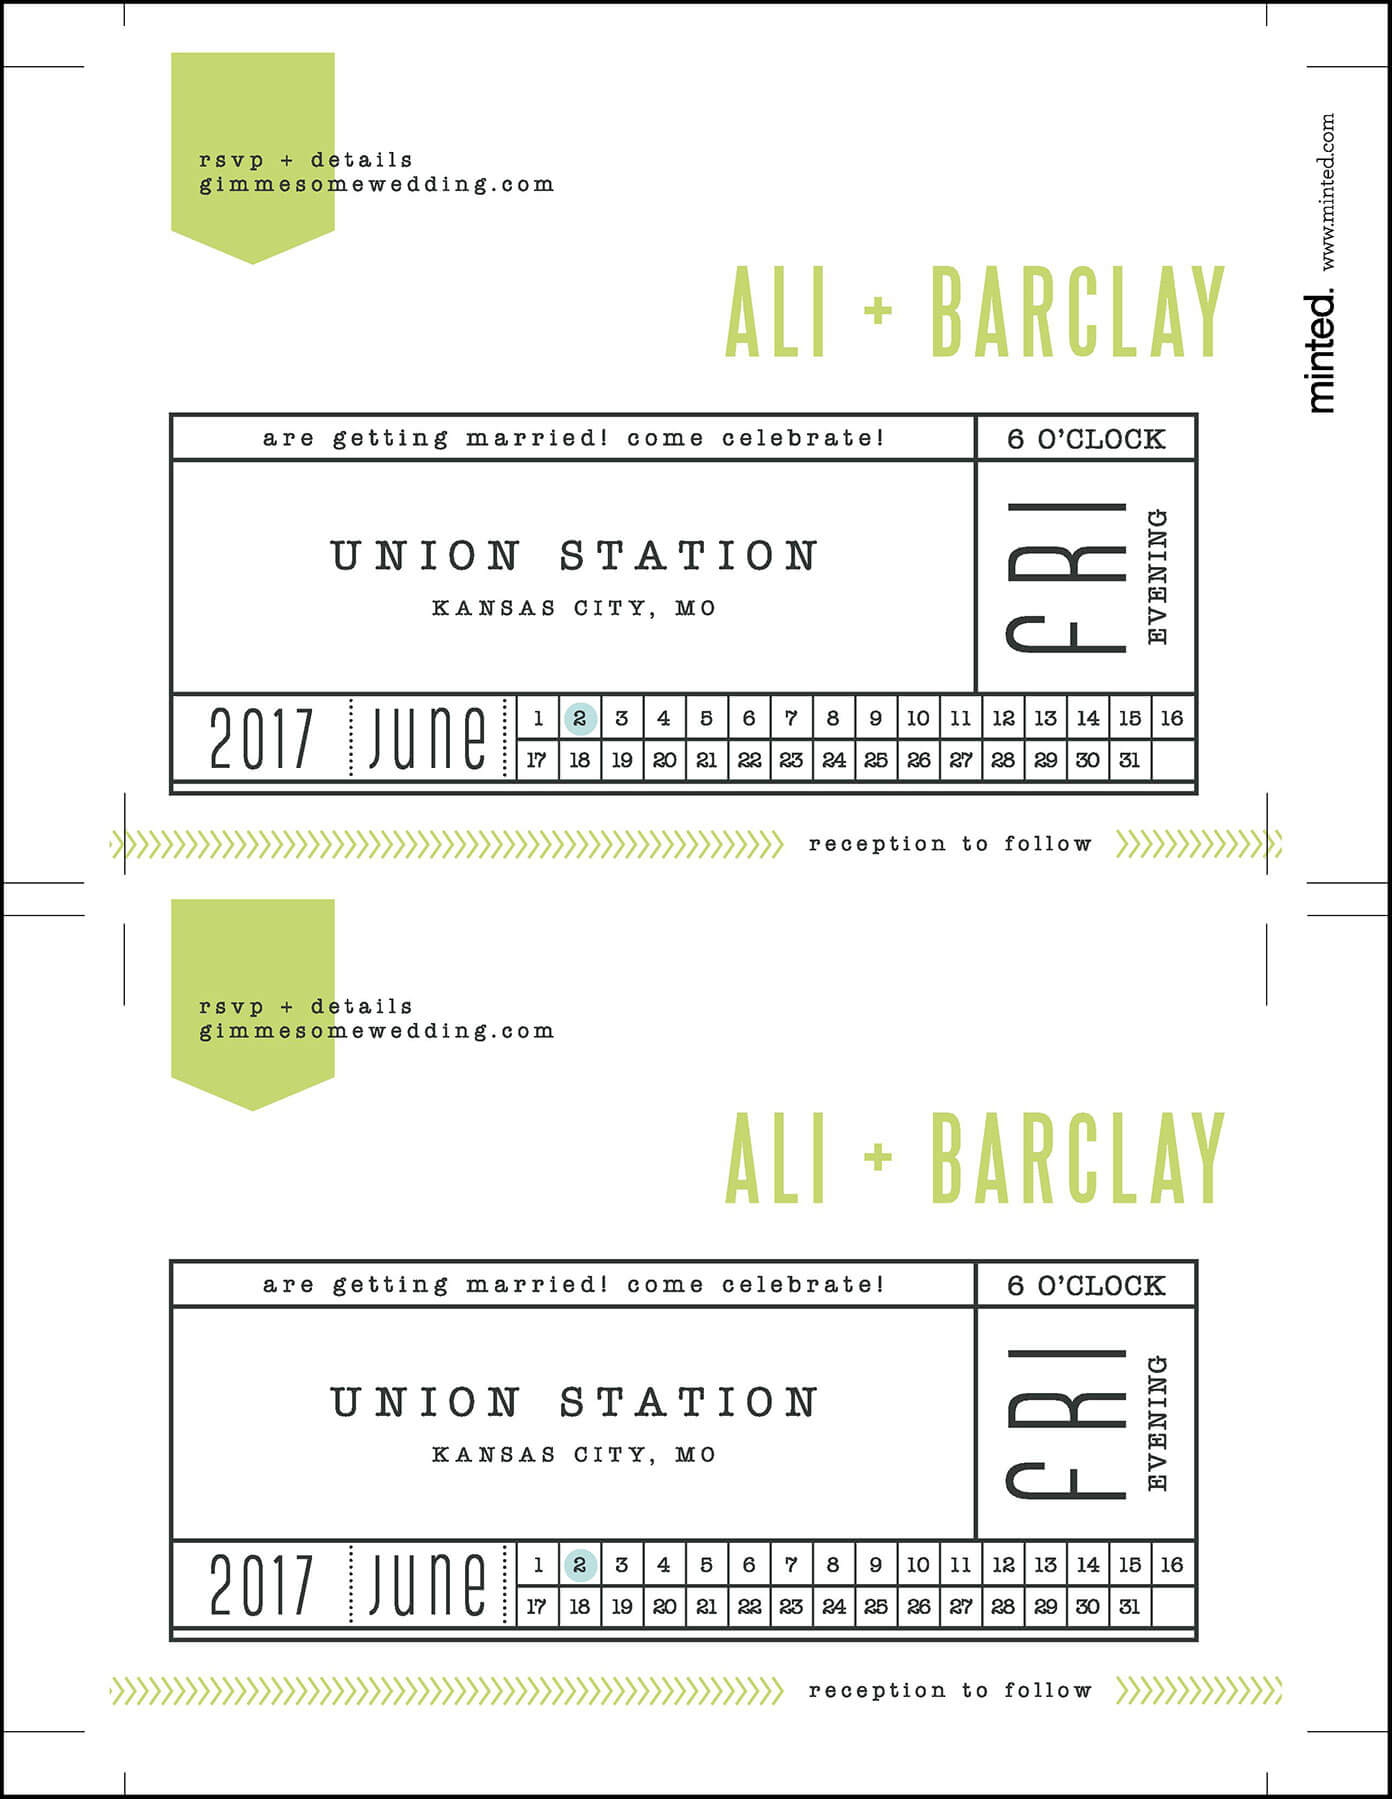
This is what the download looked like. 2 per page on an 8.5 x 11″ sheet of cardstock.