The Most Delicious Ultra-Crispy Chicken!

Bookmark this one if you love crispy chicken as much as I do! ♡
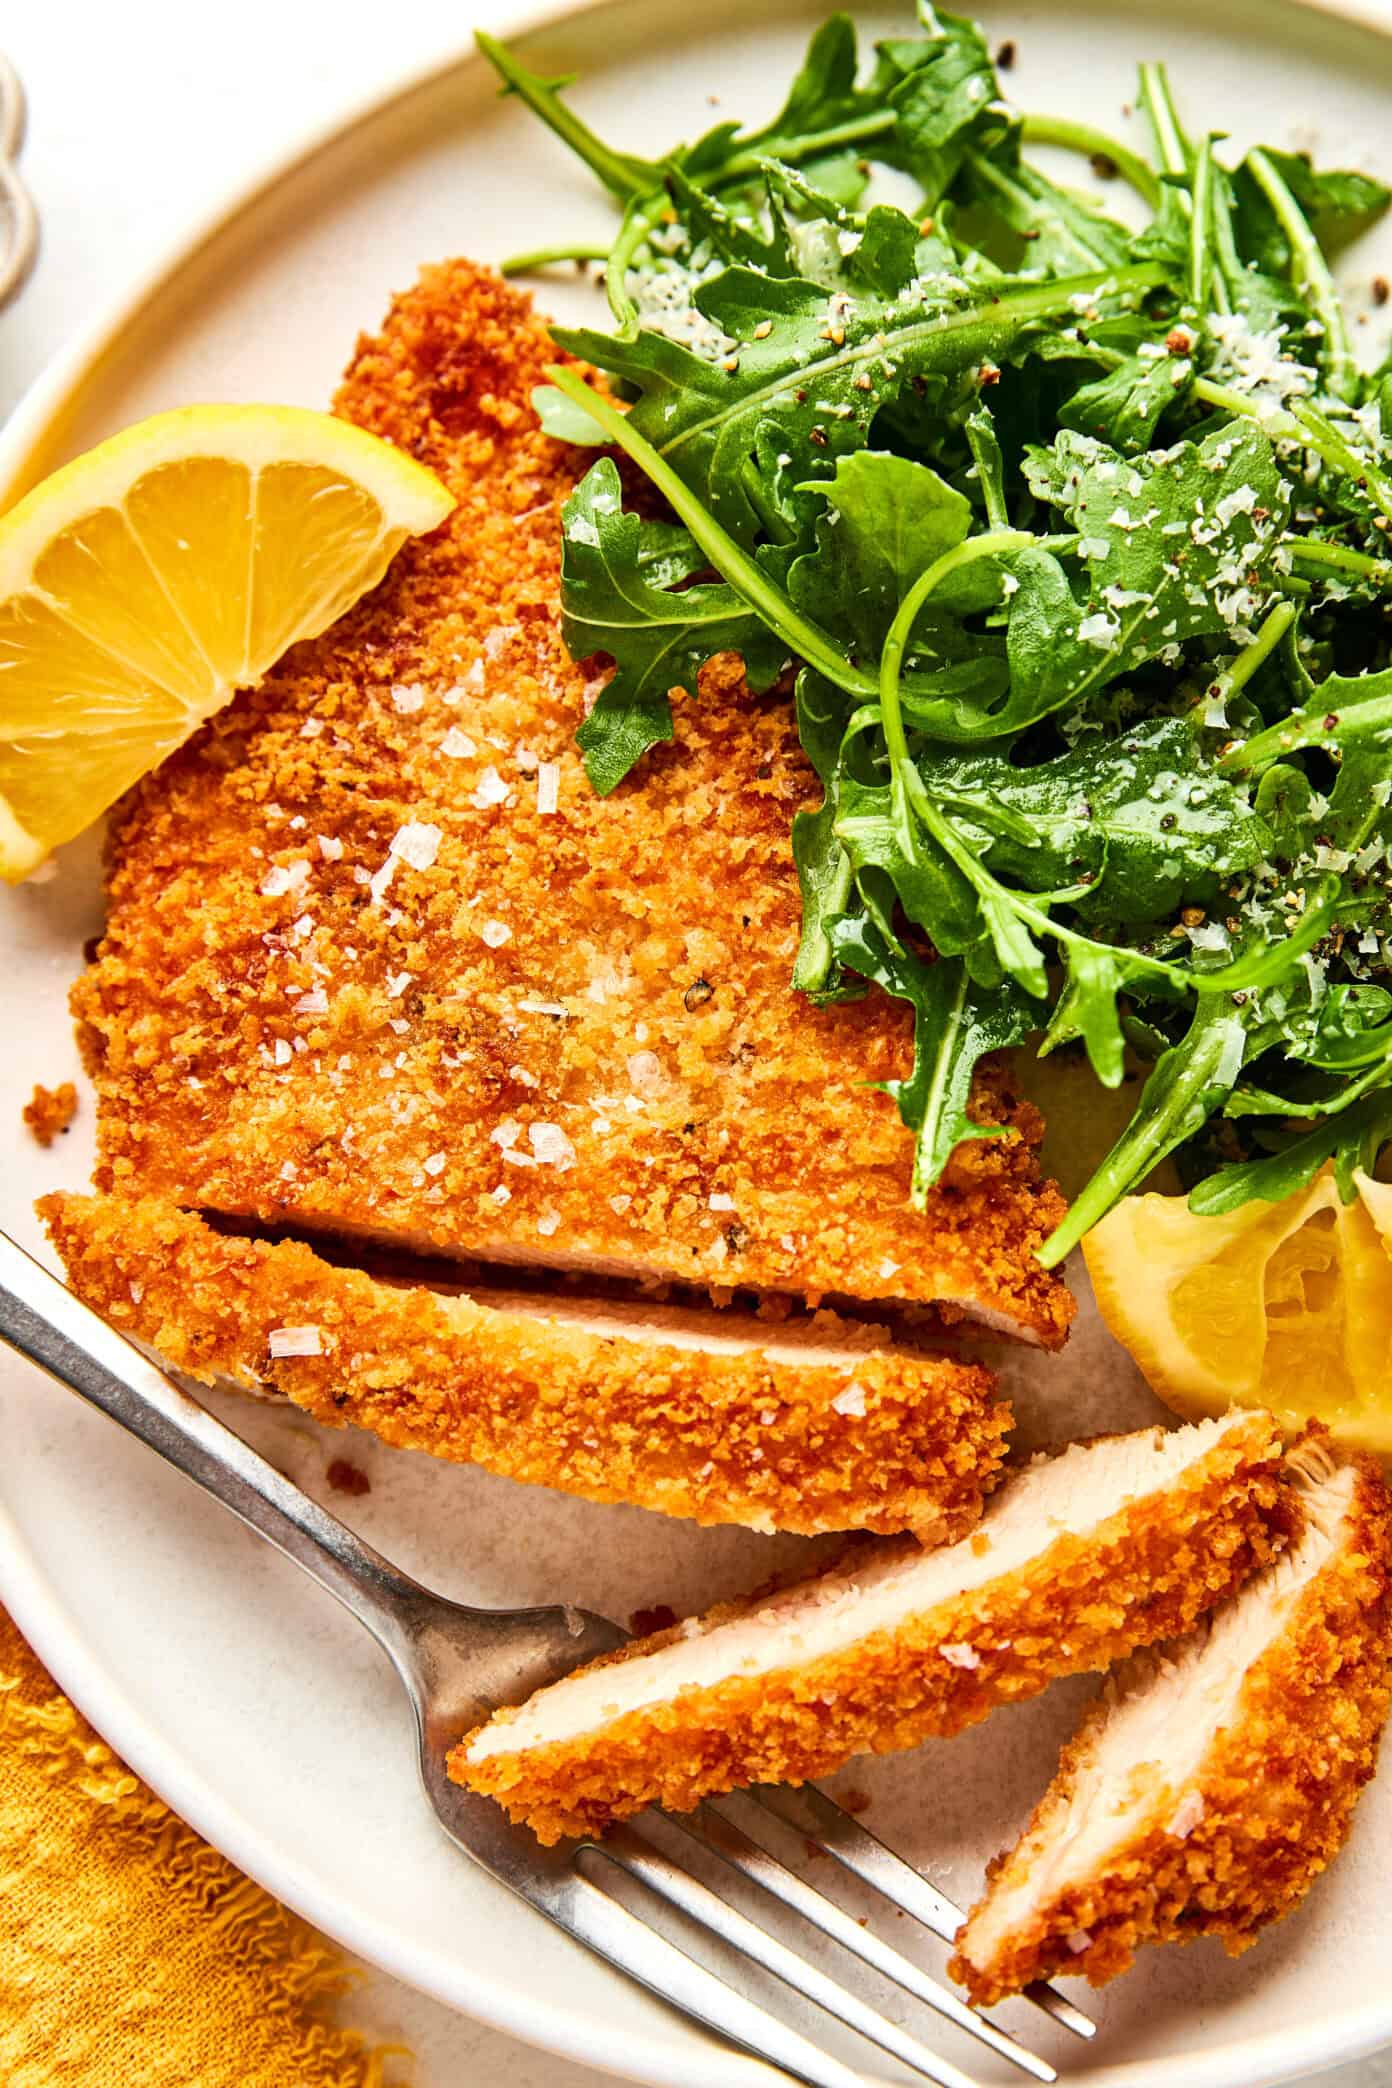
Chicken Milanese has been a longtime favorite of mine, and after lots of testing and little tweaks over the years, I finally feel like this recipe is everything I want it to be. We’re talking thin, juicy cutlets with a beautifully golden, shatteringly crisp crust that actually stays crisp, with just the right amount of seasoning to make each bite perfectly flavorful.
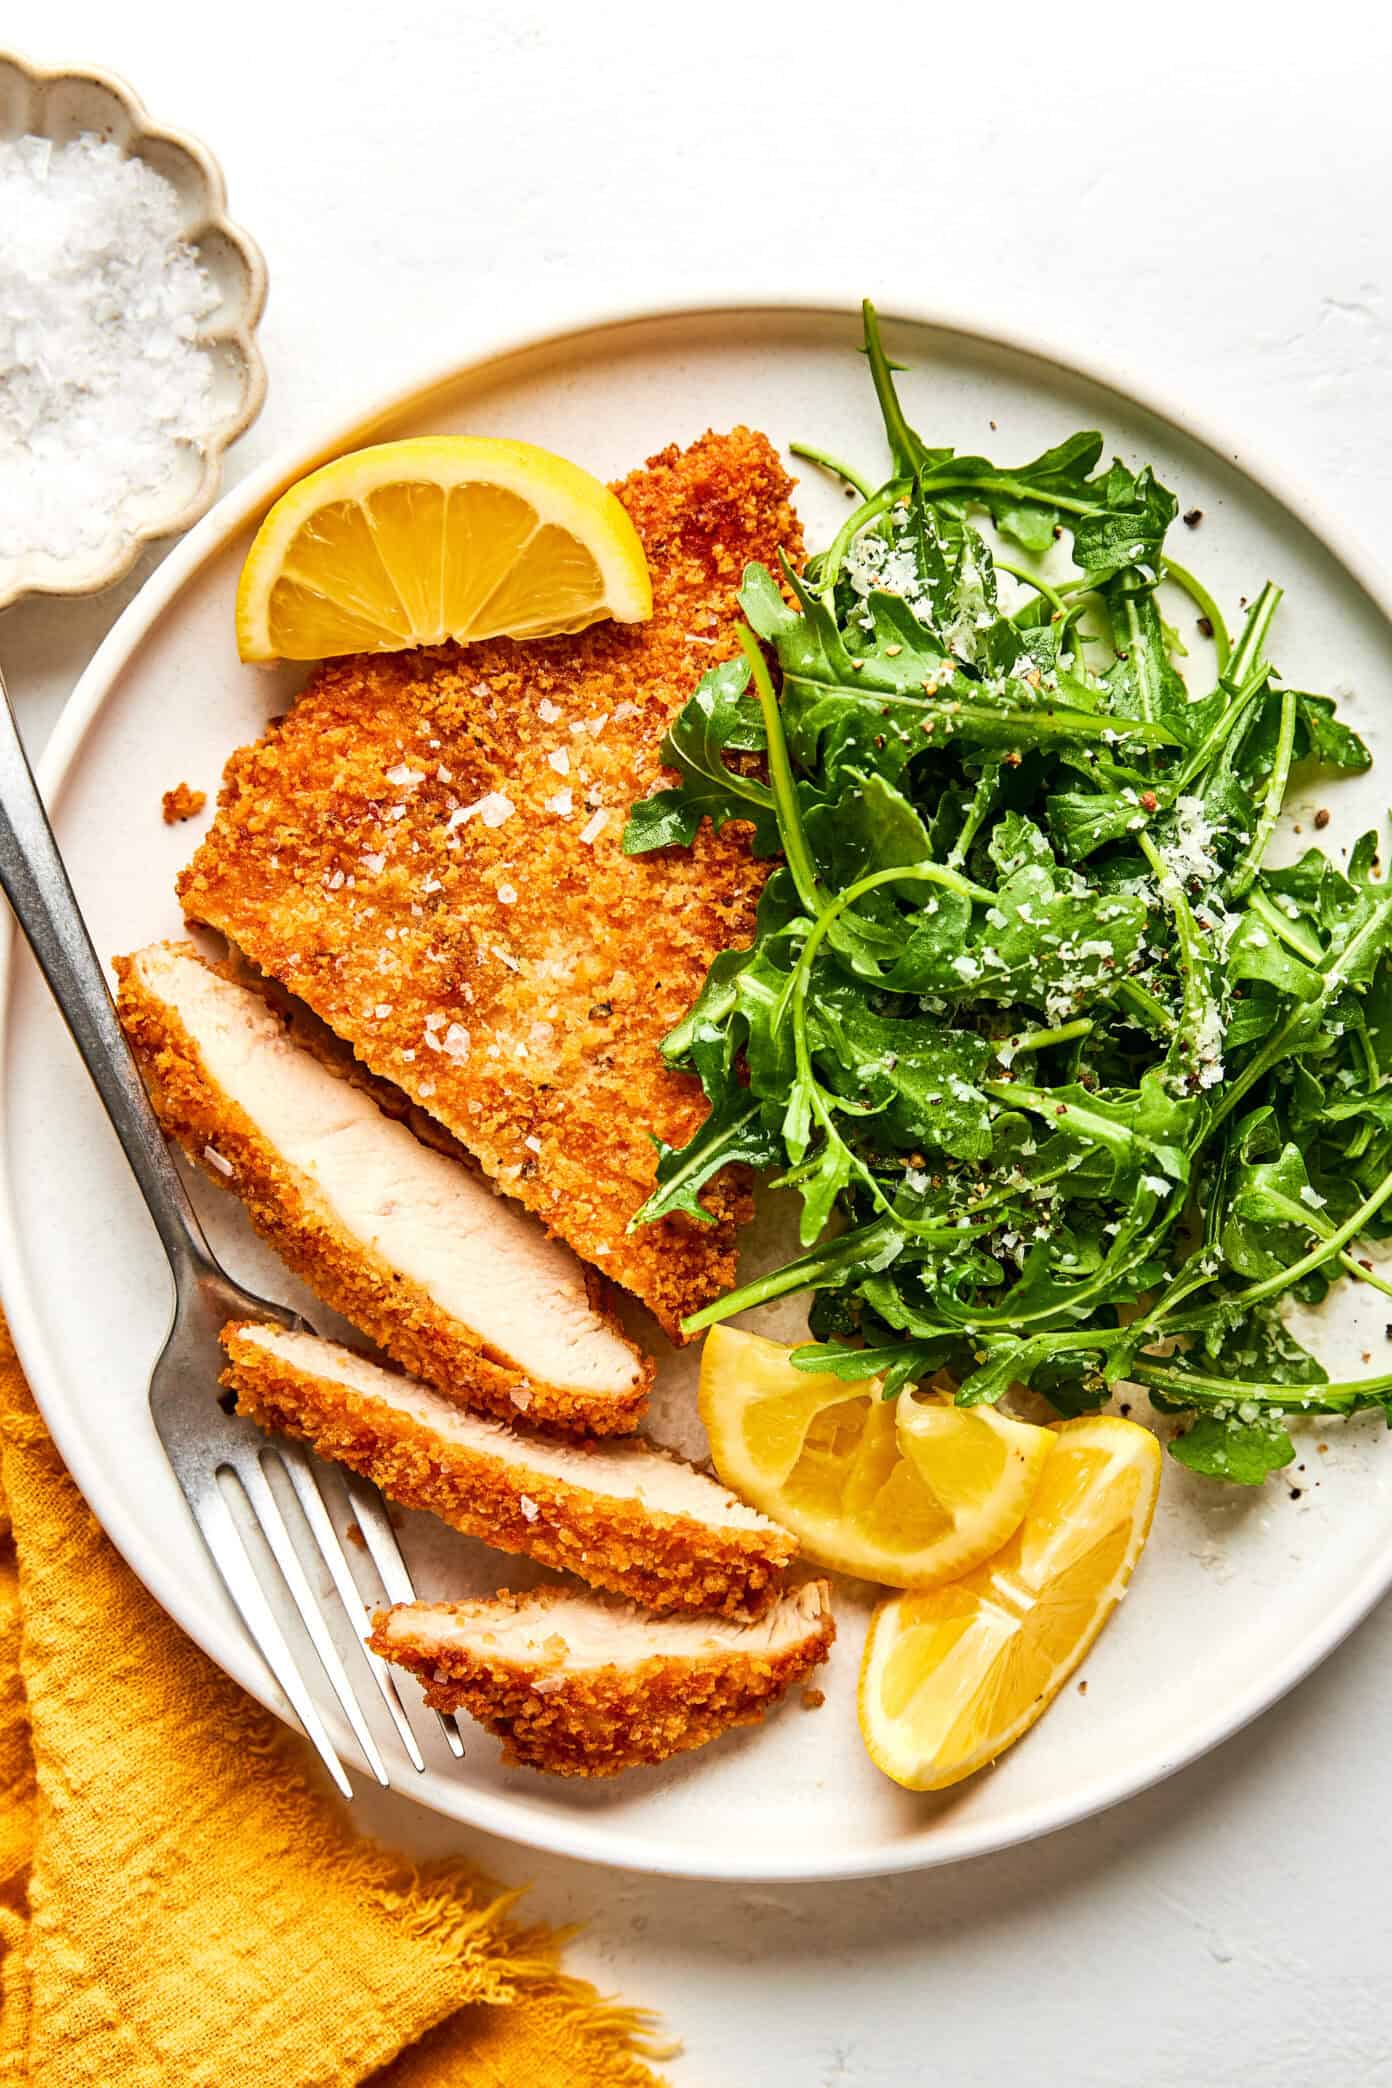
I love serving Chicken Milanese the classic way with a bright, lemony arugula and Parmesan salad piled right on top. But it’s also super easy to mix things up depending on what you’re in the mood for — serve it with warm marinara or a quick lemon butter sauce, add a swipe of garlicky aioli, or finish with a drizzle of hot honey for a sweet-spicy twist. I’ve also included all of my best tips that I’ve learned over the years for frying chicken so you can nail that perfectly crispy, flavorful coating every time.
However you serve it, this is one of those crispy chicken recipes that is always such a winner!

Recipe Tips
Here are a few simple tips to make sure your chicken turns out perfectly golden, juicy, and crisp every time:
- Slice the chicken evenly. Thin, even cutlets cook quickly and evenly, which helps avoid overcooked spots.
- Don’t skip patting the chicken dry. This helps the seasoning stick and prevents the coating from getting soggy.
- Press the breadcrumbs in firmly. Don’t just sprinkle — really press them on so you get a solid, even crust.
- Keep the oil at the right temperature. Around 350°F is the sweet spot. Too low and the chicken gets greasy, too hot and it burns.
- Fry in batches. Crowding the pan drops the oil temperature and leads to less crispy chicken, so I recommend just frying two pieces at a time.
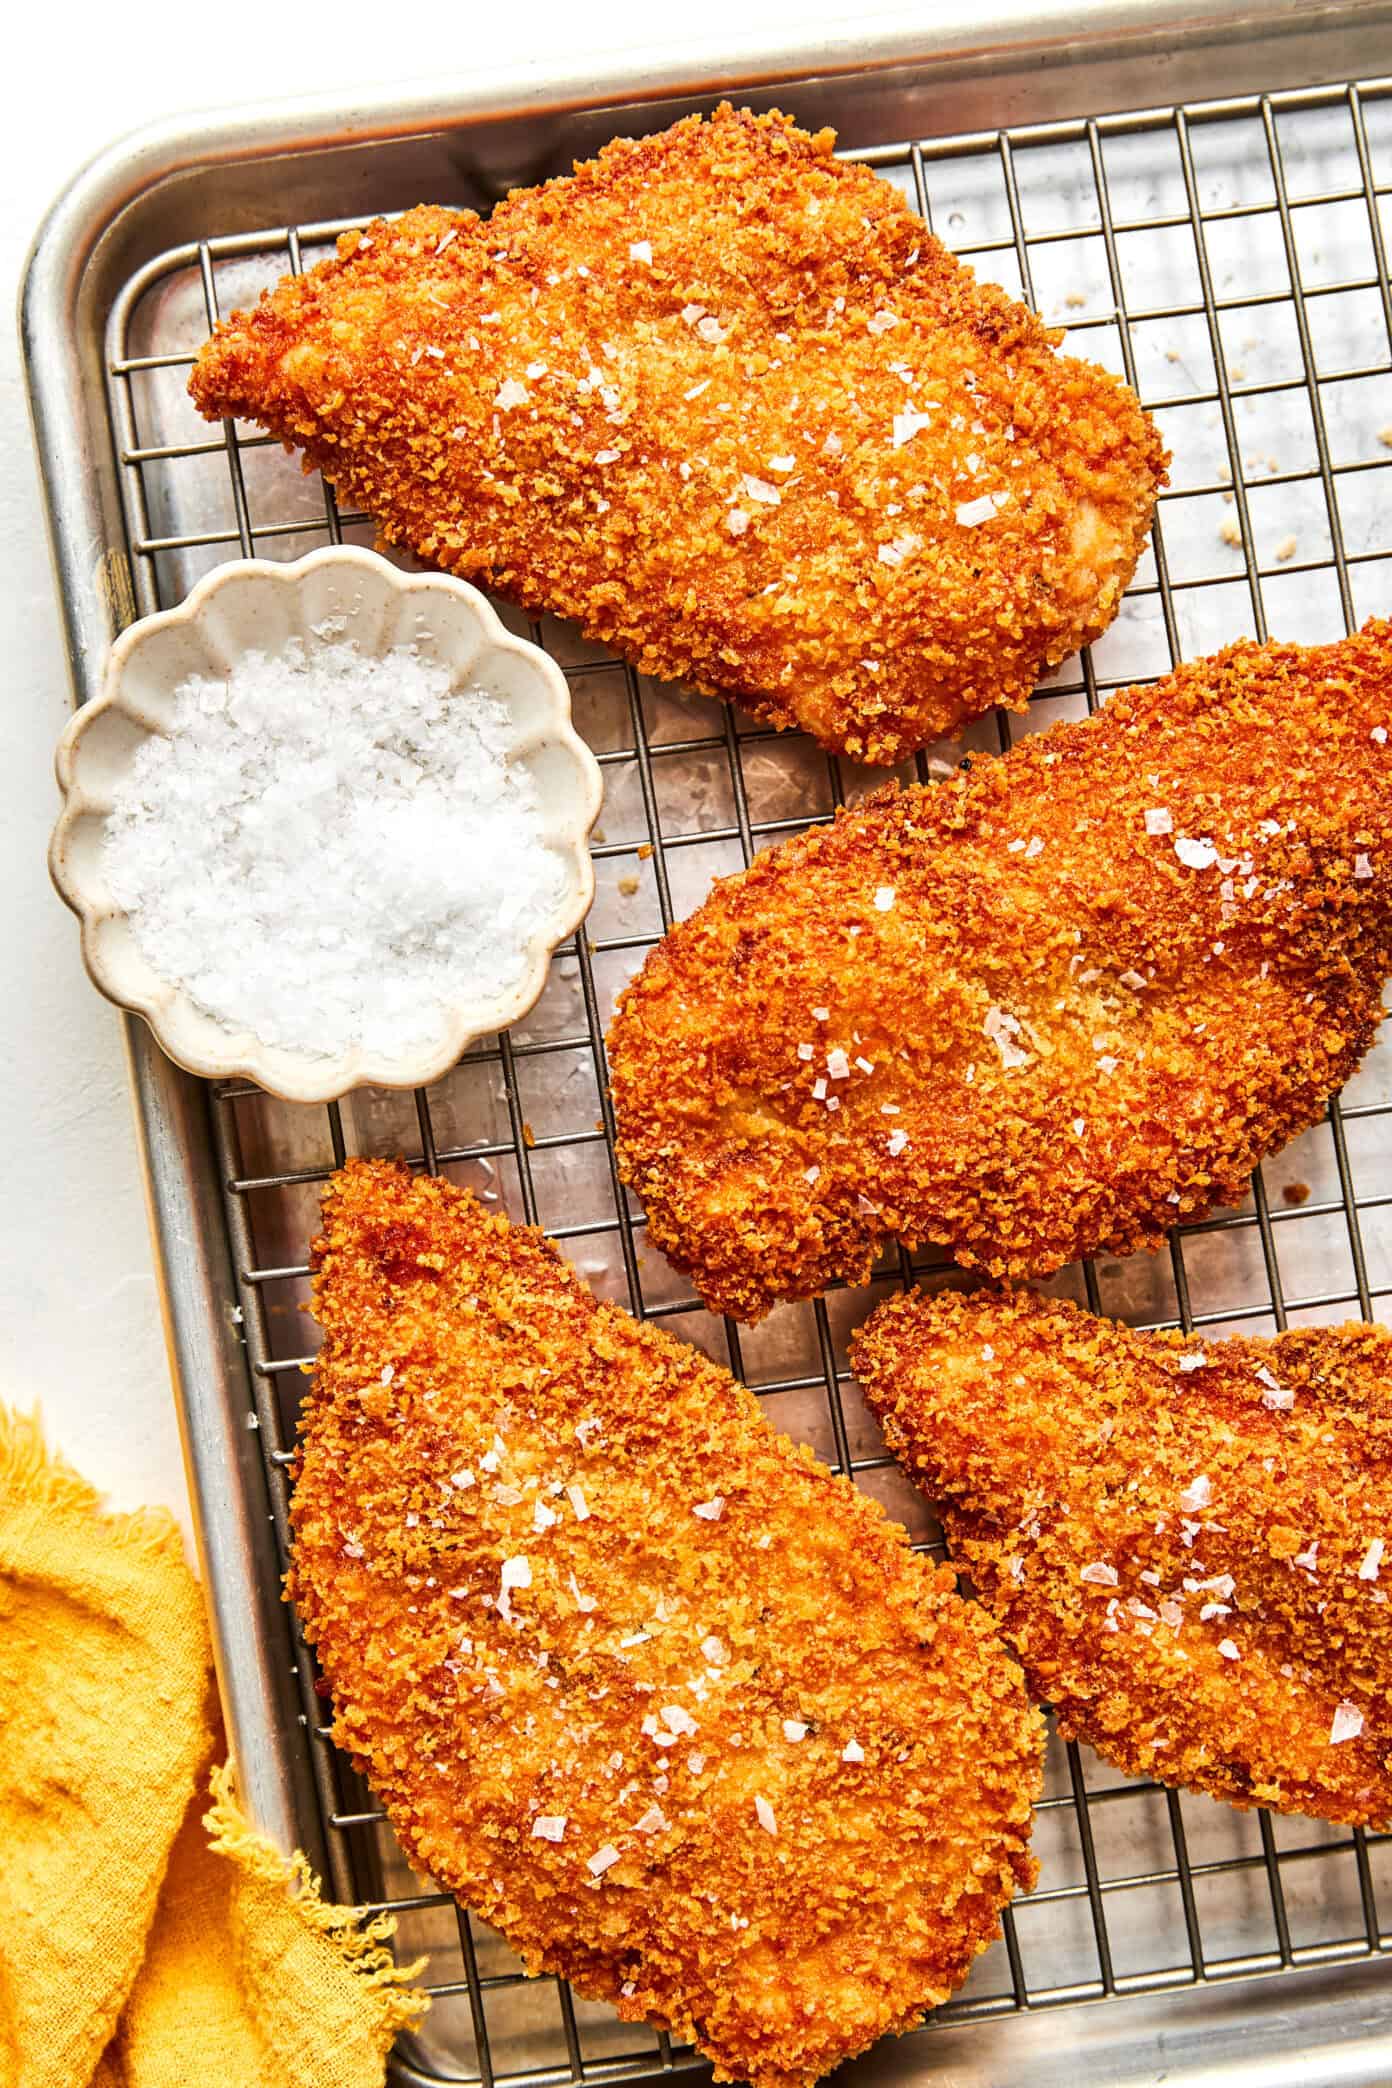
- Use a wire rack instead of paper towels. If you’re really going for crispy chicken, using a wire rack helps keep the underside from steaming and getting soft.
- Finish with flaky salt and lemon. That final sprinkle and squeeze makes all the flavors pop!
Recipe Variations
This recipe is super adaptable, so feel free to play around with it depending on what you’re craving:
- Add fresh herbs or seasonings to the breadcrumb mixture for extra flavor.
- Add a pinch of cayenne or chili flakes to the breading to make it a little spicy.
- Swap the flour for gluten-free flour and use GF panko to make it gluten-free.
- Turn it into chicken parmesan by adding marinara and mozzarella after the chicken has cooked, then give it a quick broil to melt the cheese.
- Use chicken thighs instead, just pound them thin so that they cook evenly.
FAQ
You can bread the chicken a few hours ahead and refrigerate it, but I recommend frying just before serving for the best crispy texture.
Reheat in a 375°F oven or air fryer until warmed through and crispy again. I don’t recommend microwaving because it will soften the crispy breading.
Yes! Freeze the breaded (uncooked) cutlets on a baking sheet, then transfer to a freezer bag. Fry straight from frozen, adding a few extra minutes to the cook time.

Crispy Chicken Milanese
- Prep Time: 20 mins
- Cook Time: 15 mins
- Total Time: 35 mins
- Yield: 4 servings 1x
Description
This crispy chicken Milanese recipe is easy to make with a golden Parmesan-panko crust and perfectly juicy chicken.
Ingredients
- 2 boneless, skinless chicken breasts, sliced horizontally into 4 thin cutlets
- 1 teaspoon each: fine sea salt, garlic powder, onion powder
- 1/2 teaspoon each: freshly-ground black pepper, lemon zest, smoked paprika
- 1/2 cup all-purpose flour
- 2 large eggs
- 1 teaspoon Dijon mustard
- 1 cup panko breadcrumbs
- 2/3 cup finely grated Parmesan
- 1/2–3/4 cup neutral oil (grapeseed, avocado, or vegetable), for shallow frying
- for serving: flaky sea salt and lemon wedges
Instructions
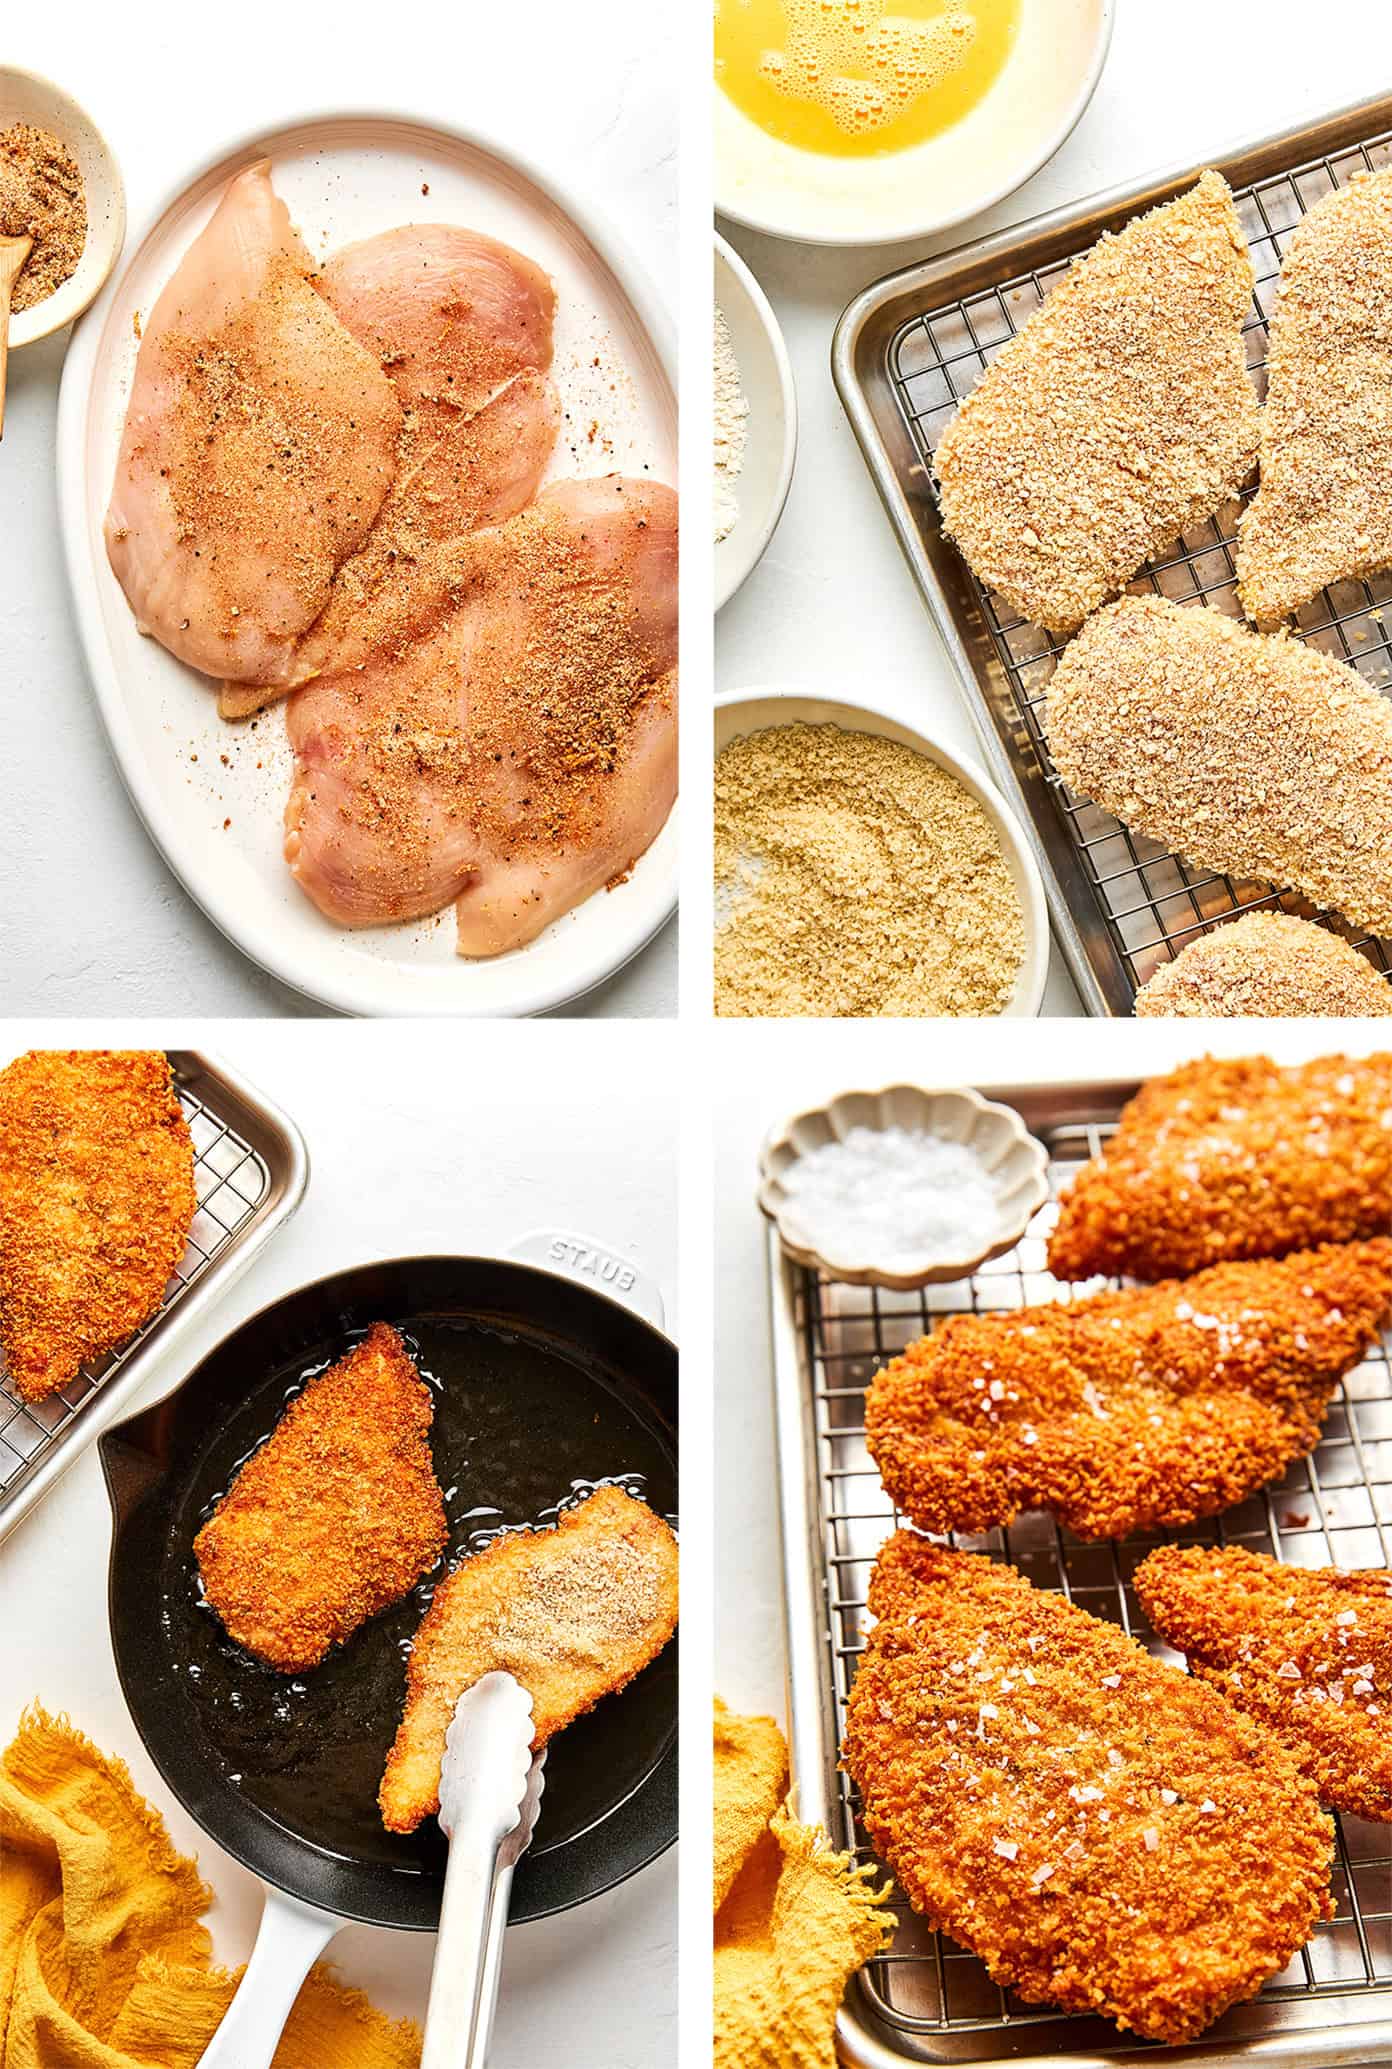
- Season the chicken. Pat the chicken cutlets dry with paper towels. In a small bowl, stir together the salt, garlic powder, onion powder, smoked paprika, black pepper, and lemon zest. Sprinkle evenly over both sides of the chicken.
- Set up the breading station. Place the flour in a shallow bowl. In a second shallow bowl, whisk together the eggs and Dijon mustard until smooth. In a third bowl, combine the panko and Parmesan.
- Bread the chicken. Working one piece at a time, dredge the chicken in the flour, shaking off excess. Dip into the egg mixture, letting any extra drip off, then press firmly into the panko-Parmesan mixture until evenly coated on both sides. Transfer the breaded cutlets to a wire rack set over a baking sheet. Let rest for 10–15 minutes before frying. (This helps the coating adhere and creates a crispier crust.)
- Fry until golden. Heat enough oil to come about ¼ inch up the sides of a large skillet (usually ½–¾ cup, depending on pan size) over medium heat until it reaches about 350°F. The oil should shimmer, and a breadcrumb dropped in should sizzle immediately. Working in batches to avoid crowding, fry the chicken for 3–4 minutes per side, until deeply golden and cooked through. Transfer the cooked cutlets back to the wire rack to drain (this keeps the crust crisp).
- Finish and serve. Sprinkle lightly with flaky sea salt. Serve immediately with lemon wedges for squeezing over the top and enjoy!
0 Comments