Do you remember what was on your Christmas list back in 1998?
Back then, I’m pretty sure that all of my girlfriends were asking for Abercrombie jeans, or the first-ever Harry Potter book, or the VHS of Titanic, or the latest Jewel or Matchbox 20 or Destiny’s Child or Spice Girls albums for Christmas. But me? I had one very important request of Santa that year, and I’m happy to say he (literally) delivered me my very first…dehydrator!
I mean, what 16-year-old girl doesn’t dream of having her very own dehydrator, right?! ♡
Well, having been an enormous fan of homemade beef jerky ever since I was little, I had been dreaming about having a dehydrator to make some of my own for years. It all began thanks to my great aunt Chris, who generously made batches upon batches of her famous beef jerky for our huge family holiday gatherings each year. And all thirteen of my cousins would scramble to the kitchen to see who could get the biggest handful for themselves to munch on, because her beef jerky was heavenly. And actually, I had no idea how good it was until I tried some of the store-bought stuff from a gas station years later, and could hardly believe that those weirdly sweet, sticky, and artificial-tasting strips of “beef” were the same thing. (Actually, I still feel the same way…)
So even as a teenager, I realized that if I wanted amazing beef jerky like Aunt Chris’ year-round, I was going to have to learn how to make it myself. So I called her and asked for the recipe. And 17 years, 2 dehydrators, and dozens upon dozens upon dozens of batches later, I’m still making her beef jerky recipe.
So today, I thought it was about dang time I shared about it with you too. Because in my experience…it truly is the best!
How To Make Beef Jerky | 1-Minute Video
Ok, my heart is seriously pounding as I’m writing this post because I get so dang excited giving people tips on making killer beef jerky! (<– So weird, I know, but don’t forget I’m also the girl who begged Santa for a dehydrator. #Perspective.) Here are some of my tips and answers to frequently-asked questions from friends:
Beef: The biggest question is probably what cut of beef to buy. I’ve made beef jerky with all different kinds, but my favorite the past few years has undoubtedly been flank steak. It’s definitely one of the priciest options, but it’s one of the leanest cuts and I love how it makes nice thin strips of beef jerky. Other great options are eye of round, top or bottom round, or London broil. Generally, I just recommend going as lean as possible, and trimming off any extra large sections of fat that you see.
When it comes to slicing the meat, I recommend slicing it about as thin as possible (1/8 to 1/4-inch thick). And then if you want a chewier jerky (which I weirdly like), slice the meat with the grain. And if you want a more tender jerky, slice the meat against the grain. You’re welcome to do this yourself at home (just pop the steak in the freezer for 15-20 minutes before slicing to help firm it up a bit). OR, chances are, the butcher behind the meat counter of your local grocery store would be happy to do it for you too. (<– Probably for free!)
Marinade: So, my biggest gripe with most store-bought beef jerky is that it is waaaayyyyy too sweet. I love my beef jerky nice and peppery and savory. So my marinade consists simply of soy sauce, worcestershire, black pepper, liquid smoke, onion powder, seasoned salt, and garlic powder. And then for those of you who love pepper as much as I do, I highly recommend cracking some extra black pepper on top of the strips once you have laid them out to cook. The pepperier, the better if you ask me.
If you do happen to like sweeter beef jerky, just add 1/4 cup of maple syrup to the marinade. And if you like a spicier beef jerky, I recommend sprinkling some crushed red pepper flakes on top of the jerky as it cooks.
Dehydrator vs. Oven: Probably the main question I hear from friends is how to make beef jerky without a dehydrator. It’s totally possible in the oven. But in order for it to cook evenly, I recommend laying the jerky out on wire racks that are placed on top of foil-covered baking sheets. I know that some people like to just lay the jerky out directly on the oven racks themselves, and then place a sheet of aluminum foil on the bottom of the oven to catch the dripping juices, but I’ve tried it and — heads up — it’s messy. So instead, I recommend the wire rack method.
But that said, I still think cooking beef jerky in the dehydrator yields the most consistent and best results. I’ve owned 2 different dehydrators, and will say that the technology has improved significantly over the years. For between $35-75, you can purchase an awesome dehydrator nowadays that will cook the jerky evenly and quickly. And of course, you can also use the dehydrator to make all kinds of fruit and veggie and kale chips, and all sorts of other good stuff. So if you happen to love beef jerky as much as I do, I would totally recommend the Cuisinart dehydrator that I currently own.
Anyway, go with whatever cooking method works best for you! I’ve included instructions for oven and dehydrator beef jerky in the recipe below.
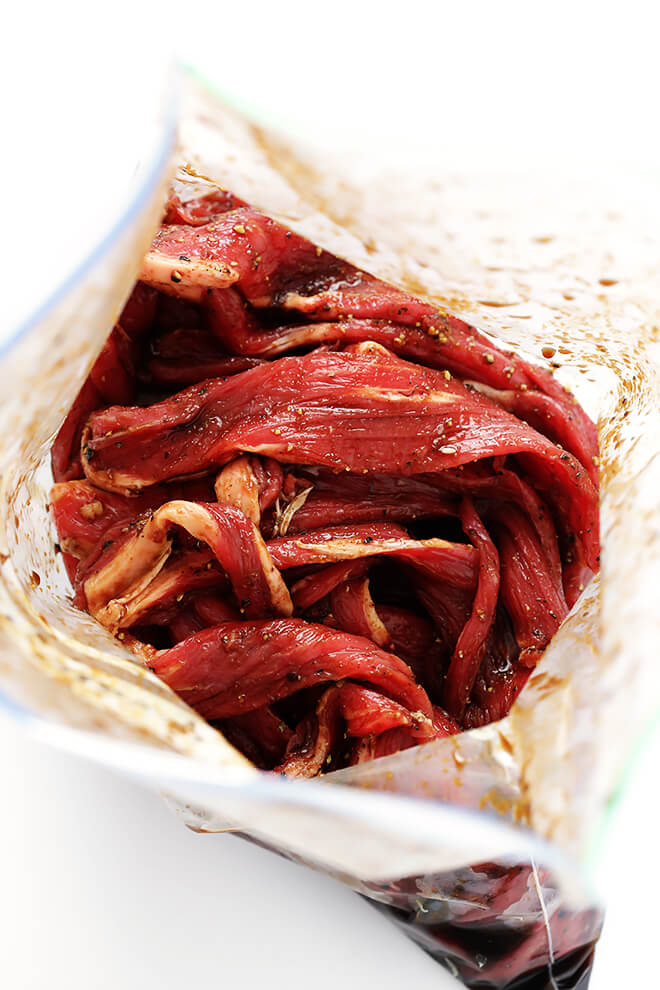
So all that said, to make your beef jerky, just toss the sliced beef and the marinade together in a large ziplock bag until the beef is evenly coated. Then pop the bag in the refrigerator for at least 30 minutes or up to 1 day to let those flavors sink in.
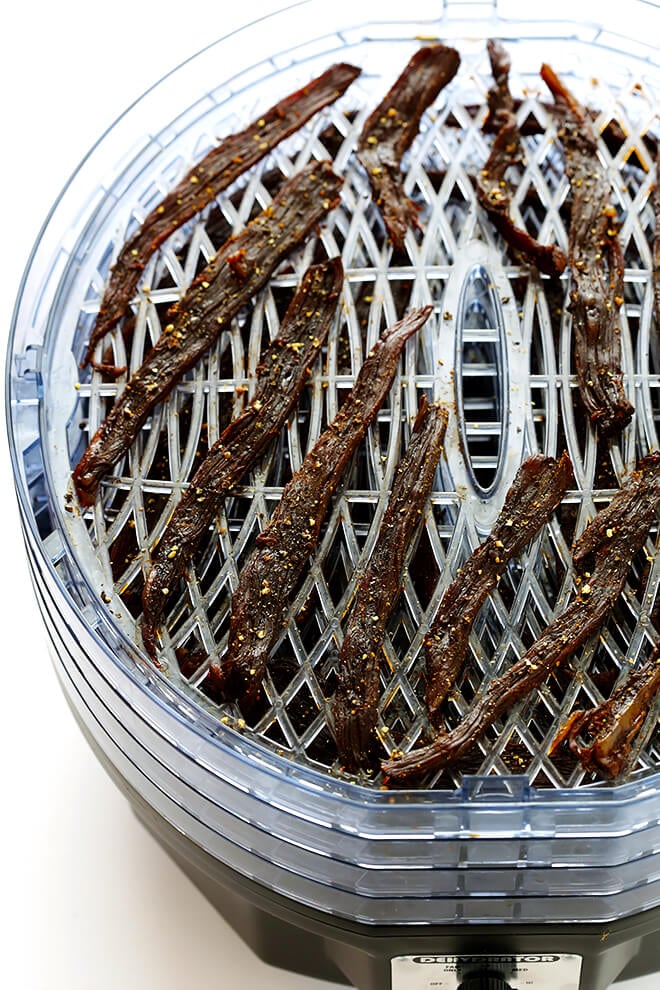
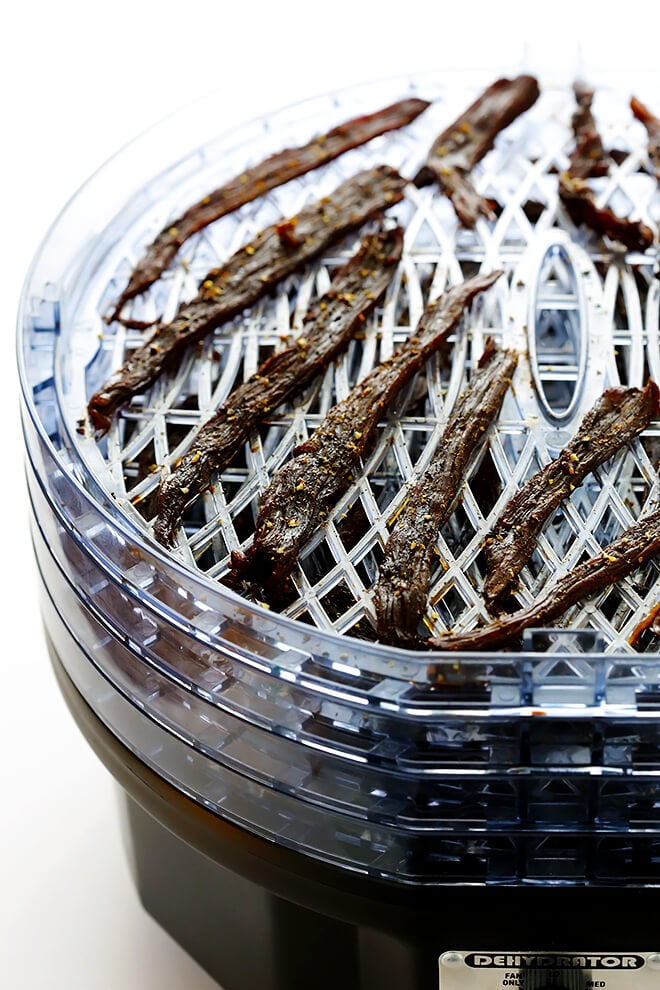
Then lay the strips out in an even layer on your dehydrator trays, or your wire-rack trays in the oven, and cook according to the instructions below. (Fair warning — this is going to absolutely fill your home with the most irresistible smell of jerky ever!)
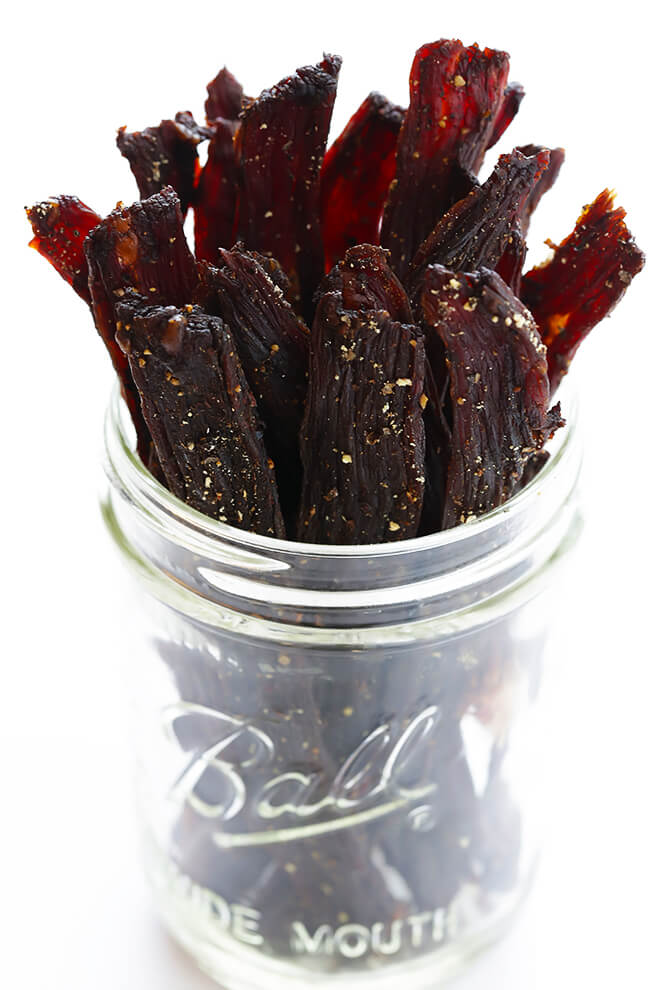
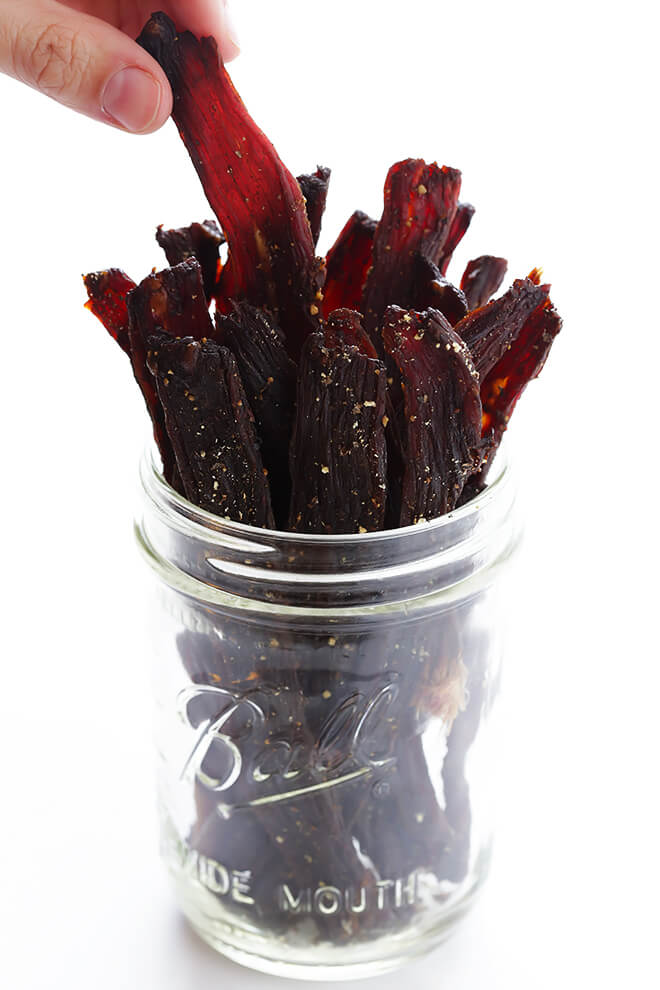
And then once the jerky reaches your desired level of dryness (I like mine really dry, but as long as it is cooked and dark and just slightly pliable, it should be good to go) — the BEST batch of beef jerky will be yours to enjoy and share!
Well, props to you if you make it to the sharing, because I tend to want to hoard this stuff. ;) But I am convinced this beef jerky makes the world a better place, so be generous if you can.
Enjoy, everyone!!

Beef Jerky
- Prep Time: 10 minutes
- Cook Time: 8 hours
- Total Time: 8 hours 10 mins
- Yield: 20 -24 servings 1x
Description
This beef jerky recipe is full of awesome savory flavors, it includes no added sweeteners, and it’s irresistibly delicious!
Ingredients
- 2 pounds flank steak (or eye or round or top round steak)
- 1/2 cup low-sodium soy sauce
- 2 tablespoons worcestershire sauce
- 2 teaspoons coarsely-ground black pepper
- 1 teaspoon liquid smoke
- 1 teaspoon onion powder
- 1 teaspoon seasoned salt
- 1/2 teaspoon garlic powder
Instructions
- Thinly-slice the steak into 1/8-inch thick strips, either with the grain (which will result in a chewier beef jerky) or against the grain (which will be more tender). I recommend popping the steak in the freezer for 15-30 minutes before slicing so that it is easier to cut. (Or the butchers working behind the meat counters at most grocery stores will also do this for you if you ask.)
- Transfer the strips of steak to a large ziplock bag*.
- In a separate small mixing bowl, whisk together the remaining ingredients until combined. Pour the mixture into the ziplock bag with the steak, seal the bag, and toss until the steak is evenly coated.
- Refrigerate for at least 30 minutes, or up to 1 day.
- If you’re making the jerky in a dehydrator, lay the strips out in a single layer on the trays of your dehydrator. Then follow the dehydrator’s instructions to cook the beef jerky until it is dry and firm, yet still a little bit pliable. (With my dehydrator, that meant cooking the jerky on medium heat for about 8 hours. But cooking times will vary based on the thickness of your meat, and the heat/brand of your dehydrator.) Remove jerky and transfer to a sealed container. Refrigerate for up to 1 month.
- If you’re making the jerky in the oven, heat oven to 175°F. Adjust the racks to the upper-middle and lower-middle positions. Line two large baking sheets with aluminum foil, and place wire cooling racks on top of each sheet. Lay the strips out in a single layer on the wire racks. Bake until the beef jerky until it is dry and firm, yet still a little bit pliable, about 4 hours, flipping the beef jerky once about halfway through. (Cooking times will vary based on the thickness of your meat.) Remove jerky and transfer to a sealed container. Refrigerate for up to 1 month.


Notes
*Or you can also mix the beef and seasoning sauce together in a large mixing bowl.
**Cooking time does not include the amount of time needed to marinate the beef, which can be between 30 minutes to 24 hours. Also, the recipe yield was hard to gauge. With 2 pounds of beef, I usually yield around 50 individual pieces of beef jerky. But that will totally depend on how thick the beef is sliced, and what size of strips you have.
This post contains affiliate links for the products I use and recommend. :)


Ali,
Just wanted to say I just made your beef jerky recipe. I have never ever found any beef jerky that I liked. I think partly because being a type 2 diabetic most if not all are way too sweet and not good for by blood sugar. When I saw your recipe and it had no sweet component, I knew I had to try it. Fortunately for me my son gave me a dehydrator for my birthday. I just finished my first batch. It won’t be the last! A great snack for someone fighting diabetes.
Bill Hawkes
SHUT UP. I asked for a dehydrator for my 16th bday. LOL.
This looks awesome! How do you store the jerkey? And how long will it last?
Love it when people are generous enough to share family recipes like this… thanks! Can’t wait to try it!
Gosh, I love this story, Ali and this beef jerky looks amazing! I do love dehydrating all kinds of foods – so much fun!
thanks for sharing this, I love the home-made stuff too, I’d always wanted to make jerky so thanks for the very detailed recipe!
You’re so welcome, we hope you enjoy! :)
I’ve been looking for a recipe like this! Since going high-protein my dehydrator is humming all the time! I’ve been wanting to try my own version of jerky, but always thought you needed to add a ‘cure’ to the meat.
Awesome, Brad — we hope you enjoy it! :)
Thank you for posting this. I bought a large dehydrator, I think because I wanted to dehydrate whey (which hasn’t worked for me at all). I’ve mostly used it for making “sun-dried” tomatoes and for drying mesquite pods for making mesquite flour. My dehydrator book has instructions for jerky, but I prefer using a recipe from someone whose taste I trust. Jerky tends to be ridiculously expensive and not that good tasting, so it makes sense to make it at home.
I usually use the convection setting on my oven. Seems to cook everything more even. What temp and time would you recommend for that?
Hi Jenna! Here is a guide we would go by: We hope you enjoy the jerky! :)
I managed a Meat Department for about 2 years at Whole Foods and please, PLEASE if you have your butcher do this for you, call ahead. We like to use the slicer and a good butcher will make sure the slicer is freshly cleaned for you, which takes time.
Annnddddd top round is the best cut too – quality vs. price for jerky at least in all of our option.
Sorry – super off topic! AND this jerky looks amazing. I’ll be making this.