The Easiest Homemade Caramel Corn

If you can melt butter and stir a pot, you can make caramel corn at home! ♡
Trust me — it’s surprisingly easy and fun. All you need are a few pantry staples and a little patience to bake a big batch that’s perfectly salty-sweet, crisp, and ready to enjoy. No candy thermometer required!
It’s perfect for piling into a big bowl for movie night, packaging up in cute bags or tins for easy homemade gifts, or keeping on hand for whenever a salty-sweet snack craving strikes. Just get ready because you’re definitely going to want to make a second batch again soon.
Caramel Corn Tips
Here are a few important tips to keep in mind when making homemade caramel corn:
- Use plain, unsalted popcorn. I highly recommend popping your own kernels! This gives you full control over the sweetness and saltiness and keeps the caramel flavor front and center.
- Remove unpopped kernels. Small step, but it worth the time to save teeth from biting into them.
- Don’t stir the caramel while it simmers. Once it starts bubbling, let it cook completely undisturbed so it stays smooth and doesn’t crystallize.
- Work quickly once the baking soda goes in. The caramel will foam up and thicken fast — pour and toss right away for even coating.
- Let it cool completely. The caramel corn crisps up as it cools, so resist the urge to snack too early (or at least save some for later).
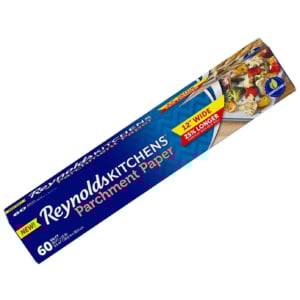
- Use parchment paper. It prevents sticking and makes cleanup SO much easier.
Caramel Corn Variations
Here are a few fun twists on this caramel corn recipe that you’re welcome to try:
- Chocolate drizzle: Drizzle the cooled caramel corn with melted dark or milk chocolate.
- Add nuts: Add roasted peanuts, pecans, or cashews before baking.
- Add spice: Stir a pinch of cinnamon or pumpkin pie spice into the caramel.
- Add peanut butter: Add 2–3 tablespoons peanut butter to the caramel after removing it from heat.

FAQ
Baking soda reacts with the caramel to create air bubbles, which makes the coating lighter, crispier, and easier to bite into.
Corn syrup helps prevent crystallization and keeps the caramel smooth, but you can substitute honey or golden syrup if you prefer (the flavor and texture will change slightly).
Baking it low and slow and letting it cool completely are key — that’s what gives it that crisp finish!

Caramel Corn
- Prep Time: 10 mins
- Cook Time: 45 mins
- Total Time: 55 mins
- Yield: About 10 cups 1x
Description
This easy homemade caramel corn is perfectly crisp, salty-sweet, and made with simple pantry staples — no candy thermometer required!
Ingredients
- 10 cups popped popcorn (about ½ cup unpopped kernels), plain and unsalted
- 1 cup (2 sticks) unsalted butter
- 1 cup packed light brown sugar
- 1/4 cup light corn syrup
- 1/2 teaspoon fine sea salt
- 1/2 teaspoon baking soda
- 1 teaspoon vanilla extract
- optional: flaky sea salt for sprinkling
Instructions
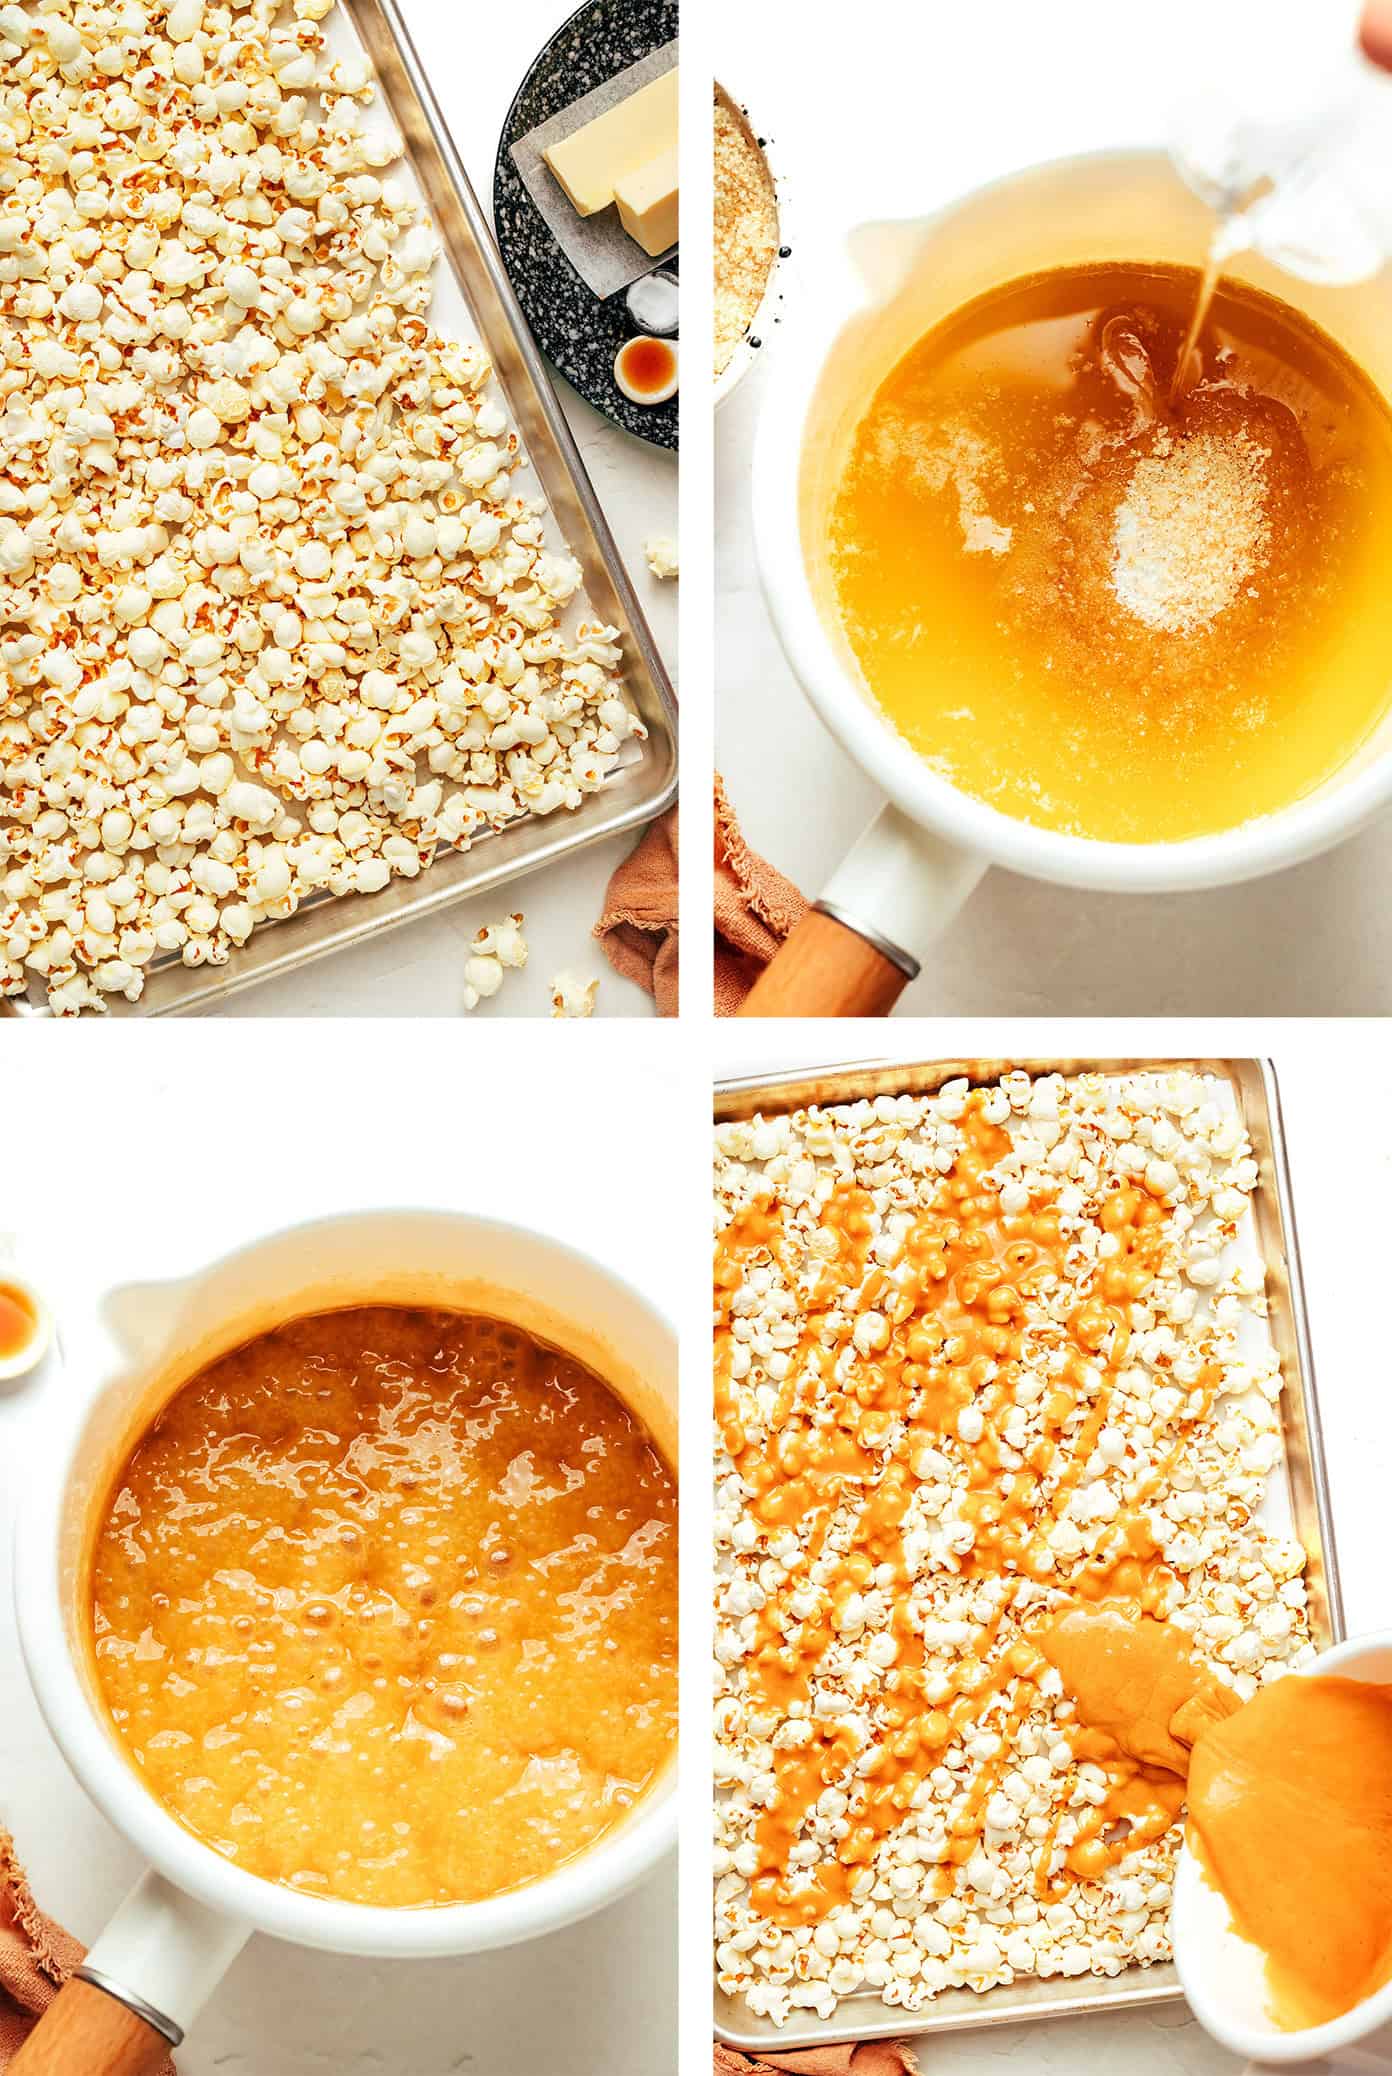
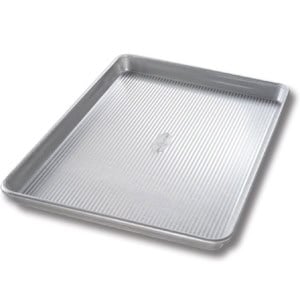
- Prep the popcorn. Heat oven to 250°F. Line a large baking sheet (or two) with parchment paper. Spread the popped popcorn out in an even layer and remove any unpopped kernels.
- Make the caramel. In a medium saucepan, melt the butter over medium heat. Add the brown sugar, corn syrup, and salt. Stir until combined, then bring the mixture to a gentle simmer. Once bubbling, cook without stirring for 4–5 minutes until the caramel is smooth and slightly thickened.
- Finish the caramel. Remove from heat and immediately stir in the vanilla and baking soda. (The mixture will foam up — this is normal and helps create crisp caramel corn!)
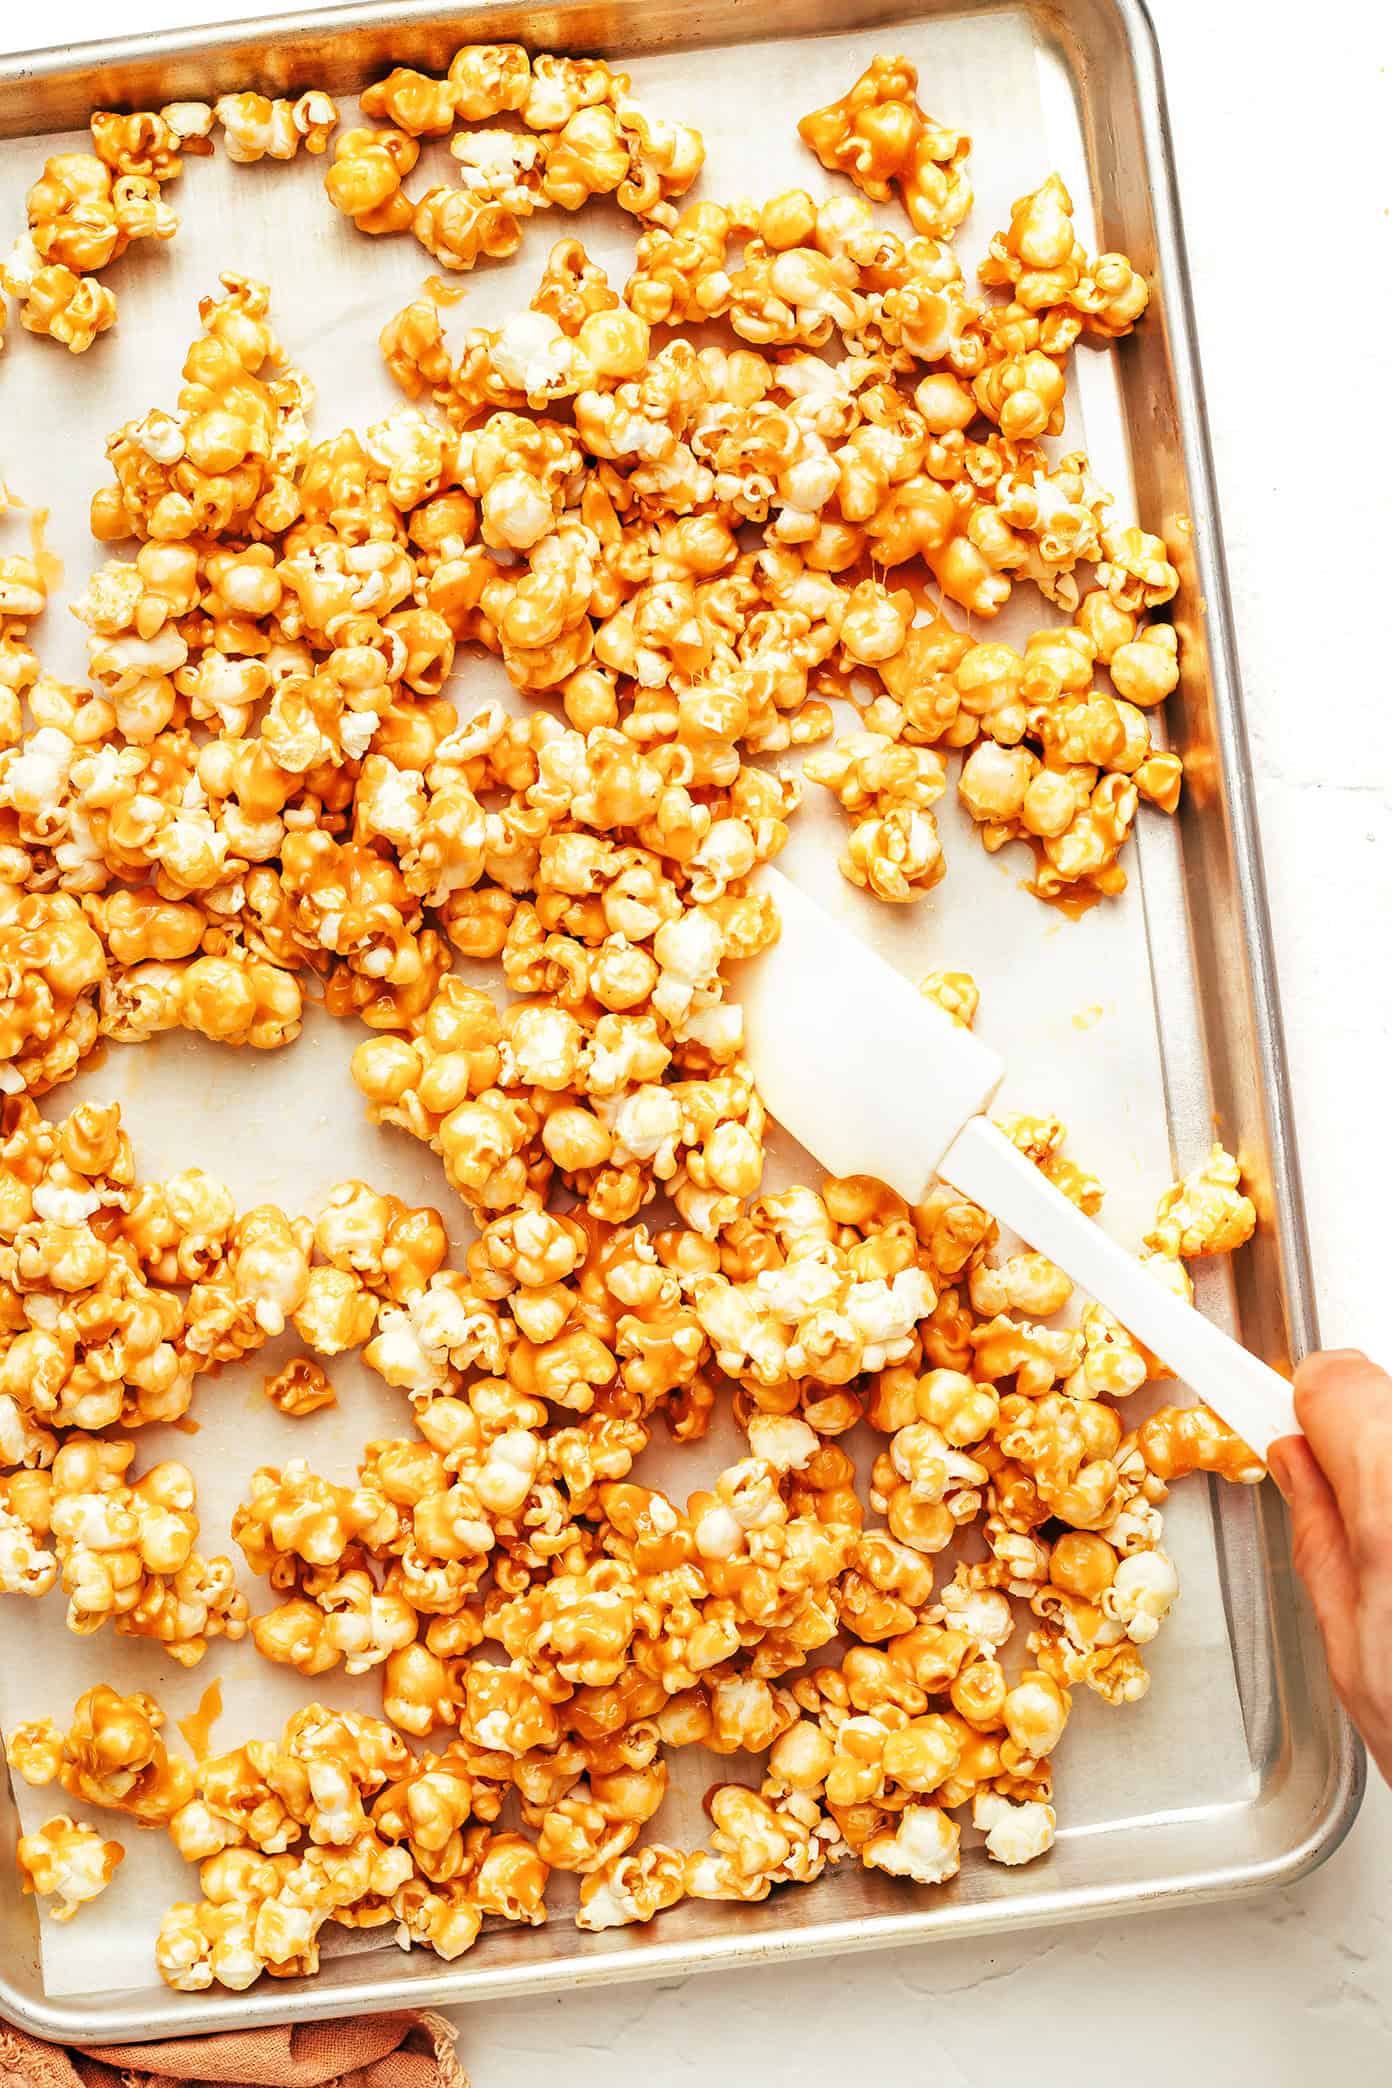
- Coat the popcorn. Quickly pour the caramel evenly over the popcorn. Use a silicone spatula to gently toss until as evenly coated as possible.
- Bake low and slow. Transfer the popcorn to the oven and bake for 45 minutes, stirring every 15 minutes to help it crisp and coat evenly.
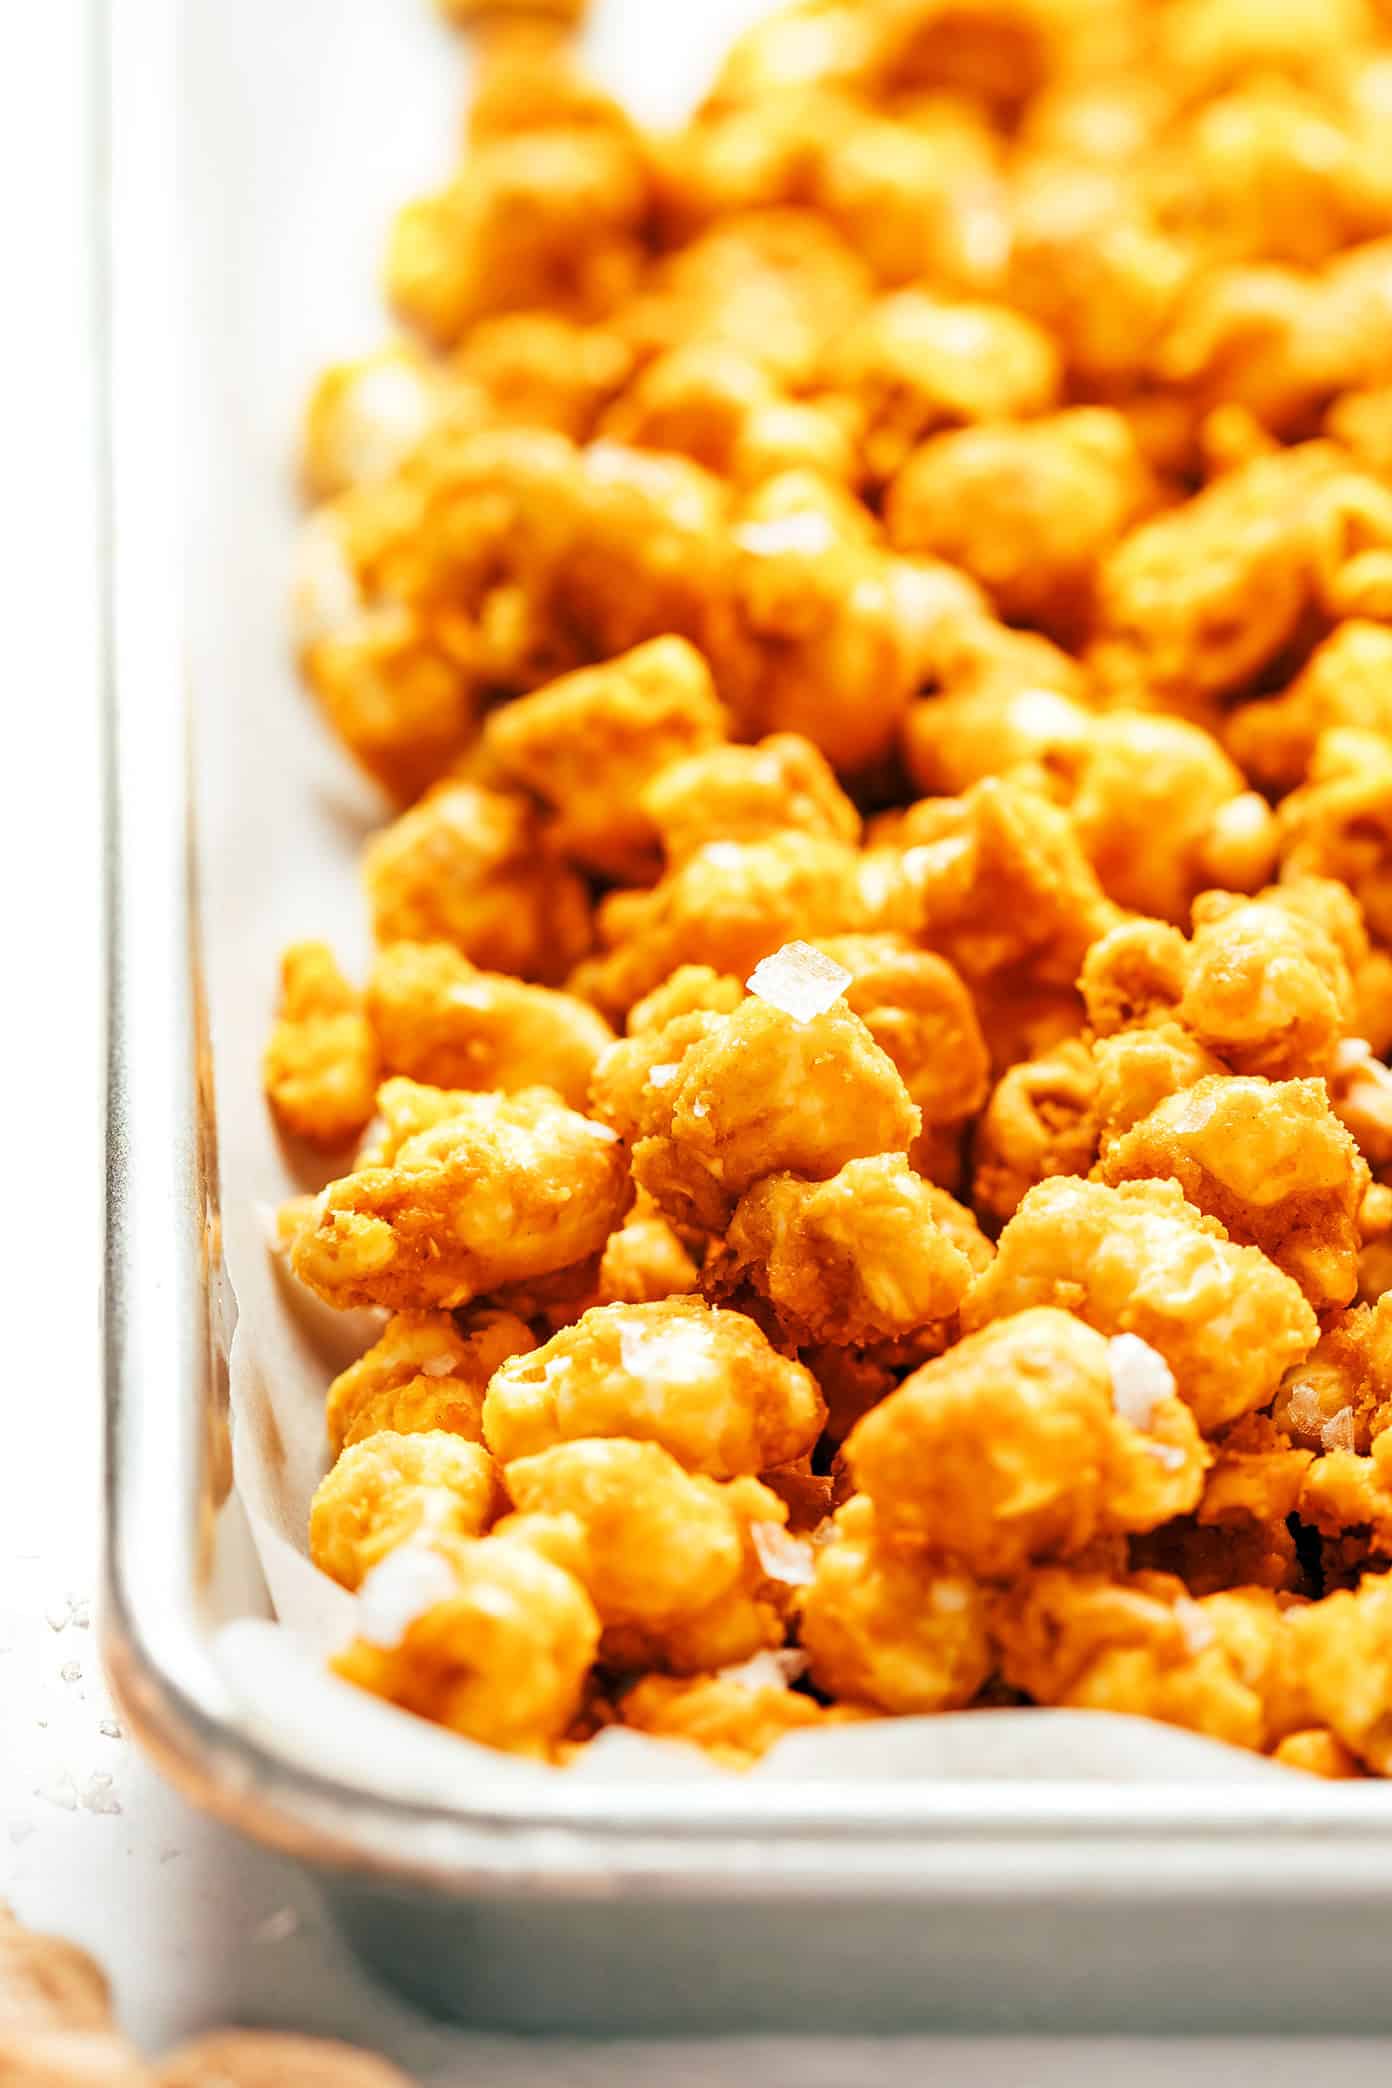
- Cool and break apart. Remove from the oven and sprinkle with flaky sea salt if you’d like. Let the caramel corn cool completely, then break into pieces.
- Serve or store. Enjoy right away or store in an airtight container for up to 1–2 weeks.

Notes
This recipe was completely overhauled and updated in 2025. We found that the original recipe was a bit too sticky, and this method ensures a better crisp texture and balance of flavors.
This caramel corn recipe is fantastic as your step-by-step instructions make it look so easy to achieve that perfect crunchy, buttery coating, and the tips for preventing clumps really show your attention to detail!
Hi! I’m going to make some gifts for Christmas next week and you mentioned this being a good option! Do you have a suggestion for storage as gifts? Tins are looking pricey online. Thanks so much!
This is so delicious and easy. My kids were able to help out. So fun and festive for the holidays!
this recipe uses too much salt, but all in all very good
Fun to make. Muck better than my original recipe.
Ummm. I’m trying to figure out what I did wrong. This mixture didn’t bubble for me at all and now the texture is weird