Learn how to make pour-over coffee with this simple photo and video tutorial. Plus, I’ve included recommendations of my favorite coffee equipment.

Have you ever tried making pour-over coffee before?
I got hooked on the slower brewing method about five years ago when I first moved down to the River Market neighborhood in Kansas City. I happened to be unloading all of my things into a sixth-floor loft on the very same hot June day that Quay Coffee was having their grand opening. I decided to wander down the next morning to check it out. And I distinctly remember that, as I ventured in the door, feeling that familiar mix of nerves-excitement-adrenaline about having just woken up alone in my brand new neighborhood, this sudden wave of peace washed over me. And I felt so at home.
The vibe of the place was tranquil and cool. The baristas were warm and friendly. The place was bustling with customers who were thrilled about the new neighborhood spot. And I knew right away that this was going to become my “spot”.
Five years, and hundreds and hundreds of cups of coffee later, this place has been exactly that. My home away from home. ?
Ha, that said, I also have a very clear memory that day of walking up to the counter and having zero idea what to order, since there were only some random countries listed on the menu. Turns out that Quay was one of the first coffee shops in our area, back in the day, that had decided to focus primarily on pour-over coffee, ethically sourced from great brewers around the world. As a French press girl, I had never heard of the method. But as I chatted with the barista, and watched as the he slowly poured the water over the grounds, round and round, round and round, I quickly began to fall in love with the rhythm of pour-over. And after my first sip, I was completely hooked.
For those of you who have never tried pour-over coffee, it’s a really simple hand-brewing method that — at least in my opinion — makes the most of good coffee beans. The flavor is incredibly clean, bright and round, and avoids that slightly burned/charred taste that can occur in drip or French press coffee (when the beans spend more time in contact with the hot water). It does require more of your attention than drip or French press coffee, but I actually really enjoy the rhythm of it in the mornings. And it still only takes about 5 minutes from start to finish.
Admittedly, I still walk over to Quay most mornings and enjoy ordering a pour-over as I slowly wake up and chat with the baristas and say hi to neighbors and open my laptop to begin the day’s work. But on the mornings when I’m at home, I love pulling our my Chemex and making a batch for myself, pouring the water round and round, round and round. It’s just the best. So if you’ve ever wanted to try it for yourself, here are all of my tips, plus a (new!) video to take you step by step through the brewing process.
How To Make Pour-Over Coffee | 1-Minute Video
What is Pour-Over Coffee?
Alright, let’s begin with the basics. Pour-over is a method of drip coffee in which water is poured in a very steady and slow stream over a filter cone. There are many benefits to the method, but I especially love it because the coffee tastes bright and clean and round, without the bitterness or charred taste that can come with traditional drip or French press methods.
Pour-Over Coffee Equipment
There is all sorts of fancy equipment that you can buy to make pour-over coffee. But the basic essentials you need include the following:
- Pour-Over Brewer
- There are about 7 main kinds of pour-over brewers you can choose. The tutorial in this blog post is for a traditional Chemex brewer, but for a single cup of coffee, I also love and recommend the V60 brewer. Others possible brewers are the: Kone, Bee House, Kalita Wave, Woodneck and Walkure. (Some of these brewers also come in multiple sizes.)
- Suggested Brewers: Chemex Coffee Maker 8-Cup with Glass Handle (this is the one I own), Chemex Coffee Maker 8-Cup Classic, Hario V60 White Ceramic Brewer
- Coffee Grinder
- I strongly recommend investing in a burr grinder that allows you to choose the coarseness of your grind. (Medium coarseness works best for pour-over coffee.)
- Suggested Grinders: Mr. Coffee Burr Grinder (less expensive), KitchenAid Burr Grinder (my fave)
- Slow-Pour Kettle
- This is essential for pour-over. A traditional kettle spout pours too much water too quickly, so I recommend investing in a kettle with thin spout. (Bonus — these kettles double as terrific watering cans for plants!)
- Suggested Slow-Pour Kettles: Hario Buono Kettle, Bonavita Electric Kettle
- Coffee Filters
- Your filters need to match your pour-over brewer. So purchase accordingly!
- Suggested Coffee Filters: (For Chemex) Chemex Pre-Folded Circle Coffee Filters, (For V60) Hario Paper Filters
- Digital Kitchen Scale
- To make the best pour-over coffee, you really need a digital kitchen scale to measure the weight of the coffee and water. No need for anything fancy — just something that measures in grams will do!
- Suggested Digital Kitchen Scale: Eatsmart Precision Pro Digital Kitchen Scale
How To Make Pour-Over Coffee:
Just follow these basic steps:
Step 1: Grind the beans
Fresh beans are always, always better with coffee. So grab your scale and tare it out. Then measure out 48 grams of beans, and grind them to medium-coarseness.
Step 2: Rinse The Filter
Place a filter in the top of the Chemex, and with the double-folded side of the filter facing the spout. Use a slow-pouring kettle to pour the water all over the filter until it is completely soaked. This “rinse” will help remove the paper-y taste from the filter and preheat it. Once the filter is completely rinsed, carefully pour out the water in the Chemex, and place the filter back in its spot.
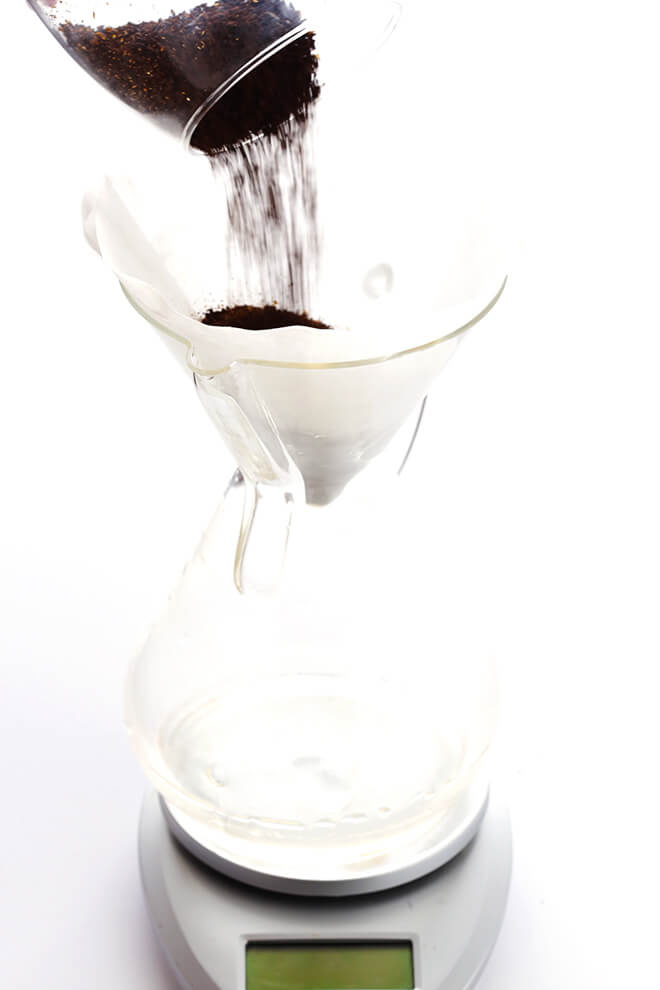
Pour the ground coffee beans into the bottom of the filter, and give the Chemex a small shake to even out the grounds. Then place the Chemex on a digital scale and tare it out so that it begins at 0 grams.
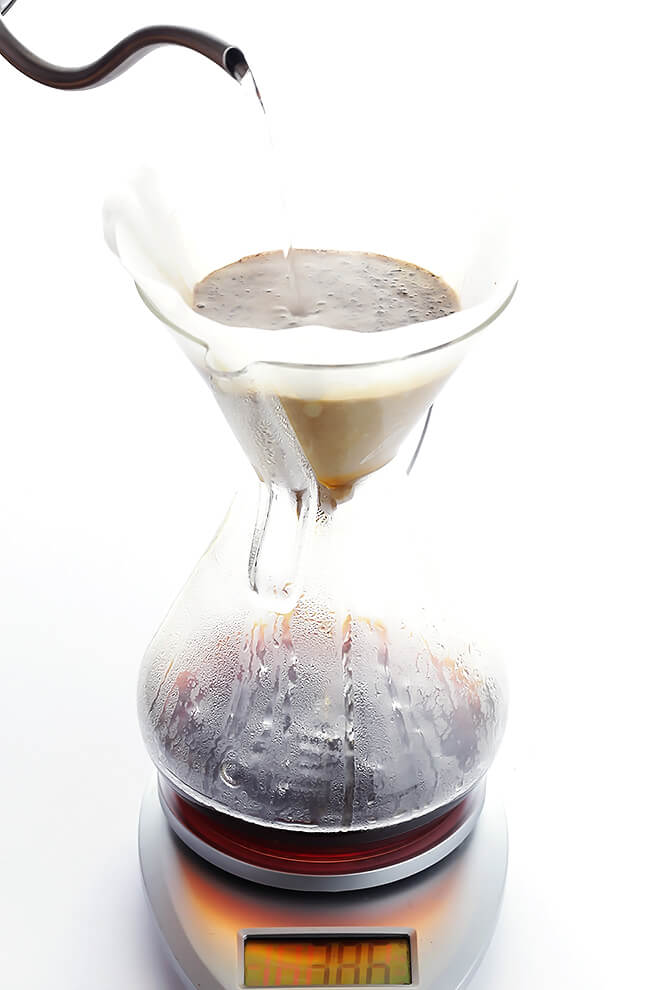
Step 3: Pour, pour, pour, pour
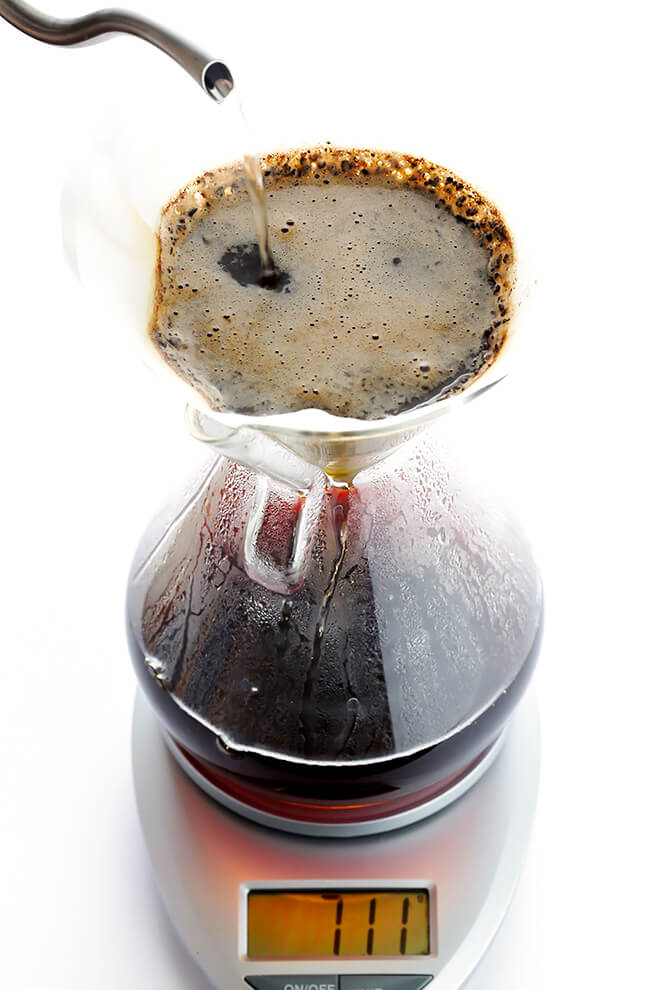
Pour #1: Using a zig-zag motion, pour water over the grounds until they are completely wet (and the scale measures approximately 80 grams). Wait 30-45 seconds for the grounds to puff up and “bloom”, which allows the gasses to release from the coffee grounds.
Pour #2: Then starting from the center and moving outward in slow concentric circles, continue pouring water in a steady stream to rewet the grounds, careful not to pour directly along the edges of the filter. Pour until the scale measures 300 grams, then wait for the water to mostly drain.
Pour #3: Pour another round of water over the grounds in concentric circles until the scale measures 600 grams, then wait for the water to mostly drain.
Pour #4: Then pour a final round of water over the grounds in concentric circles until the scale measures 750 grams.
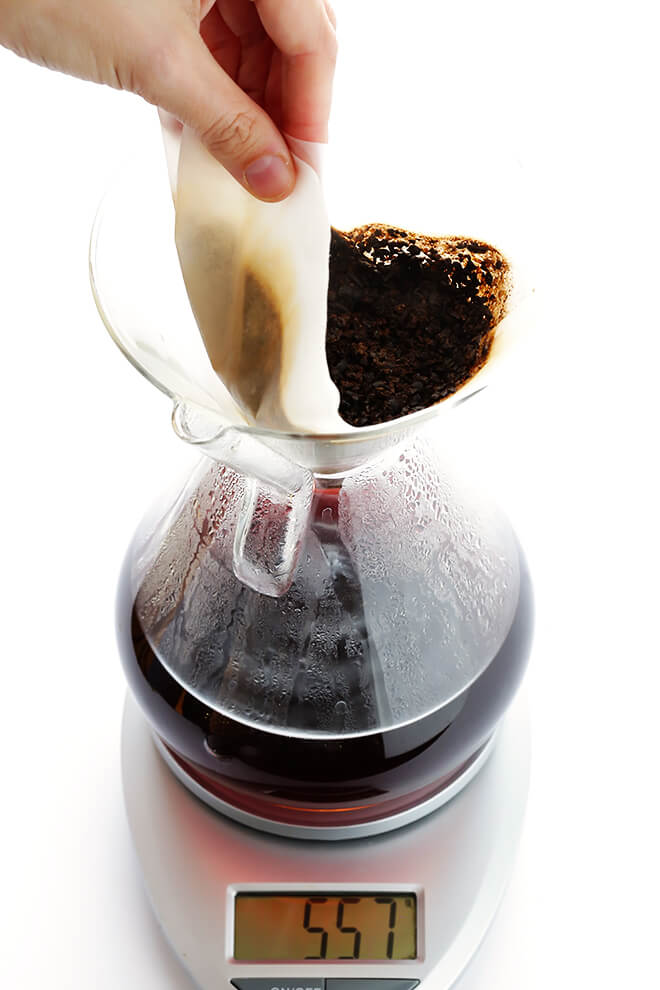
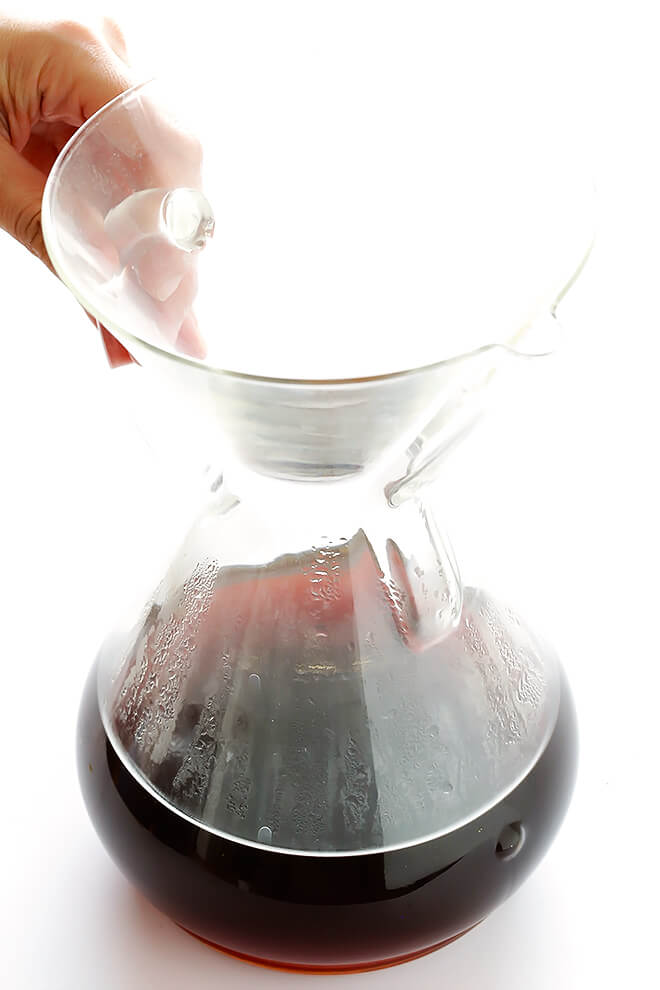
Step Four: Remove The Filter & Serve!
Once most (not all) of the water has drained from the final round, carefully remove the filter. (Be careful, it’s hot!) Don’t wait until all of the water has drained out, or else some of the final drops can be really bitter.
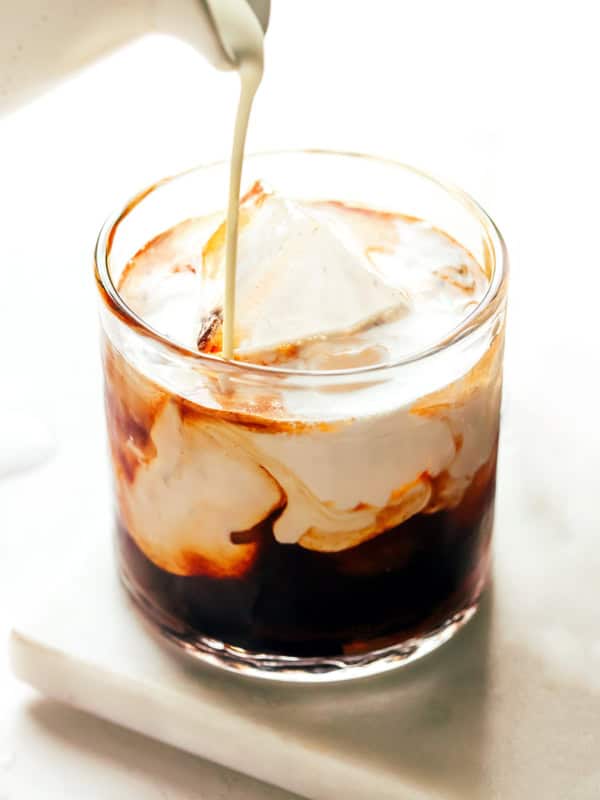
Then pour the coffee into your favorite serving cups, and enjoy!
Video Tutorial:
Here’s a step-by-step video, just to take the guesswork out of the whole pouring process. ??

How To Make Pour-Over Coffee
- Prep Time: 1 minutes
- Cook Time: 4 minutes
- Total Time: 5 minutes
- Yield: 1 -2 servings 1x
Description
Learn how to make delicious pour-over coffee with this easy recipe.
Ingredients
- 3.5 cups water
- 48 grams good-quality whole coffee beans
Instructions
- In an electric kettle, teapot or water heater, bring about 3.5 cups water to a *boil (see note below). Meanwhile, use a digital kitchen scale to weigh 48 grams of coffee beans.
- Grind the beans using a hand or electric grinder to medium coarseness.
- Place a filter in the top of the Chemex, and with the double-folded side of the filter facing the spout. Use a slow-pouring kettle to pour the water all over the filter until it is completely soaked. This “rinse” will help remove the paper-y taste from the filter and preheat it. Once the filter is completely rinsed, carefully pour out the water in the Chemex, leaving the filter in its place.
- Pour the coffee grinds into the bottom of the filter, and give the Chemex a small shake to even out the grounds. Then place the Chemex on a digital scale and tare it out so that it begins at 0 grams.
- Using a zig-zag motion, pour water over the grounds until they are completely wet (and the scale measures approximately 80 grams). Wait 30-45 seconds for the grounds to puff up and “bloom”, which allows the gasses to release from the coffee grounds.
- Then starting from the center and moving outward in slow concentric circles, continue pouring water in a steady stream to rewet the grounds, careful not to pour directly along the edges of the filter. Pour until the scale measures 300 grams, then wait for the water to mostly drain.
- Pour another round of water over the grounds in concentric circles until the scale measures 600 grams, then wait for the water to mostly drain.
- Then pour a final round of water over the grounds in concentric circles until the scale measures 750 grams.
- Once most (not all) of the water has drained from the final round, carefully remove the filter. (Be careful, it’s hot!) Don’t wait until all of the water has drained out, or else some of the final drops can be really bitter.
- Pour and serve!


Great Pour Over tutorial! Thanks!
I make a 10 cup Chemex full pot daily and my wife and I drink it all up every morning!
We really love the improved taste of all the beans we have been usually buying over the past couple of years! They are all different now and better than when brewed in our old Bunn home brewer, although the Bunn did a good job brewing, this is just that much better.
We use a Eureka Crono grinder that greatly improved the taste of our coffee itself when we got it six months back.
I also dump the grounds out of my Chemex filter into the compost after brewing, and rinse and reuse the filter usually four times! It still brews the same speed and tastes just as good! It dries well over night so is ready to use the next day! Takes a couple of munutes but hey I am retired so not a problem most days!
Thanks again!
Thanks for this tutorial. I have never tried or heard of pour over coffee until I was searching for better coffee in Google. The next thing I knew I ordered all of the things needed to make coffee in this manner including the beans and grinder. Looking forward to trying this for myself when they arrive. Thanks much for your very helpful information here.
Awesome!! Hope you enjoy it! Pour-over is my fave :)
Oooh, thank you for explaining what it is. I never even bothered to find out. Can’t believe something so fancy only takes 5 minutes to prepare!
Charmaine Ng
OMGosh…Coffee is my life, so i just had to try this, got all of the items from amazon, was super happy with my decision! Best cup of coffee EVER!! Thanks!
Yay! We’re so happy you loved this method, Jackie! :)
Cool tutorial! Thanks for sharing =)
I’m currently in survival mode with a 2 year old and 10 month old and heavily rely on the self timer button on my coffee machine-BUT I’m intrigued!
Wow, I’ve been doing this for years with my Melitta coffee pot and didn’t even know it. Everyone who tastes my coffee says how great it is, but I thought they were just being nice. :) There must be more to it than I realized.
I have never had pour over coffee, but for a simple, inexpensive (~$30) way to make a cup of coffee that is far superior (IMHO) to drip or French-pressed coffee get an AeroPress. It makes a cup much faster than a French press or pour over, is much easier to clean than a French press, and it makes very smooth tasting, low acid coffee due to the limited amount of time the hot water is in contact with the grounds.
The only disadvantage is making more than a cup or two is cumbersome and time consuming.
Thanks for sharing Adam, we have heard good things about AeroPress.
I like the hario Pourover dripper, I have a Glass and a Stainless steel, the stainless steel tastes better than the Glass, I dont like the taste of paper Filters at all, even the Brown natural ruin the taste for me, I use a HEMP reusable filter, they have absolutely ZERO taste from the filter, and produce the best tasting cup.
Actually the brown unbleached filters have the most smell and taste issue. Pouring boiling water over them as a rinse then draining the water out, before putting the coffee in for pour over, is absolutly essential for good taste. The Chemex is the thickest paper filter by far and gives the cleanest taste. Many of us pour over fanatics like the hemp and/or organic cotton filters as well, for a bit of a different taste over the rinsed paper filters. I rinse and resue the Chemex filters several times before they need to be composted and they have no aroma or taste at all especially after that first use and rinse.
I do love the no waste of the reusable filters though.