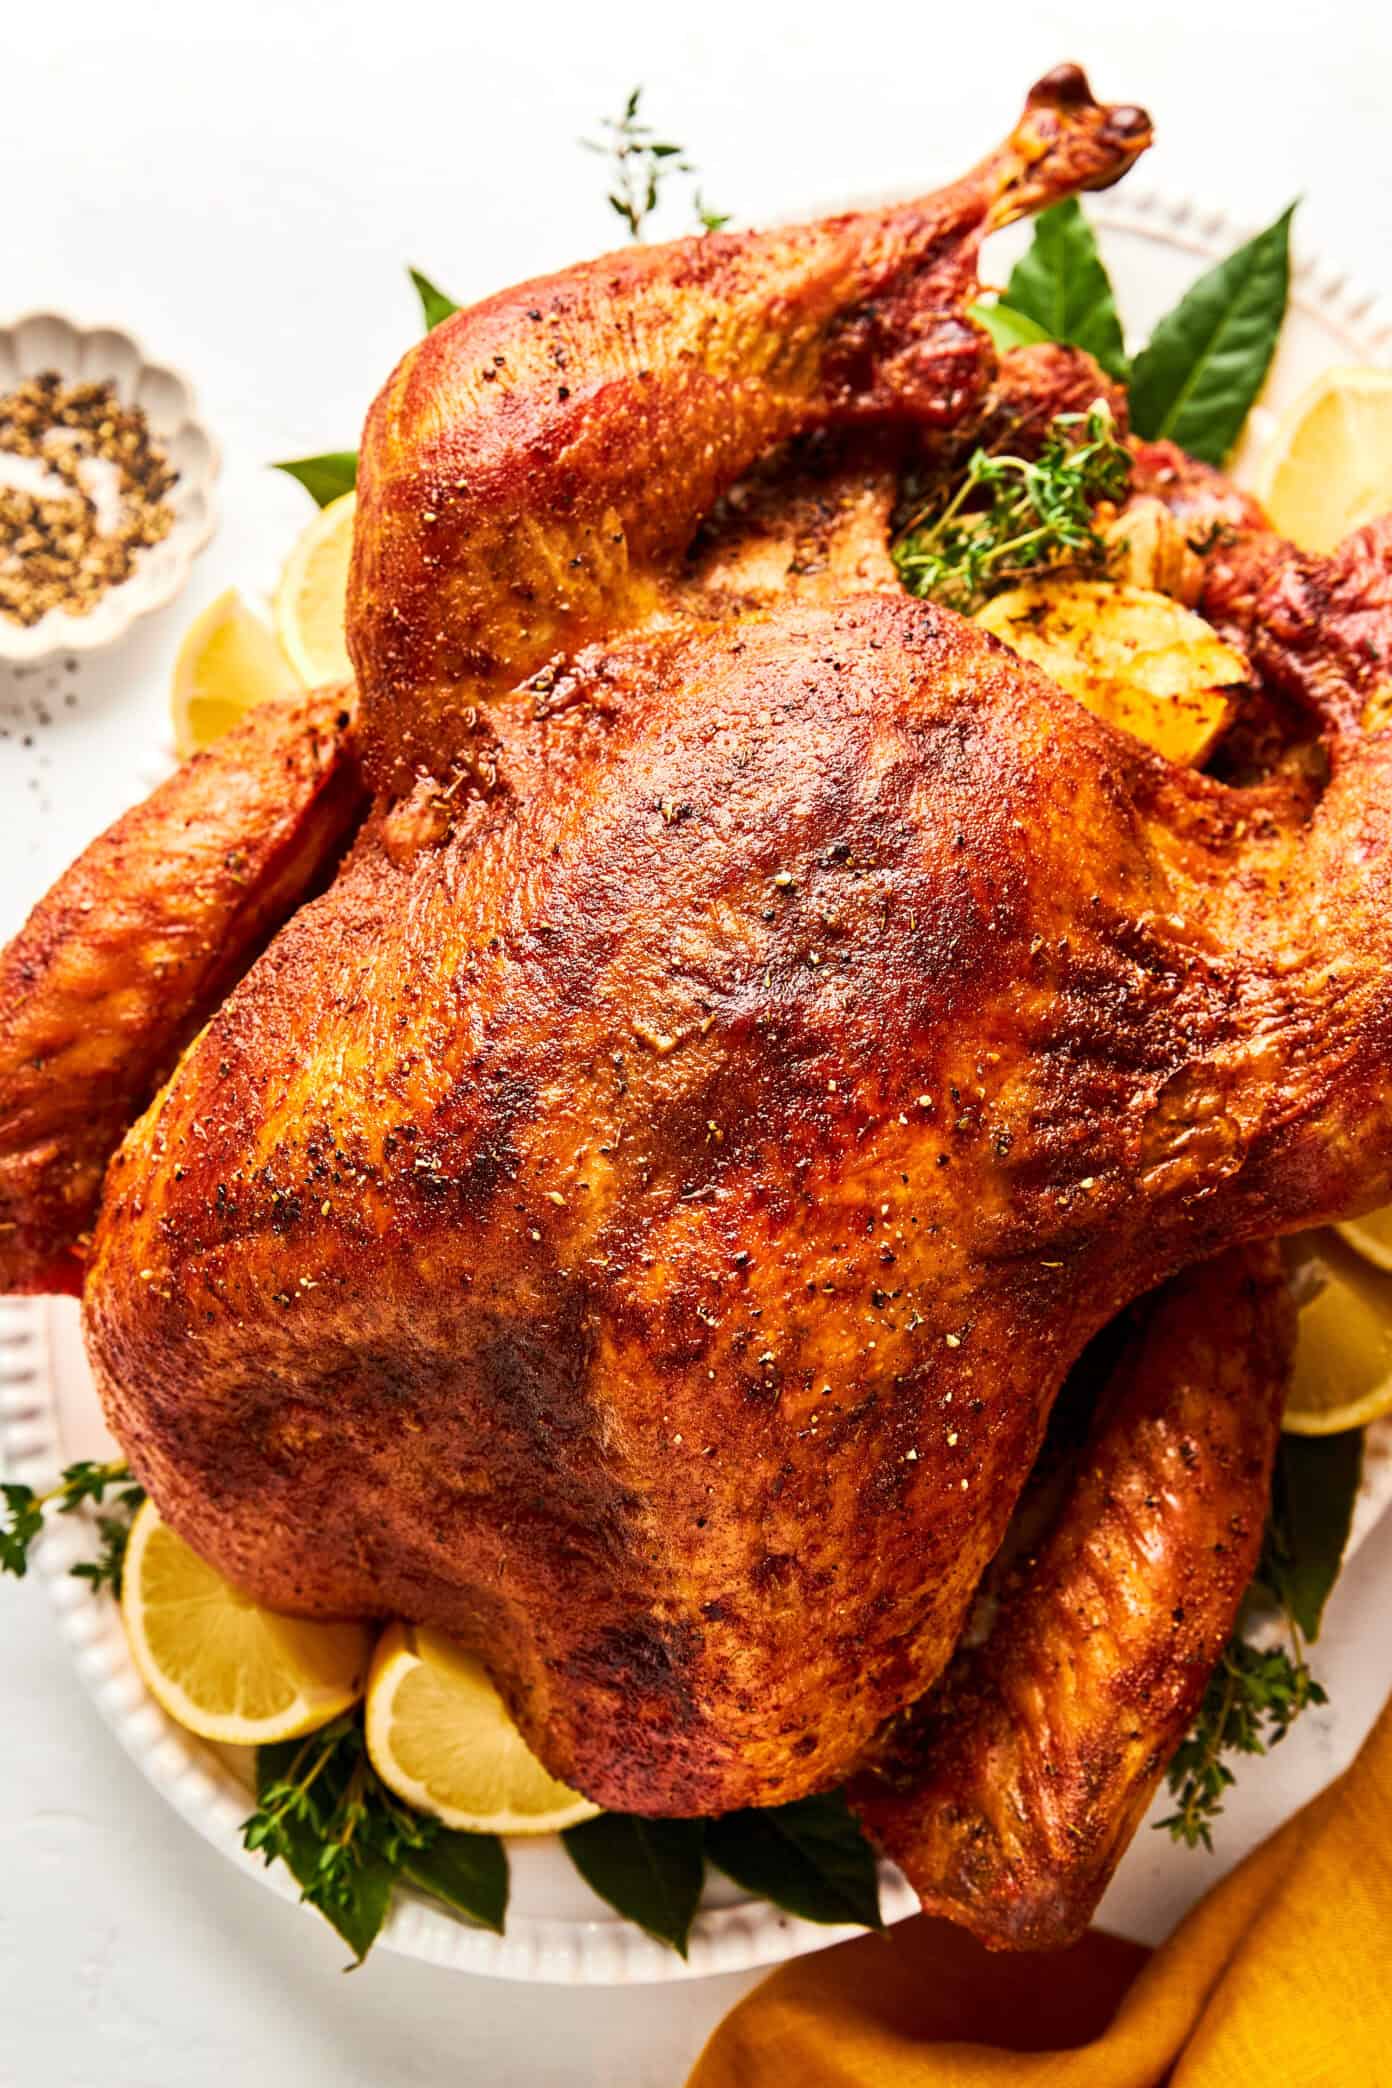
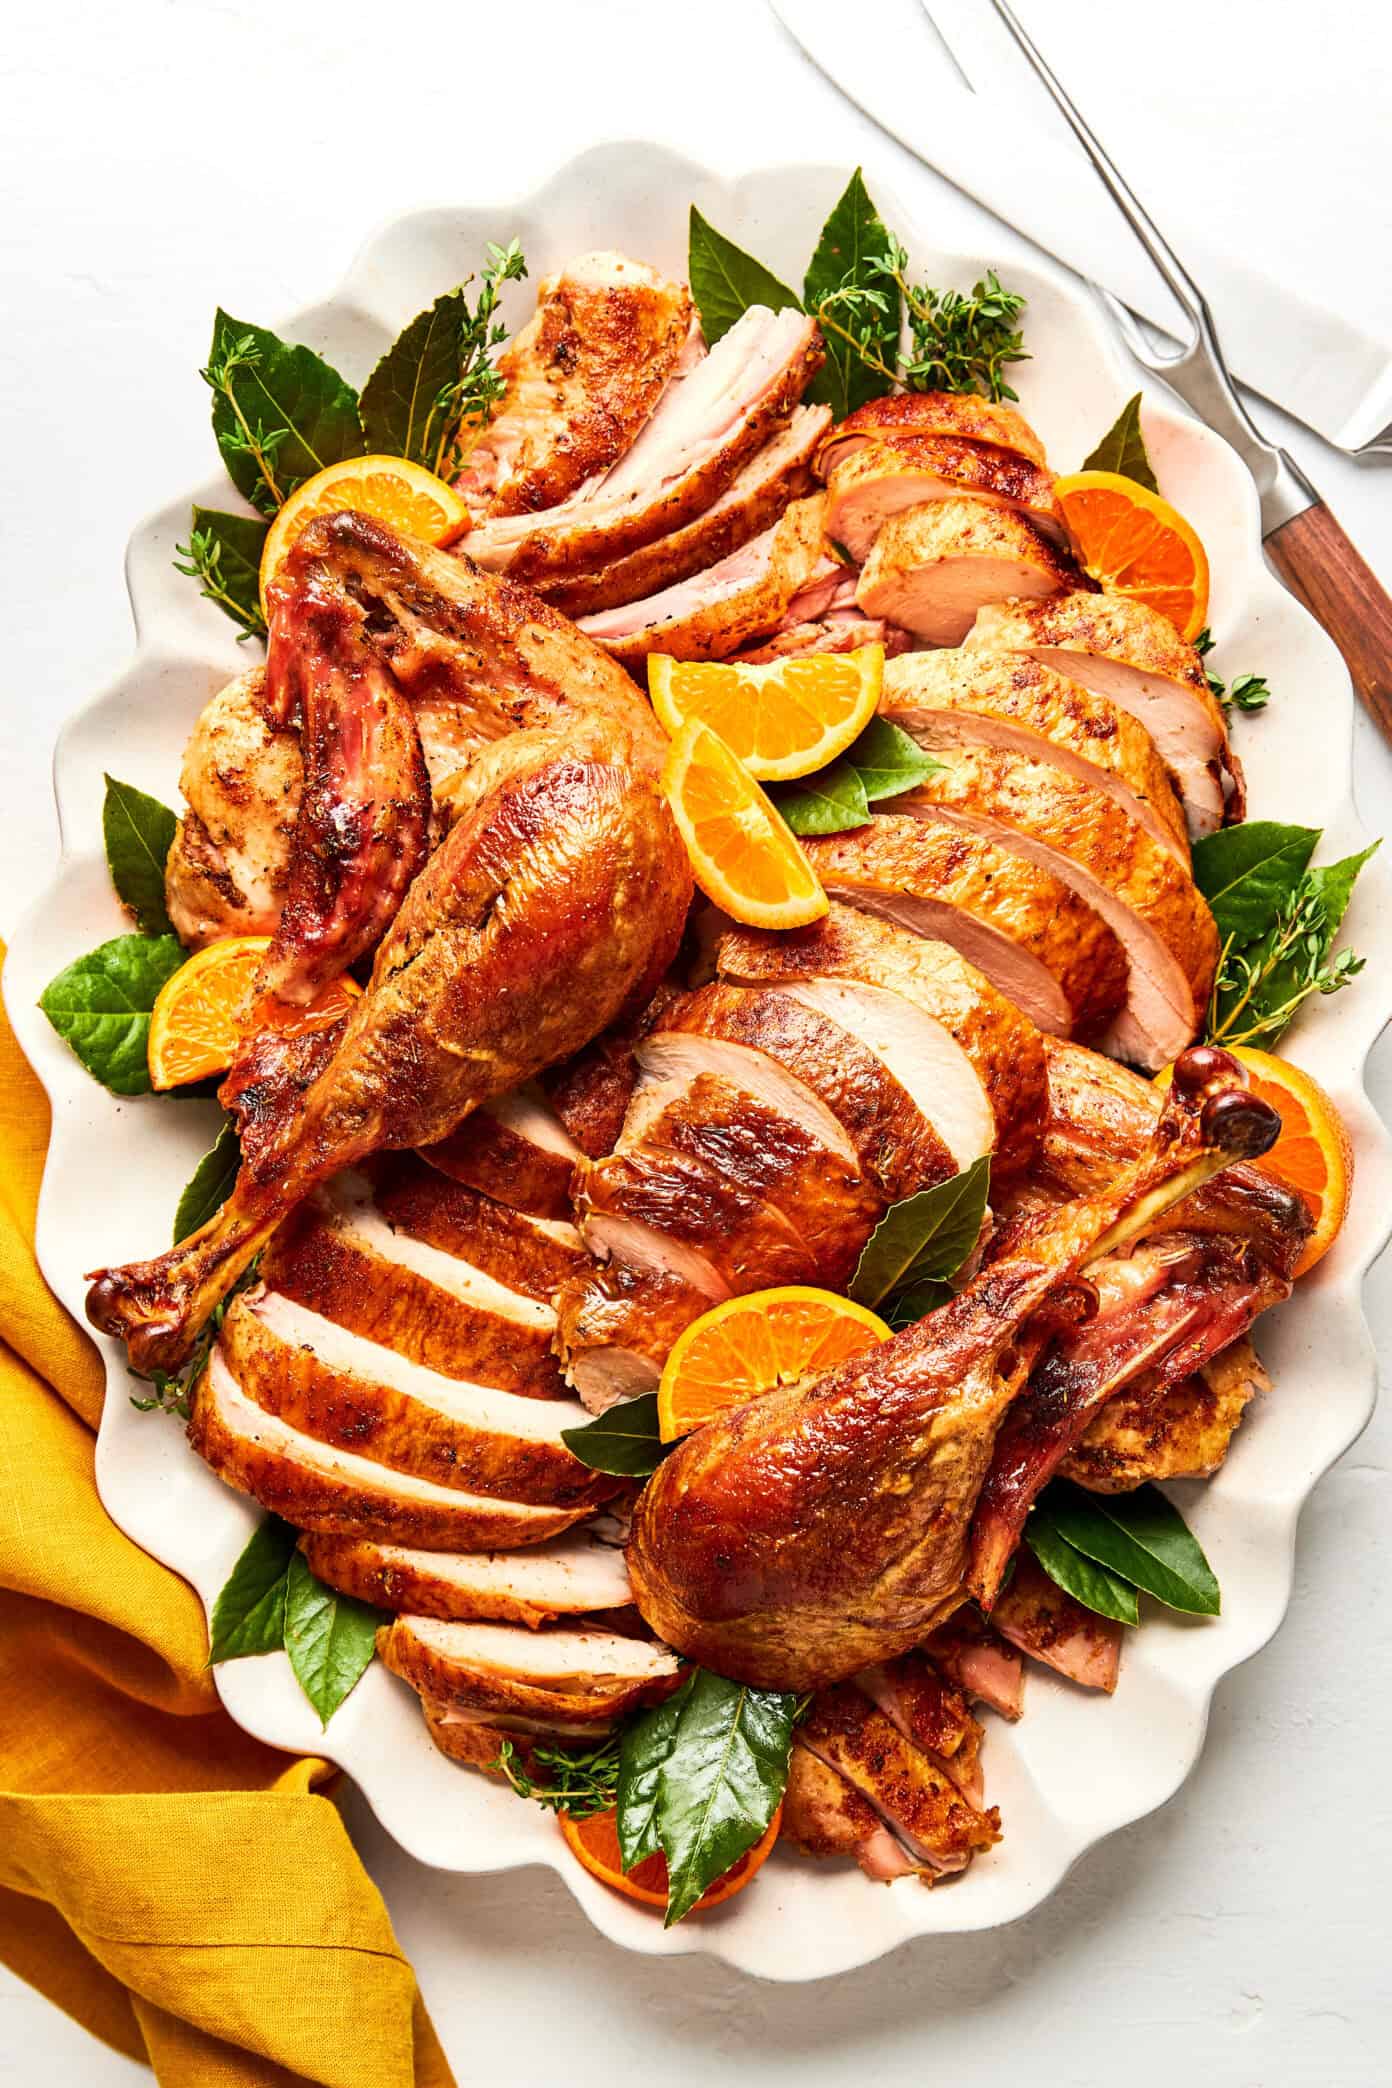
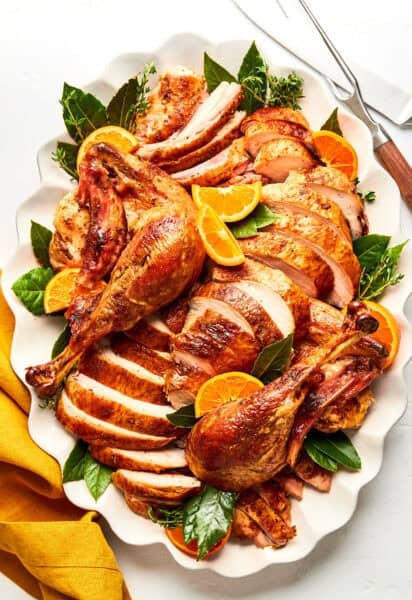
The Secret to a Juicy, Flavorful Turkey!

I’ve tried just about every turkey-roasting method out there, and dry brining simply is the best. ♡
Seriously, nothing comes close to the flavor, juiciness, and beautifully crisp golden skin that a dry brine delivers. It deeply seasons the turkey all the way through (not just the skin!), helps the meat stay super tender, and dries out the skin so it can roast up incredibly crisp without any fuss. All you need is a simple mix of salt and spices and some hang time in the fridge and you’ll be good to go — no basting, no soaking, no complicated steps required!
I’ve gathered all of my best tips and tricks below to hopefully take all of the guesswork out of the process. And I’ve also put together a turkey timeline, a step-by-step carving guide, plus instructions for making turkey gravy from the drippings. (Or my favorite mushroom gravy is a fantastic option if you’d like to make the gravy ahead of time!) My hope is that this guide gives you everything you need to walk into your turkey day feeling calm, prepared, and genuinely excited about the feast ahead.
Let’s do this!!
Ingredients
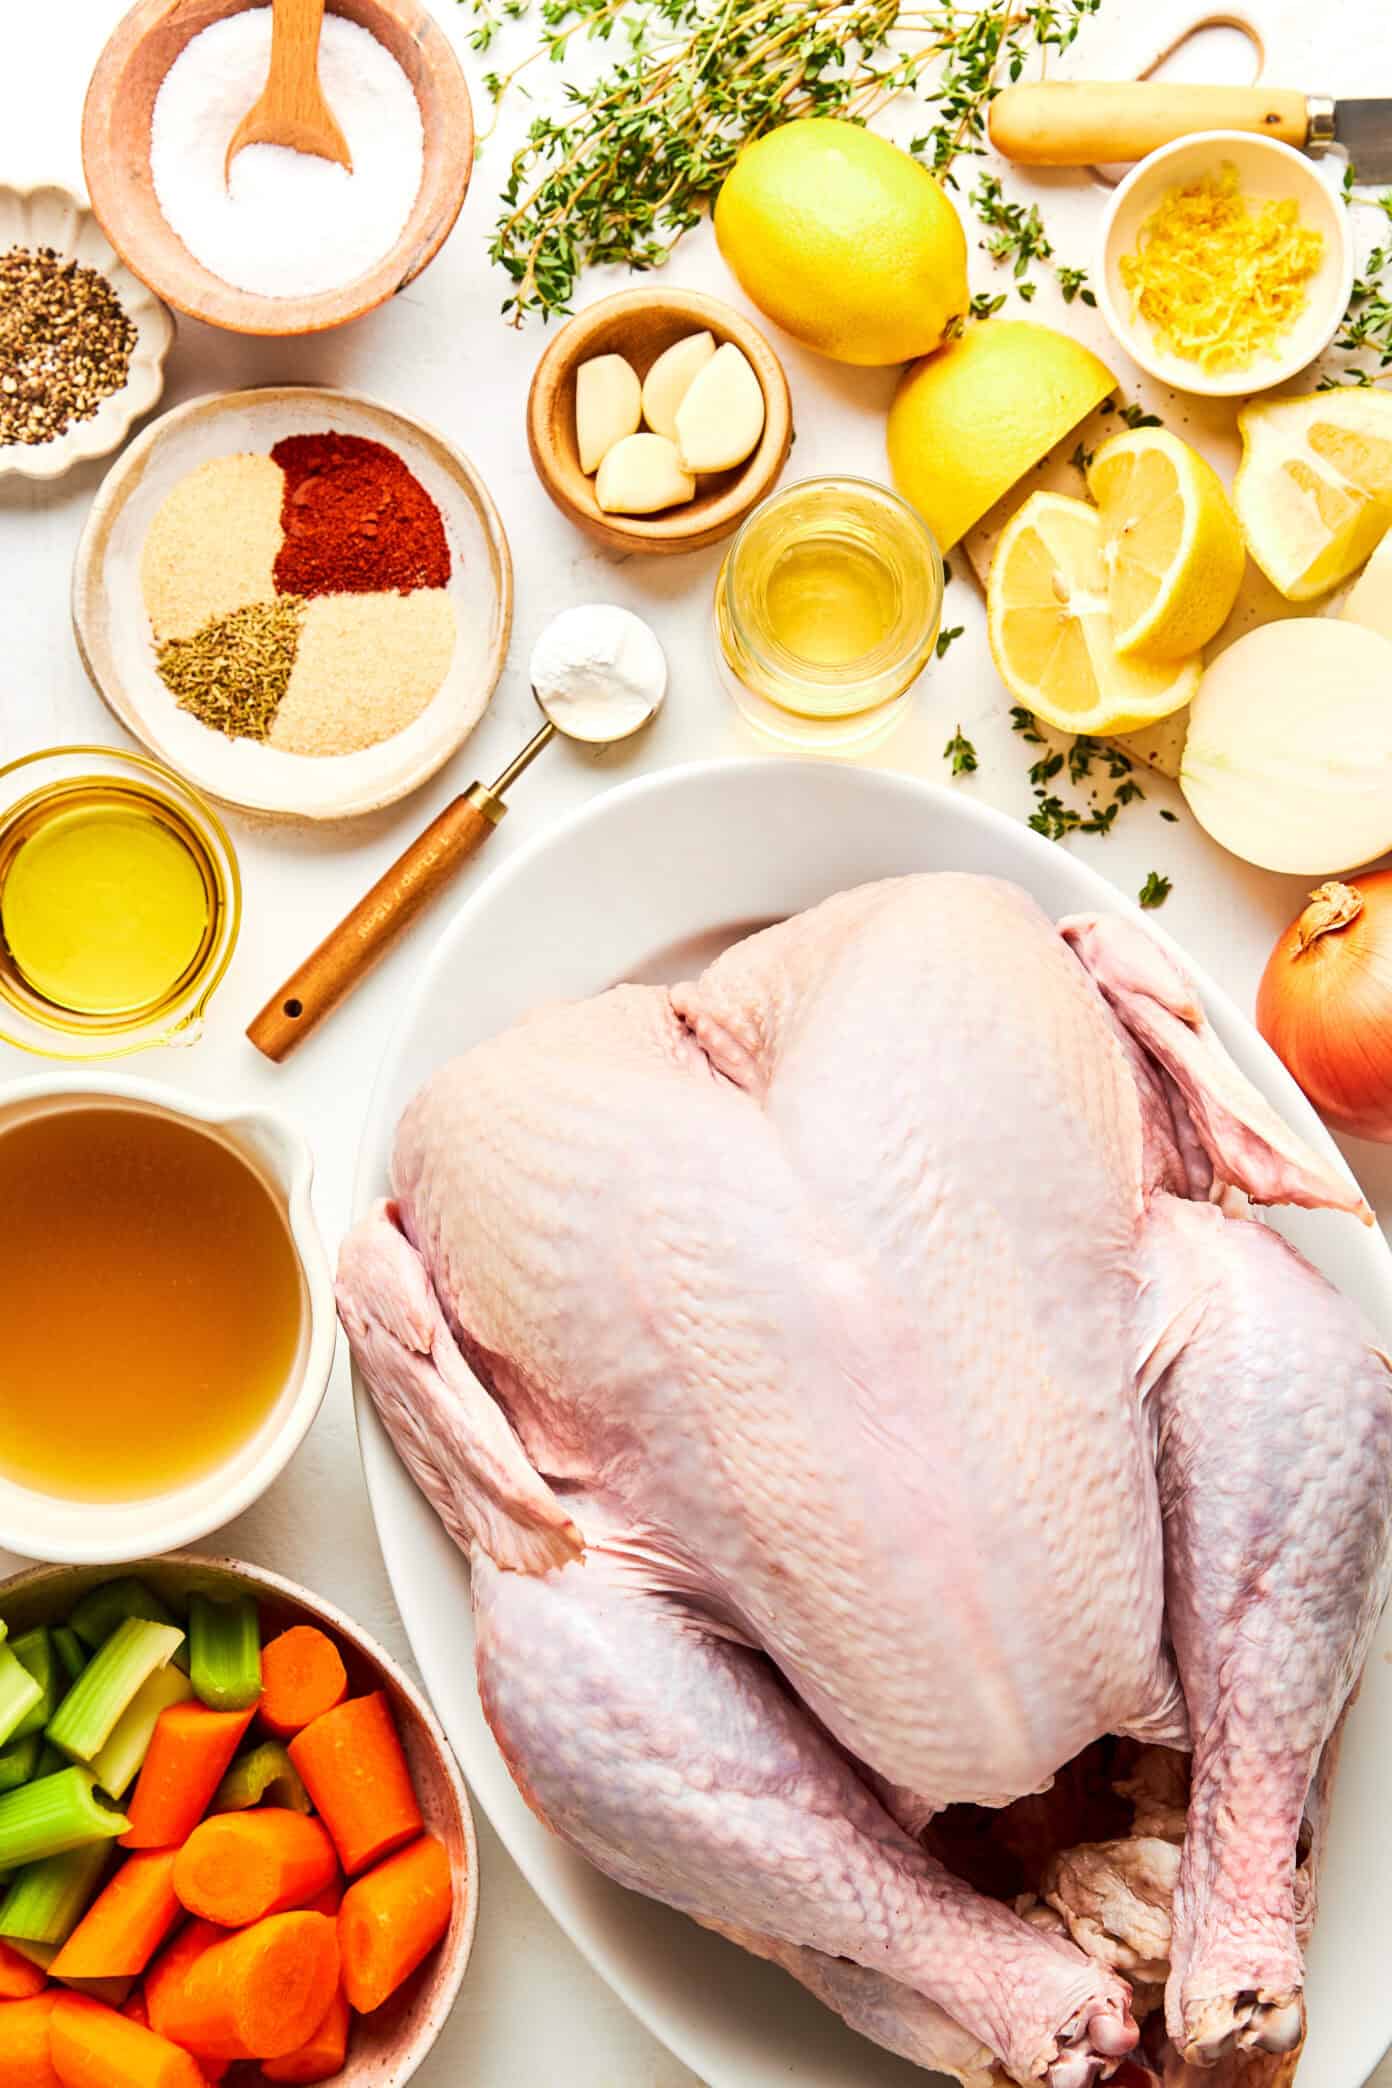
Here are all of the ingredients you’ll need to make this dry-brined roast turkey recipe:
- Turkey (12–14 pounds): A medium-sized turkey cooks evenly, stays juicy, and fits comfortably in most roasting pans. (See note below about different sizes of turkeys.) Always be sure your turkey fully thawed so the dry brine can really work its magic — you’ll need about 24 hours per 4-5 pounds to thaw.
- Kosher salt: The most important part of the dry brine! Please note that Morton’s and Diamond Crystal vary in weight, so stick with the exact amount listed to avoid over- or under-salting.
- Baking powder: The secret ingredient that helps the skin crisp and brown beautifully in the oven.
- Dry seasonings (black pepper, garlic powder, onion powder, smoked paprika, dried thyme, lemon zest): This has become my favorite blend of spices to season the turkey — perfectly savory, a touch smoky, and the lemon zest makes everything pop.
- Oil: Brushing the turkey just before roasting with a neutral oil (like avocado, canola, or grapeseed) helps the skin brown evenly and develop that gorgeous deep golden color.
- Aromatics (onion, lemon, garlic, fresh thyme): These tuck inside the cavity and gently infuse the turkey with bright, fragrant flavor as it roasts.
- Veggies for under the turkey (onion, carrots, celery): If you’d like to make gravy from the drippings, I recommend adding some veggies under the turkey that can roast with the drippings and infuse them with extra flavor.
- Chicken stock and dry white wine: Keeps the vegetables and drippings from scorching on the bottom of the pan and create a rich, flavorful base for gravy.
Turkey Size Guide
When it comes to choosing the right turkey size, the simplest rule of thumb is to plan on about 1½ pounds of turkey per person. This gives you enough meat for the meal plus a little extra for seconds. If you love leftovers (or are feeding big eaters), bump that up to 2 pounds per person.
Here’s a quick guide:
- 4 people: 6 to 8 pound turkey (about 1½ to 2 hours cook time)
- 6 people: 9 to 12 pound turkey (about 2 to 2¼ hours)
- 8 people: 12 to 14 pound turkey (about 2¼ to 2½ hours)
- 10 people: 15 to 18 pound turkey (about 2½ to 3 hours)
- 12 people: 18 to 20+ pound turkey (about 3 to 3½ hours)
Keep in mind that larger birds take longer to thaw and roast, while medium birds (12–14 pounds) tend to cook more evenly — which is why they’re my favorite size for this dry brine method.
Turkey Timeline
If calculating the correct Thanksgiving turkey timing always makes your head spin a bit (same 🙋♀️), here’s a simple, stress-free timeline that walks you from thawing to carving:
5–6 Days Before Thanksgiving (Friday or Saturday): Start Thawing
Place your frozen turkey in the fridge on a rimmed sheet pan to thaw. A 12–14 pound turkey needs about 3–4 days, so starting early avoids any last-minute thawing emergencies.
3 Days Before Thanksgiving (Monday): Check Thawing
Press the turkey to be sure there are no icy spots left. If parts still feel firm, keep thawing. Gather your dry brine ingredients for tomorrow.
2 Days Before Thanksgiving (Tuesday Morning): Dry Brine
Pat the turkey very dry, loosen the skin, and rub the dry brine under the skin, on top, and inside the cavity. Refrigerate the turkey uncovered on a rack for a full 48 hours.
Thanksgiving Morning: Prep and Roast
If you’d like to serve the turkey at 2pm, I recommend pulling the turkey out of the fridge around 9am. Let the turkey sit out for 30–60 minutes. Pat the surface dry, add aromatics, pour in the liquids, brush with oil, and roast at 450°F for 30 minutes, then 325°F until the breast reaches 155°F and the thigh hits 165°F.
Thanksgiving Afternoon: Rest and Carve
Rest the turkey for 30 minutes, make gravy from the drippings, then carve the turkey on a large cutting board in the kitchen and transfer slices to a warm platter. You did it!!
Tips For Success
Here are a few of my best tips to ensure that your Thanksgiving turkey turns out perfectly each time:
- Don’t forget to thaw the turkey! Frozen turkeys take days to thaw — usually about 24 hours per 4–5 pounds. Mark your calendar so it’s fully thawed before you begin the brining process. (See timeline recommendations above.)
- Use the right amount of salt for your brand. Morton’s and Diamond Crystal measure differently, so please stick with the specific amounts listed in the recipe to keep things perfectly seasoned.
- Season under the skin. I know this is everyone’s least favorite turkey task, but it’s totally worth the effort to season the meat directly. Just slide your hand under the skin slowly so it stays intact, and gently spread the seasoning over the breast.
- Don’t truss the legs. Leaving the legs untrussed (tied together) actually helps the heat circulate better, which means the thighs cook through more evenly and the whole turkey roasts more quickly.
- Rotate the pan if needed. If your oven has hot spots (most do!), just give the pan a turn halfway through for even cooking.
- Tent strategically. If one part of the turkey is browning a bit too quickly, just loosely tent that area with foil and keep going.
- Watch the pan liquids. If the veggies or drippings start looking dry, pour in an extra splash of stock. It prevents burning and makes your gravy even tastier.
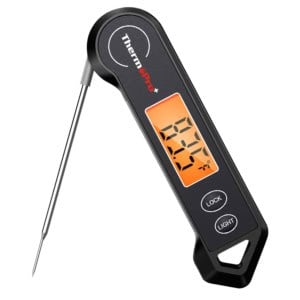
- Use a thermometer. Can’t recommend this enough, especially if you’re going to all of the effort to roast a whole turkey! I use a basic instant-read thermometer, but wireless thermometers are also awesome for this type of task. Whatever you use, the turkey is done when the breast hits 155°F and the thigh hits 165°F.
- Let the turkey rest. A solid 30-minute rest before carving keeps the juices where they belong — inside the meat. It’s totally worth the wait, so plan your schedule accordingly and don’t skip this step!
- Carve the turkey in the kitchen. As charming as a tableside carving sounds, it’s honestly messy, juicy, and a bit stressful. Highly recommend just carving the turkey in the kitchen on a nice large cutting board (preferably one with a groove to catch the juices). See my next post for a step-by-step tutorial and video on how to carve a turkey.
FAQ
Anywhere from 24 to 72 hours works great. Just be sure to brine the turkey uncovered in the refrigerator so the skin can dry out and crisp up beautifully in the oven.
No — never rinse. Simply pat away any excess surface moisture before roasting so the skin browns nicely.
The turkey needs to be fully thawed before dry brining. You can begin applying the brine as it finishes thawing, but the seasoning will penetrate more effectively once thawed.
If you’re short on time, you can thaw a turkey more quickly using the cold water method. Keep the turkey in its original packaging and submerge it breast-side down in a clean sink or large container filled with cold water. Change the water every 30 minutes to keep it cold and safe. Plan on about 30 minutes of thawing per pound, so a 12-pound turkey will take roughly 6 hours. Once thawed, dry the turkey thoroughly and refrigerate it until you’re ready to brine.
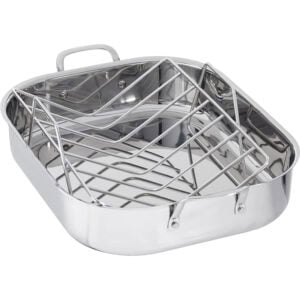
No worries! You can absolutely roast a turkey without a traditional roasting pan. Use a sturdy rimmed baking sheet and create a “rack” by nesting a wire cooling rack inside, or by arranging a bed of sturdy vegetables (like carrots, celery, and onions) to lift the turkey slightly off the pan. This helps the heat circulate and keeps the bottom from steaming. Just make sure the pan is heavy-duty enough to support the weight of the turkey when you take it out of the oven.
I don’t recommend it. This recipe is designed for uncovered roasting so the skin can crisp, and a roasting bag will trap steam and soften the skin.
I wouldn’t. Kosher and self-basting turkeys are already salted, so dry brining can easily make the meat too salty.
Nope! The dry brine and the initial high-heat roast give you crisp, flavorful skin without any basting. Opening the oven repeatedly can actually slow cooking and soften the skin.
You can — butter definitely has more flavor — but it isn’t my top choice if super-crispy skin is your goal. Butter contains milk solids that brown (and sometimes burn) more quickly, so the skin can darken faster and may need extra tenting with foil. If you prefer a foolproof path to even browning and really crisp skin, a neutral oil is the better bet.
Use an instant-read thermometer and insert it into the thickest part of the breast and the innermost part of the thigh, making sure the probe isn’t touching any bones (which can give a falsely high reading). The turkey is ready to come out of the oven when the breast reaches 155°F and the thigh reaches 165°F. The temperature will rise a few more degrees as it rests, bringing it to perfect doneness.
Favorite Thanksgiving Side Dishes
Working on your Thanksgiving menu? Check out our full collection of Thanksgiving recipes here, including some of these classic favorites:
- Mashed Potatoes
- Green Bean Casserole
- Parmesan Creamed Corn
- Thanksgiving Stuffing
- 1-Hour Dinner Rolls
- Maple Cranberry Sauce
Dry Brine Turkey
- Prep Time: 30 mins
- Cook Time: 2 to 2.5 hours
- Total Time: 3 hours
- Yield: 8 to 10 servings 1x
Description
This easy dry brine turkey recipe uses salt and seasonings to create an incredibly juicy, flavorful turkey with beautifully crispy skin. Be sure to check out all of the tips mentioned above to help make this recipe a success!
Ingredients
Turkey & Dry Brine:
- 1 (12 to 14 pound) turkey, thawed, neck and giblets removed
- 2 tablespoons Morton’s kosher salt (or 3 ½ tablespoons Diamond Crystal kosher salt)
- 2 teaspoons each: baking powder, freshly-ground black pepper, garlic powder, onion powder, smoked paprika
- 1 teaspoon dried thyme
- zest of 1 small lemon
- 1/4 cup neutral oil (such as avocado, canola, or grapeseed)
Inside the Turkey:
- 1 small yellow onion, quartered
- 1 lemon, quartered
- 4 large garlic cloves, smashed
- 1 small bunch fresh thyme
Below the Turkey:
- 2 small yellow onions, quartered
- 3 medium carrots, cut into chunks
- 3 celery ribs, cut into chunks
- 1 cup chicken stock
- 1 cup dry white wine
Instructions
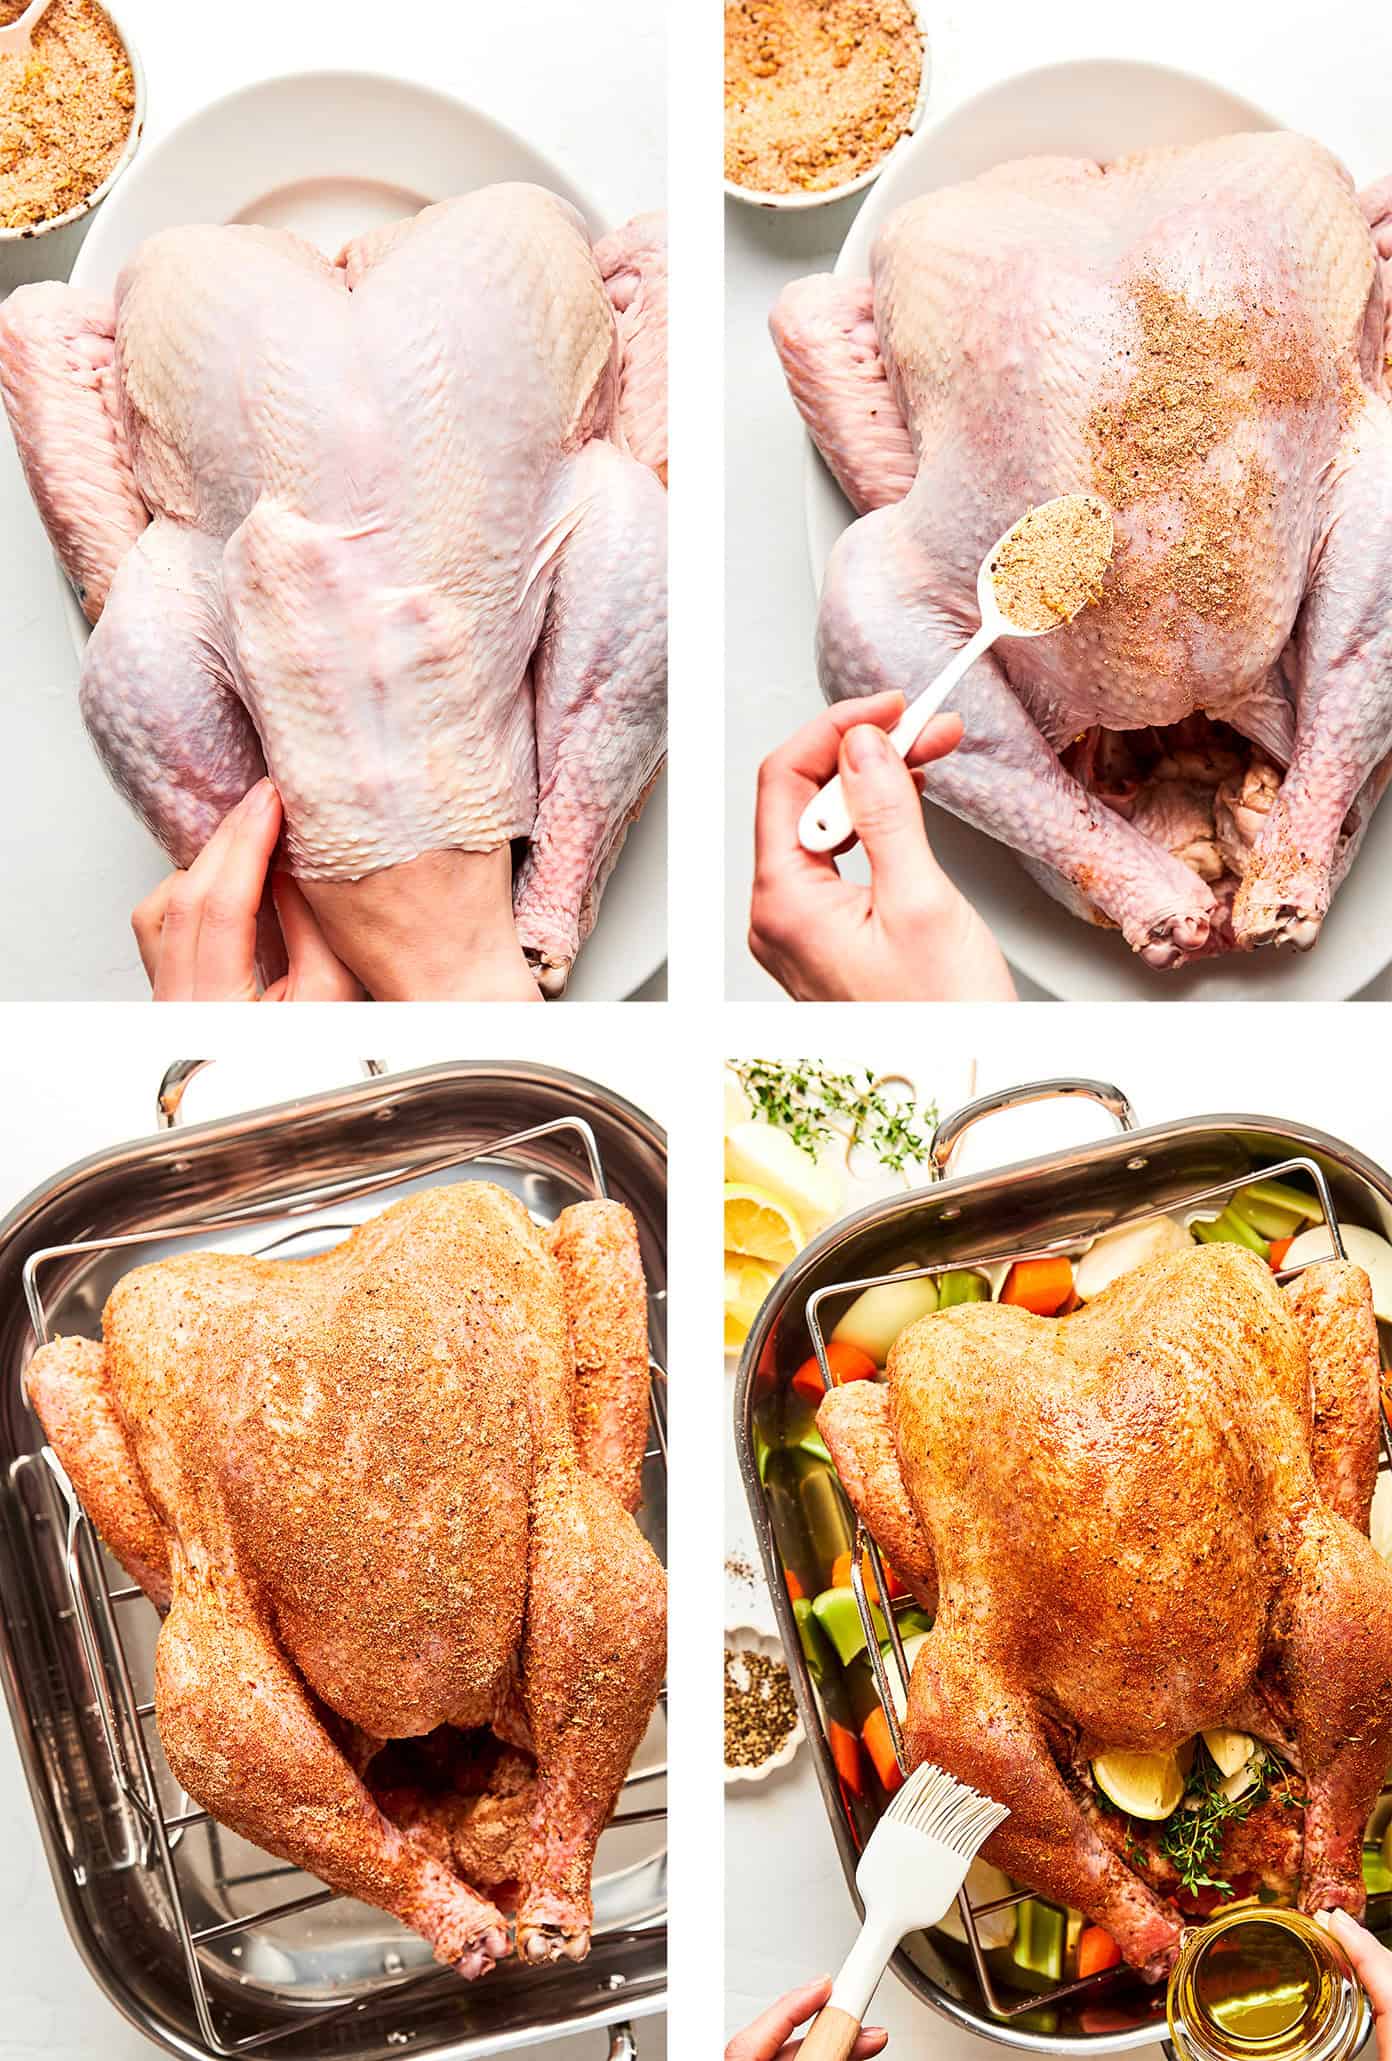
- Prep the turkey. Pat the turkey very dry, inside and out. Remove any pop-up thermometers or trussing. Tuck the wing tips behind the bird so they don’t burn and the turkey sits flat. (No need to truss the legs.)
- Mix the dry brine. In a small bowl, mix the Morton’s kosher salt, pepper, baking powder, garlic powder, dried thyme, onion powder, smoked paprika, and lemon zest until combined.
- Season and dry brine. Gently loosen the skin over the breasts by sliding your hand between the skin and meat, taking care not to tear it. Rub some of the dry brine directly onto the meat under the skin, then sprinkle and press the rest all over the outside of the bird and inside the cavity. Place the turkey uncovered on a rack set in a roasting pan and refrigerate for at least 24 hours and up to 72 hours.
- Prepare to roast. Remove the turkey from the fridge 30–60 minutes before cooking. Remove all oven racks except the one on the lowest shelf and preheat oven to 450°F. Gently pat the turkey with paper towels to remove surface moisture (don’t rub off the brine). Fill the cavity loosely with the small onion, garlic cloves, lemon, and thyme. Scatter the onions, carrots, and celery in the bottom of the roasting pan, and pour in the chicken stock and white wine.
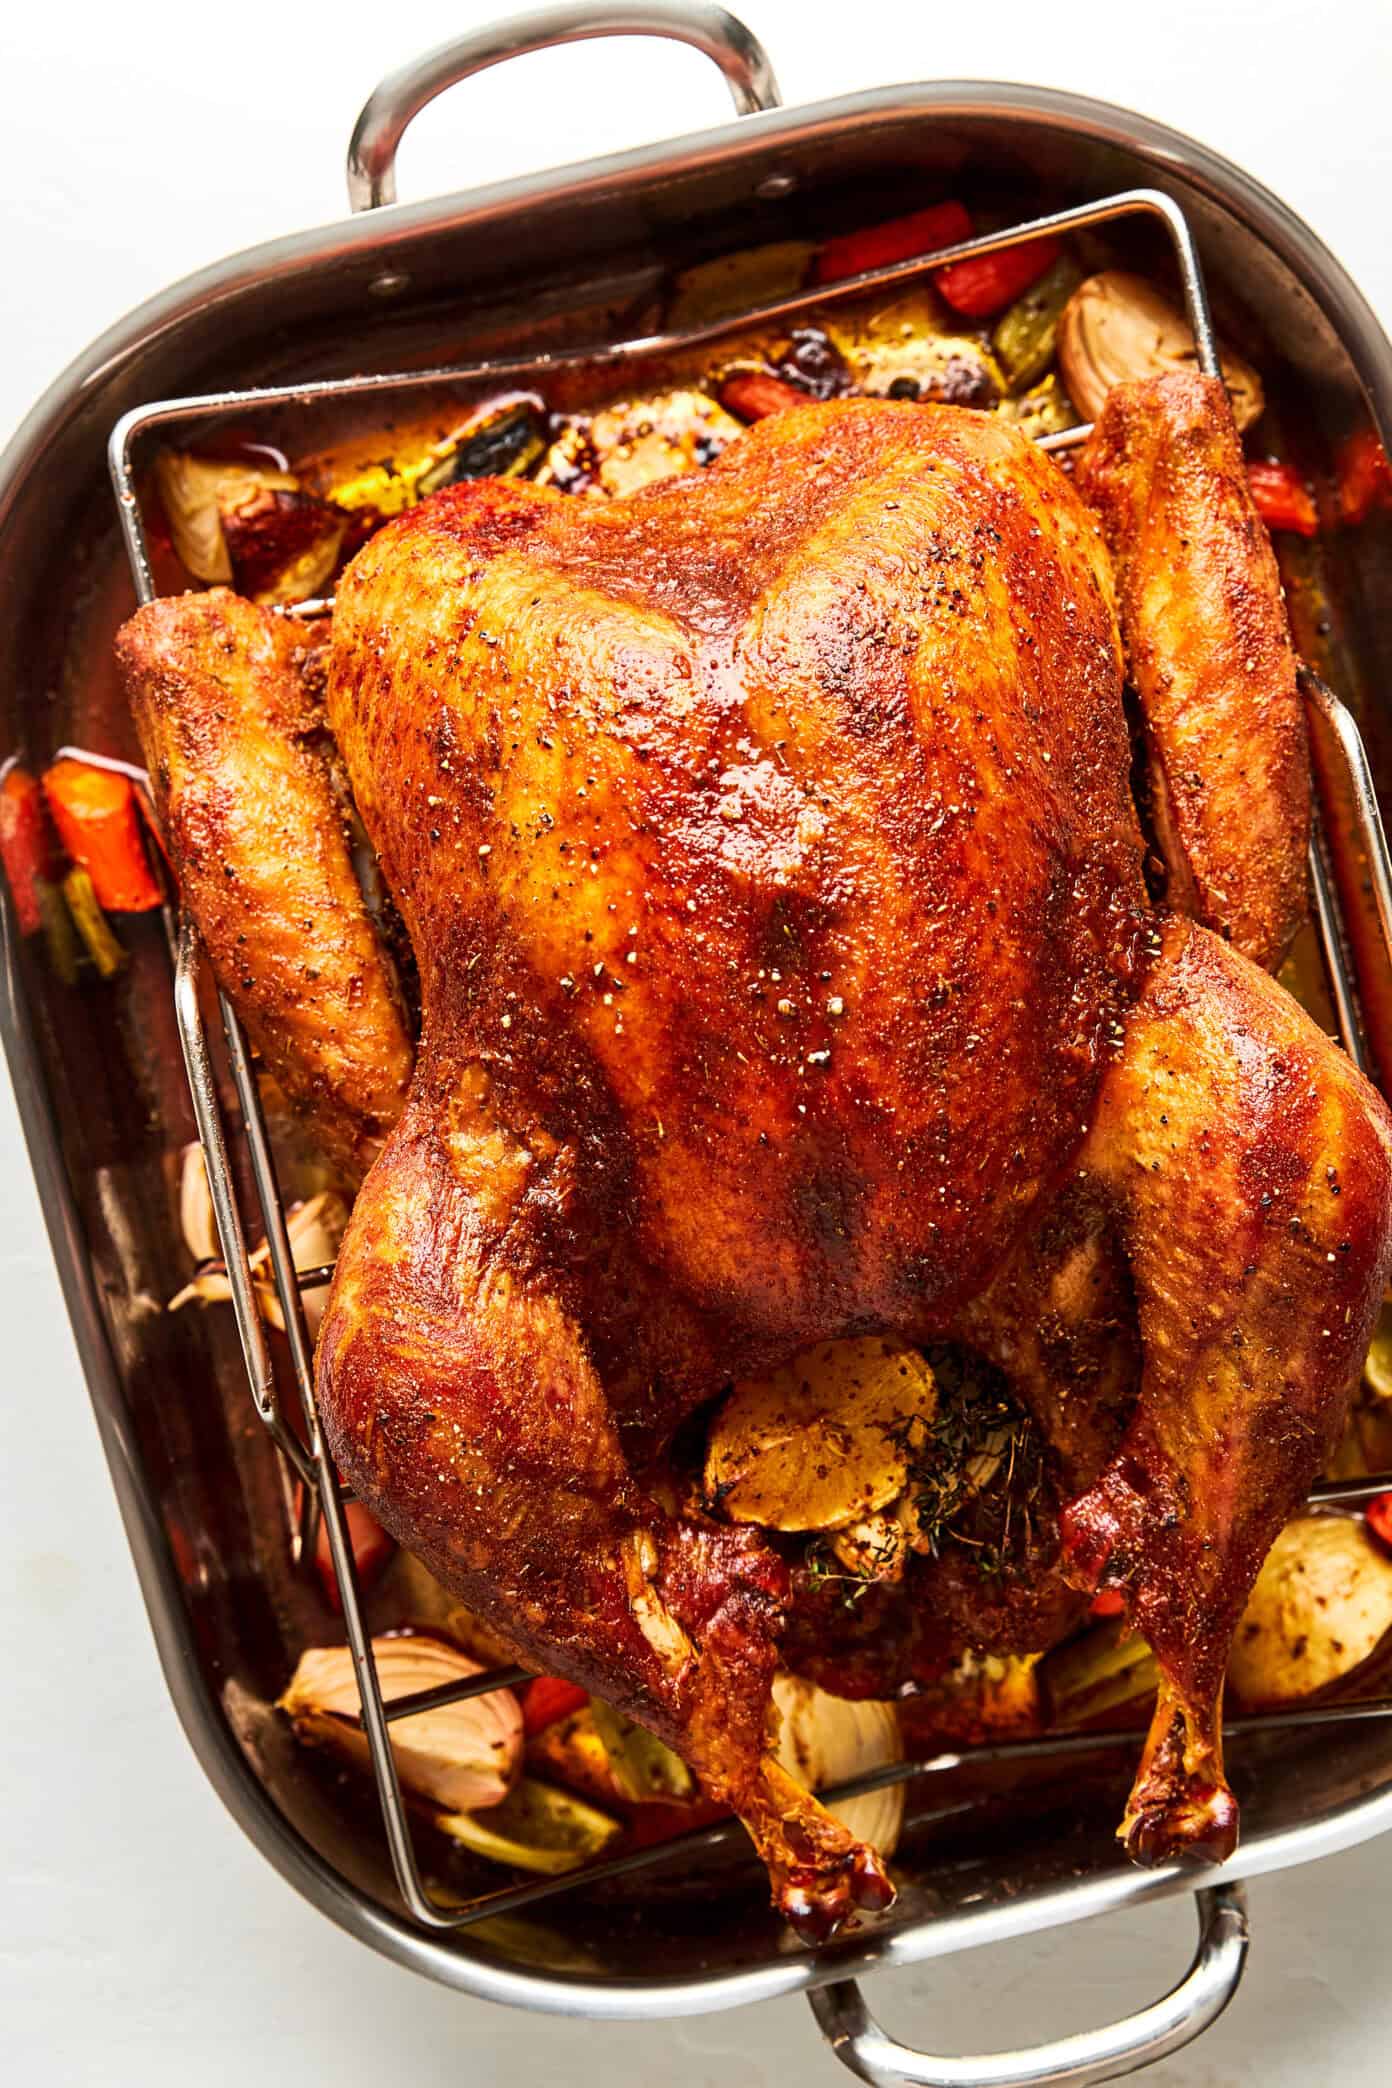
- Brush with oil and roast. Brush the turkey all over with the neutral oil (or mist evenly with an oil mister, if you have one). Season with freshly-ground black pepper. Roast at 450°F for 30 minutes to deeply brown the skin, then reduce the oven heat to 325°F. Continue roasting until the breast registers 155°F and the thigh 165°F, about 1½ to 2 more hours. (I recommend checking the turkey around the 1 hour point though to note the progress.) If any part of the turkey browns too quickly, loosely tent that area with foil. No need to baste the turkey while cooking — the dry brine and initial high heat help crisp and flavor the skin. If the bottom of the pan starts to look dry during roasting, add a splash more stock or water to prevent drippings from burning and smoking.
- Rest. Remove the turkey from the oven and let it rest right in the roasting rack for 30 minutes so that the juices can redistribute. (The carryover cooking will bring the breast temperature to 160–165°F and the thigh to 170–175°F.) Transfer the turkey to a cutting board for carving.
- Gravy option. Strain and skim the flavorful pan drippings; discard vegetables and use the drippings as a base for gravy. Here are the full instructions for how to make turkey gravy.
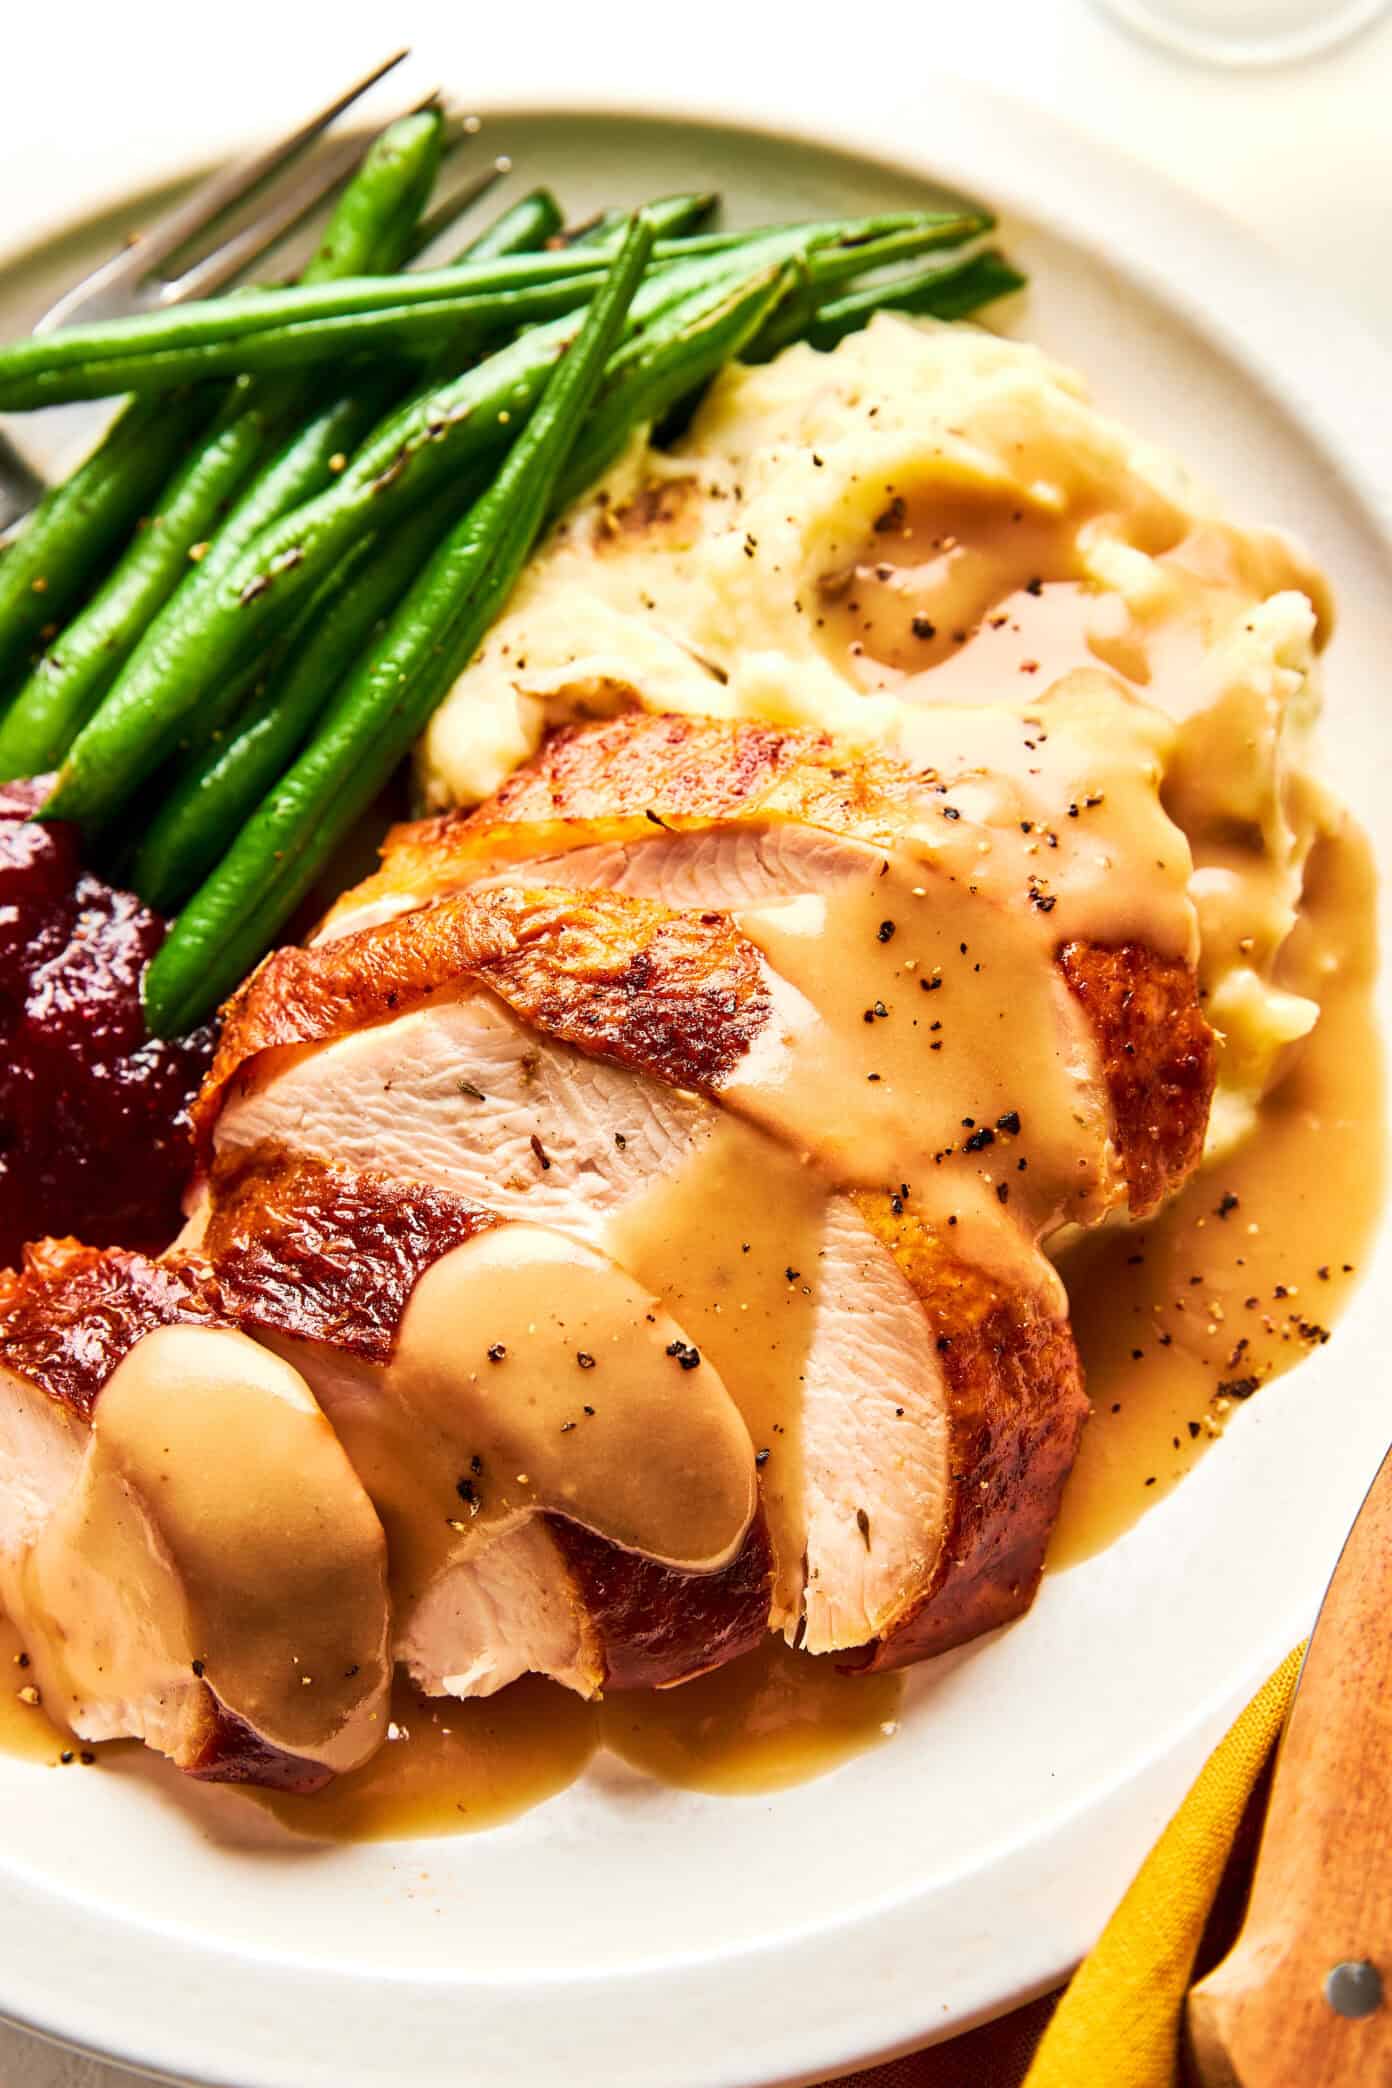
- Carve and serve. Carve the turkey, serve with warm gravy, and enjoy!

Notes
Notes on total time: I just included the hands-on and oven-cooking time above, so please note that the total time will need to take into account extra time to brine and rest the turkey after cooking.

This was the best turkey I’ve ever produced. White meat was unbelievably moist and flavorful.
Another amazing recipe from Gimme Some Oven!! Seriously!! Everyone in my house had this turkey and loved it! They said it had great flavor and wasn’t dry! The highest compliment coming from my husband who has never enjoyed turkey. He went back for thirds! Thank you for helping me make a meal my family loved!! 💙💙
We made this today, Thanksgiving 2025. I was amazed at how good it was! I substituted parsley for the thyme because we don’t care for thyme. I let it sit in the fridge 2 days before cooking because the only time I had to prep it was on Tuesday. I didn’t remember to check it after 1 hour, so I thought based on the temp. it would be very well done, but it was tender and moist. Everyone loved it!
This was the best dry brine recipe! Everyone commented on how good the turkey tasted and I gave you credit. Thank you for helping to make our Thanksgiving wonderful.