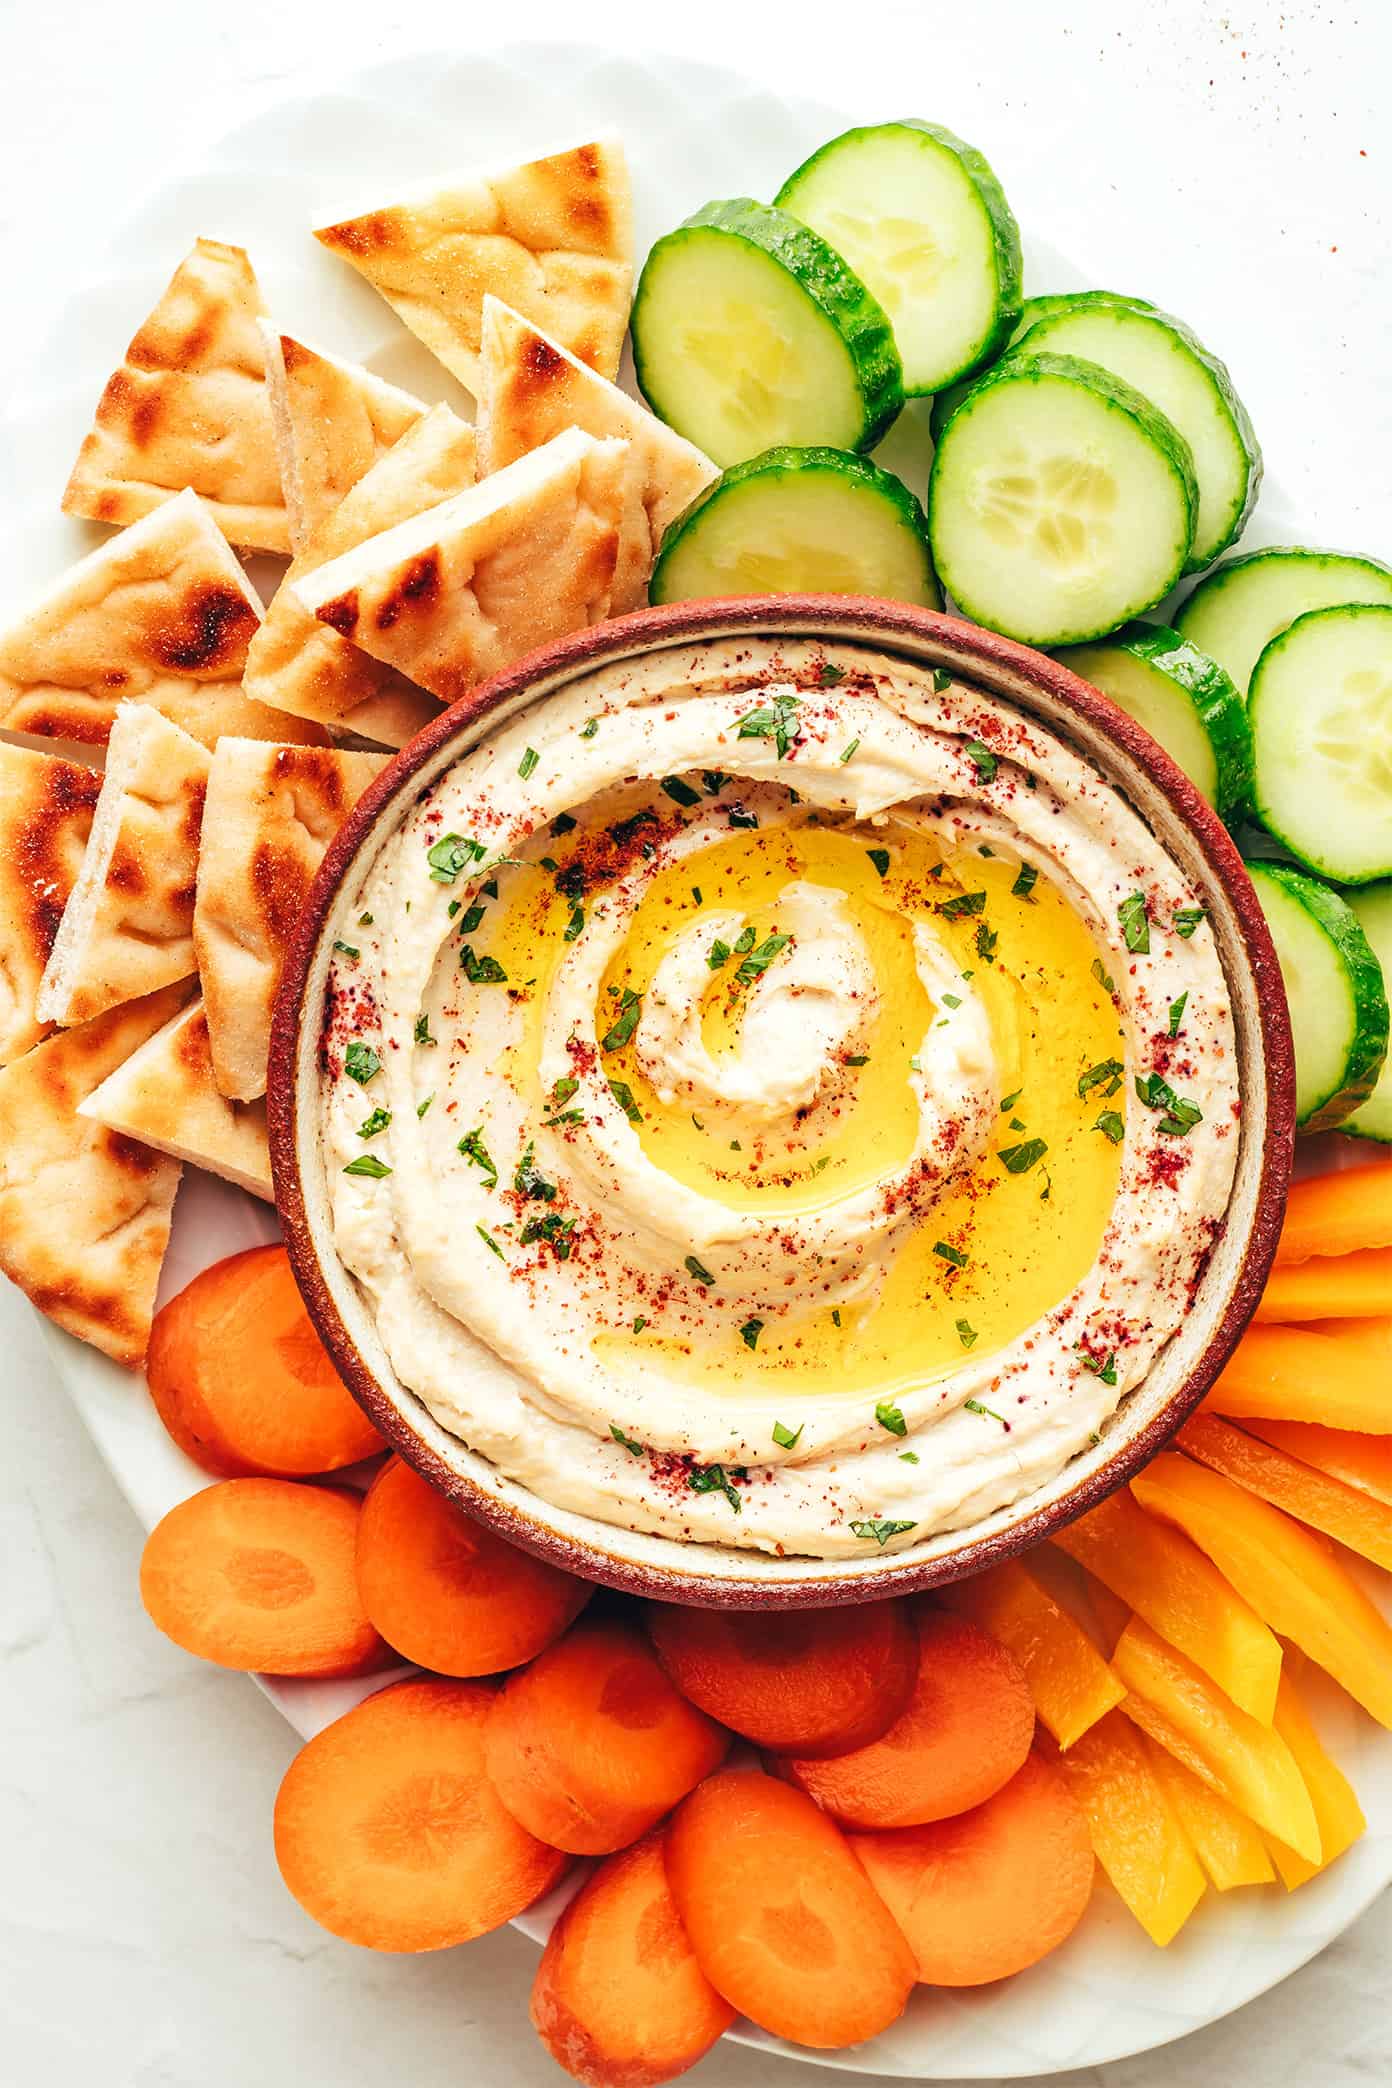
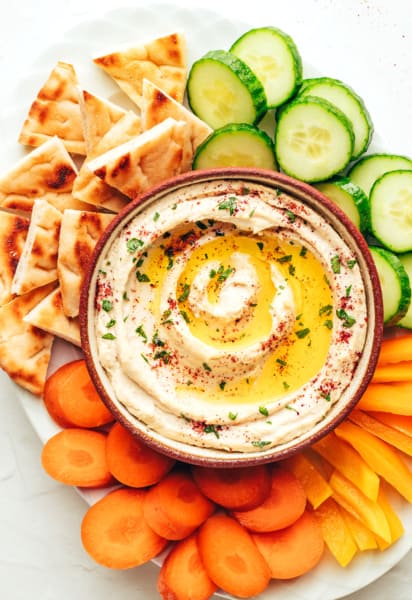
This homemade hummus recipe is quick and easy to make, super-smooth and creamy, and tastes so fresh and flavorful!
This past month, I’ve been on a mission to improve my hummus game. ♡
I’ve had a basic hummus recipe here on the blog that I’ve made and enjoyed for years. But while it was good — I have to admit — it wasn’t knock-your-socks-off great. And ever since we became regulars at this little falafel joint here in Barcelona that introduced us to the creamiest, dreamiest, smoothest, most-flavorful hummus ever, I knew that I needed to go back to the drawing board and kick my old hummus recipe up a notch.
And thus — the hummus testing began.
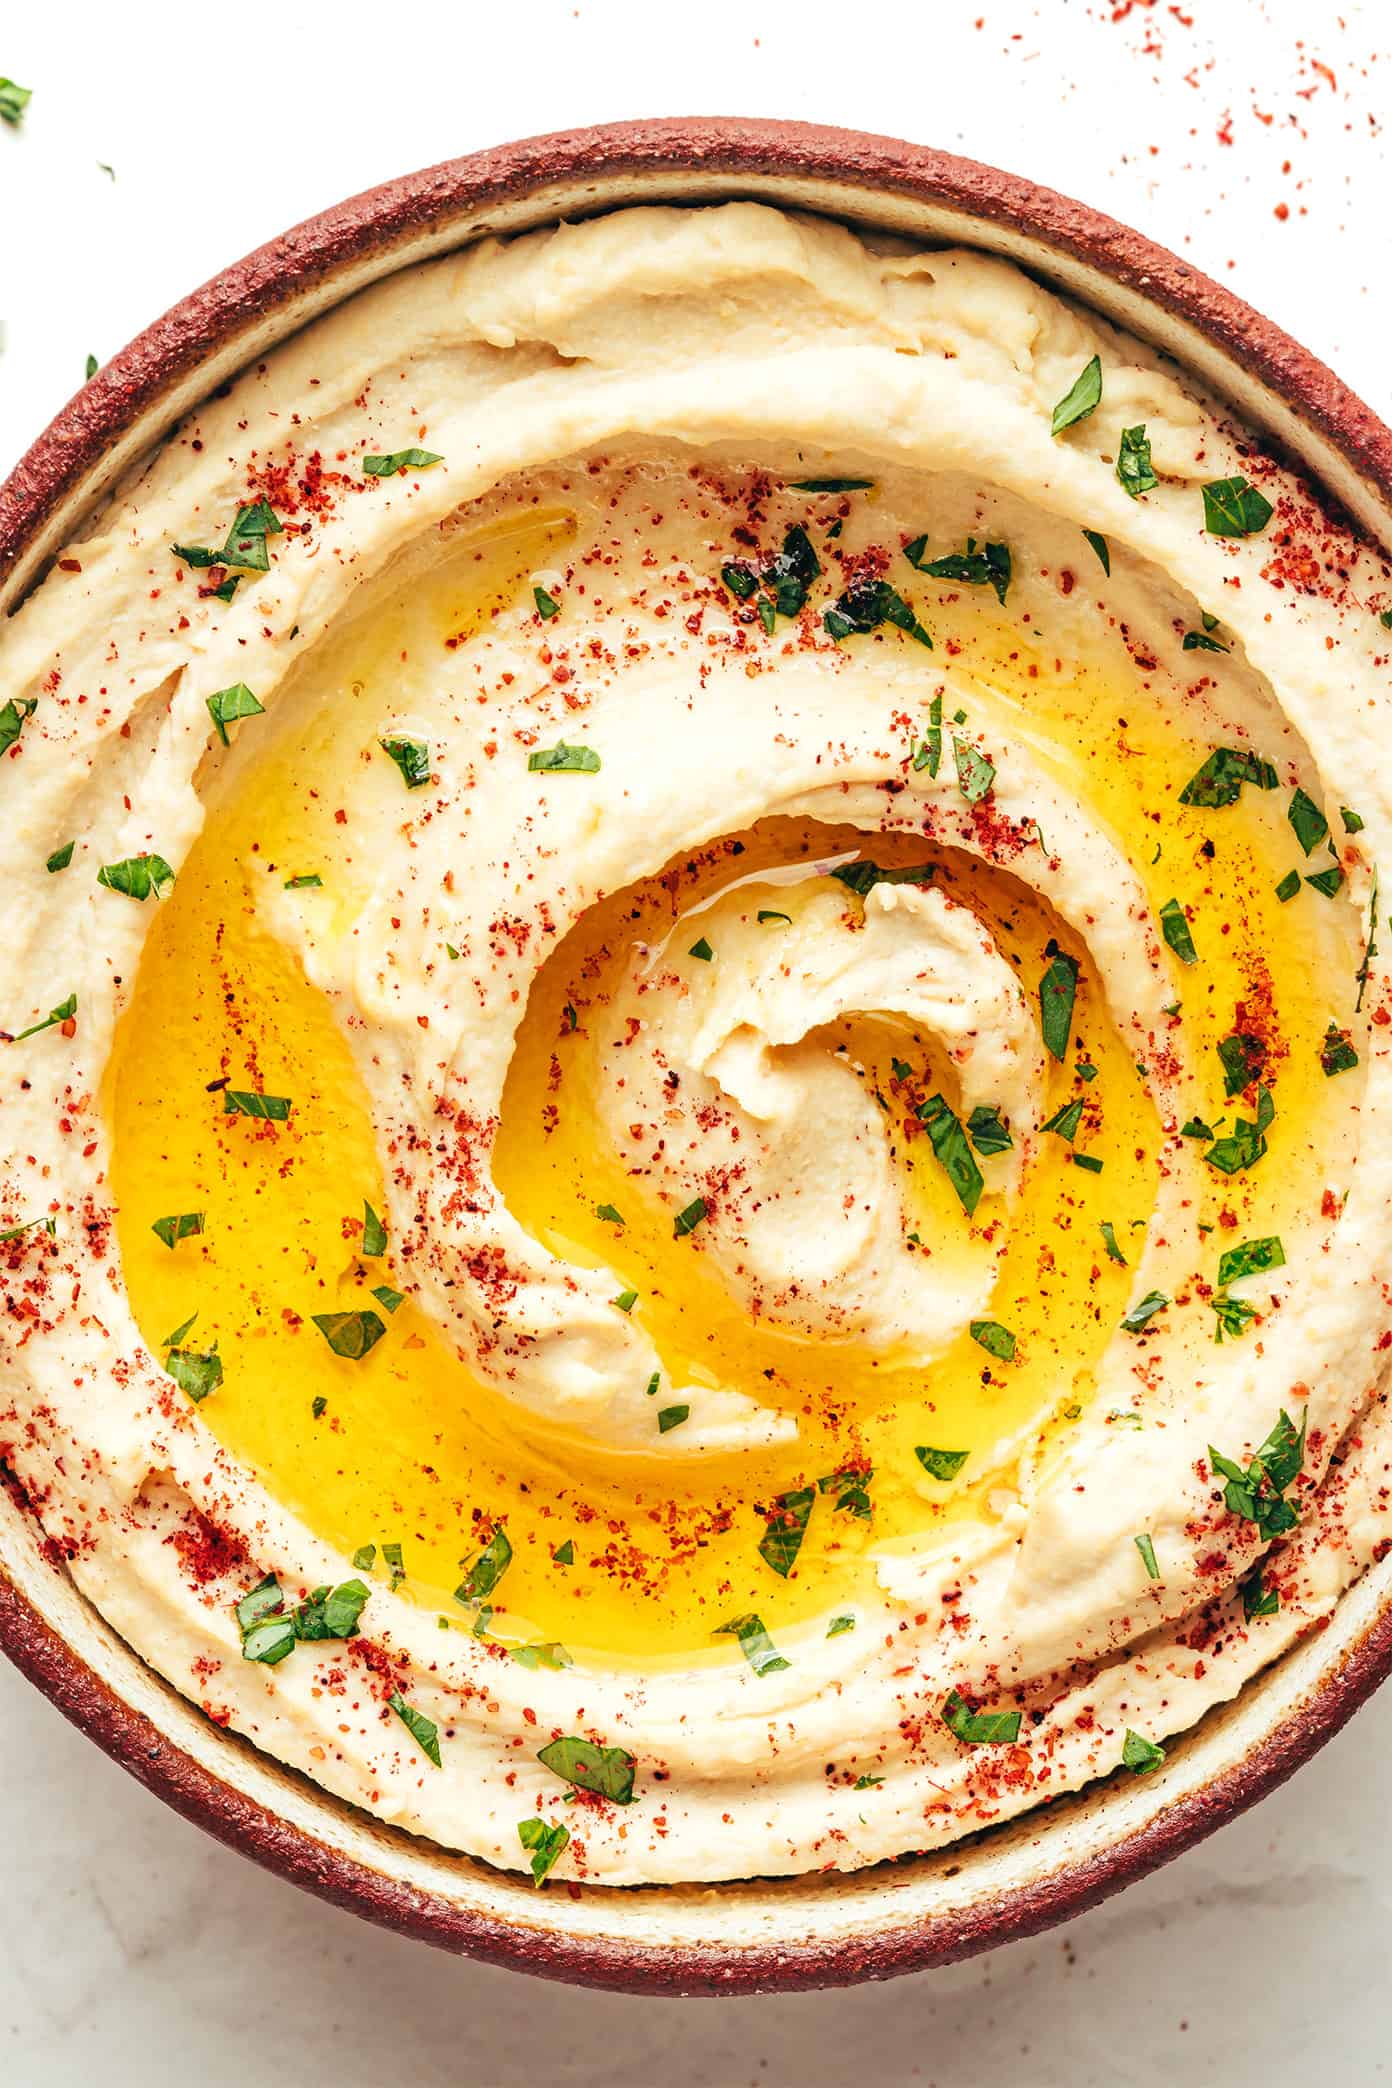
My first mission was to improve the flavor of my hummus, which was actually a piece of cake. More tahini, more lemon juice, more garlic, and more salt instantly livened and brightened up the flavor of this dip. Plus a generous sprinkle of ground sumac on top (the preferred spice of our falafel spot), or maybe some paprika if you prefer.
My second mission was to improve the texture of my hummus and make it as silky-smooth as possible, which ended up being a total recipe-testing rabbit hole. Turns out that the internet is full of opinions about exactly how to achieve the perfect creamy texture, most of which have to do with how to cook your chickpeas. So in the quest for killer hummus, I put on my Ali’s Test Kitchen hat and tried ’em all. From Solmonov’s famous method of soaking dried chickpeas overnight and then boiling them until they are overcooked in baking soda, to Epicurious’ shortened method of just boiling a can of chickpeas in water for 20 minutes, to Melissa Clark’s scratch Instant Pot hummus, to the Washington Post’s super-speedy method of pureeing the hummus for a full 3 minutes in the food processor, to various tips from around the internet to incorporate aquafaba, use a blender, and (ugh) individually peel every one of those little chickpeas — well, let’s just say it’s a good thing that Barclay and I love hummus because we’re nearly twenty batches in this month (and counting).
Our conclusion?
I hate to say it, but the difference between most of these methods was surprisingly microscopic. From the way that people talk online, I was expecting pretty dramatic differences between the various methods once we lined our batches of hummus up side by side for round after round of blind taste-testing. But most of our conversations ended up being like, “Dang, I don’t know, I mean maybe batch three is a teeny bit smoother than batch four?! Maybe?”
In the end, the most game-changing factor for us ended up being the easiest, quickest, almost-hate-to-admit-it-after-all-of-that-testing step of all — simply pureeing your hummus an extra few minutes in the food processor. I know, it seems so obvious. But giving the food processor a few extra minutes to work its magic seemed to be the key factor in achieving that perfectly creamy, light, whipped texture that we were going for.
That said, yes, the flavor and texture may have been a tiny bit better with boiled-from-scratch chickpeas, either made on the stove or in the Instant Pot. Or yes, if you’re using canned chickpeas and have an extra 20 minutes to boil them before pureeing, the texture may be just a tiny bit creamier. But honestly, after blitzing our final three batches for 4 full minutes in the food processor — one with chickpeas boiled from scratch, one with canned chickpeas boiled for 20 minutes, and one with chickpeas just straight outta the can — Barclay and I couldn’t even reach an agreement with blind taste-testing about which one was the smoothest. Those extra few minutes in the food processor seemed to even them all out!
Anyway, I know that hummus-making opinions on the internet are very passionate. So to each hummus maker, his or her own. But, if you’d like to try the winning recipe and method that we landed on in our house after our hummus-a-thon, here it is!
Classic Hummus | 1-Minute Video
What Is Hummus?
Alright, first let’s back up for a sec — just exactly what is hummus? In case this is new to you, it’s a classic dish from the Middle East and Mediterranean made primarily from chickpeas (a.k.a. garbanzo beans), tahini (ground sesame paste), lemon juice, garlic and salt. Various countries add in their own staple ingredients, like ground cumin. And of course, if you look for hummus at any American grocery store nowadays, there are about a million variations that you can buy. It can be served warm or cold, as a dip or as a spread, and above all, it’s downright delicious.
Hummus Ingredients
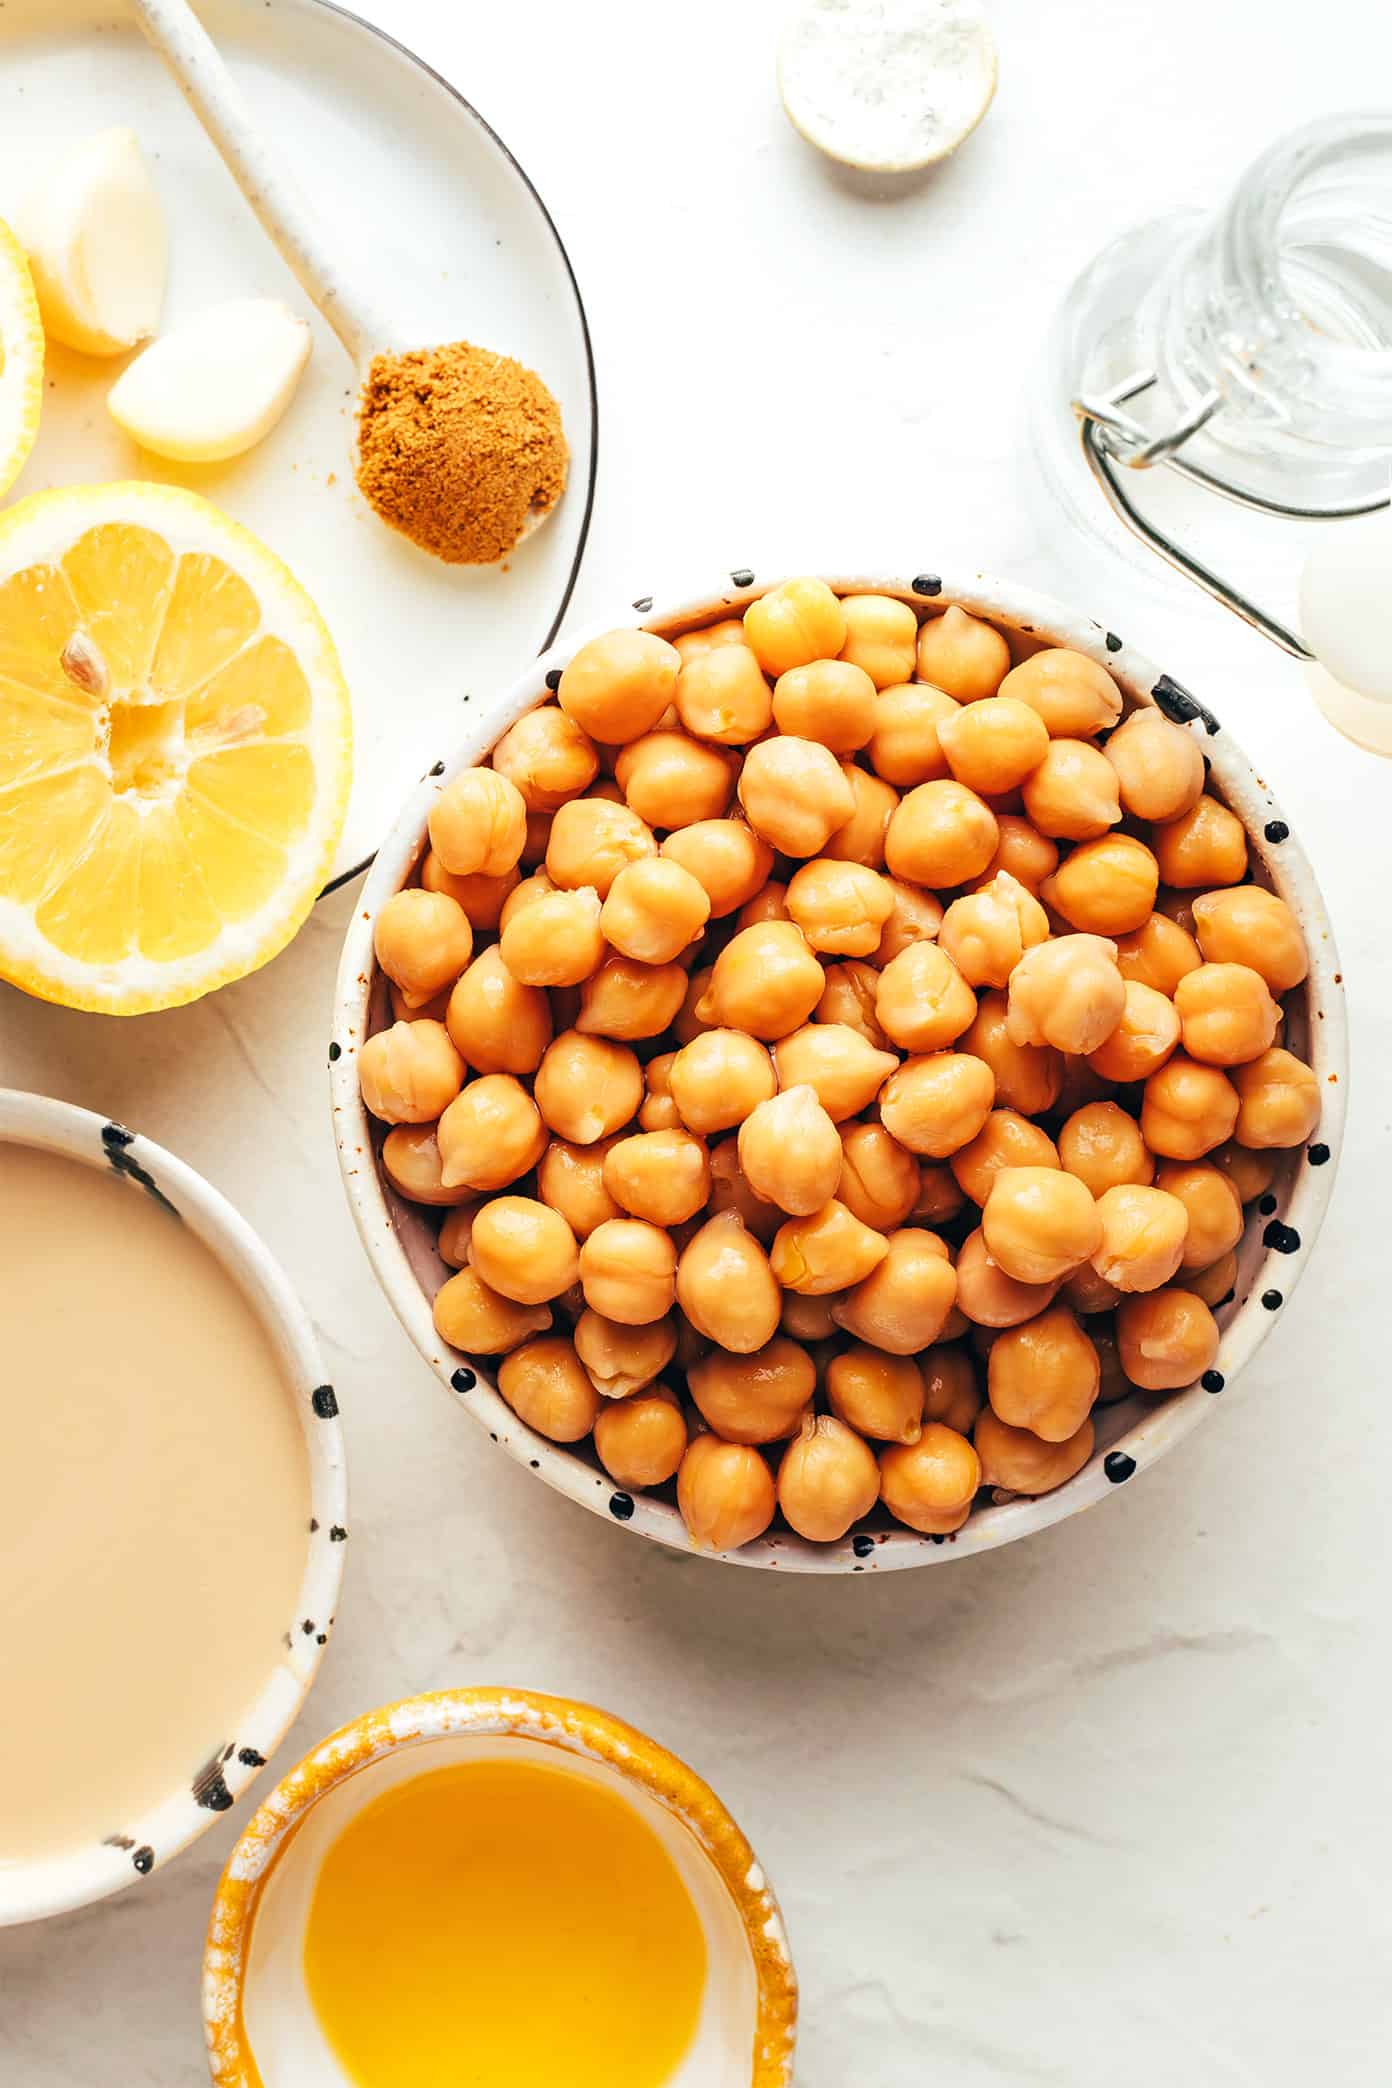
One of the other things I love about making homemade hummus is that most all of the ingredients can be found in your pantry, making this an easy impromptu dip to make for parties, game day, or a regular ol’ delicious weeknight dinner. You will need:
- Chickpeas*: I simply recommend buying a can of good organic chickpeas, which we will rinse and drain and add straight to the hummus.
- Tahini: Since this ingredient is arguably the most prominent flavor in hummus, I recommend purchasing a jar of good-quality tahini.
- Garlic: This recipe calls for two cloves, but feel free to double that if you would like more garlicky flavor.
- Lemon juice: Fresh, please!
- Ground cumin: I absolutely love the added flavor of some cumin in hummus.
- Olive oil: We will incorporate some into the hummus itself, and then drizzle extra on top for serving.
- Salt: I always use fine sea salt.
- Cold water: This is another game-changing ingredient when it comes to the texture of your hummus. If it’s too thick and not smoothing out, just add in some more water.
*Or, as I mentioned earlier, feel free to instead use:
- Chickpeas that have been cooked from scratch: Either in the Instant Pot or on the stovetop. I recommend overcooking them a bit to slightly soften the chickpeas and loosen up the skins.
- Canned chickpeas that have been simmered for 20 minutes: If you have the extra time, just rinse and drain your chickpeas. Transfer them to a saucepan and cover with an extra inch or two of water. Then bring to a simmer, continue simmering for 20 minutes, and drain. If you happen to buy a brand of chickpeas that seems to be harder and undercooked — I’ve found that brands can vary significantly — this method may be helpful.
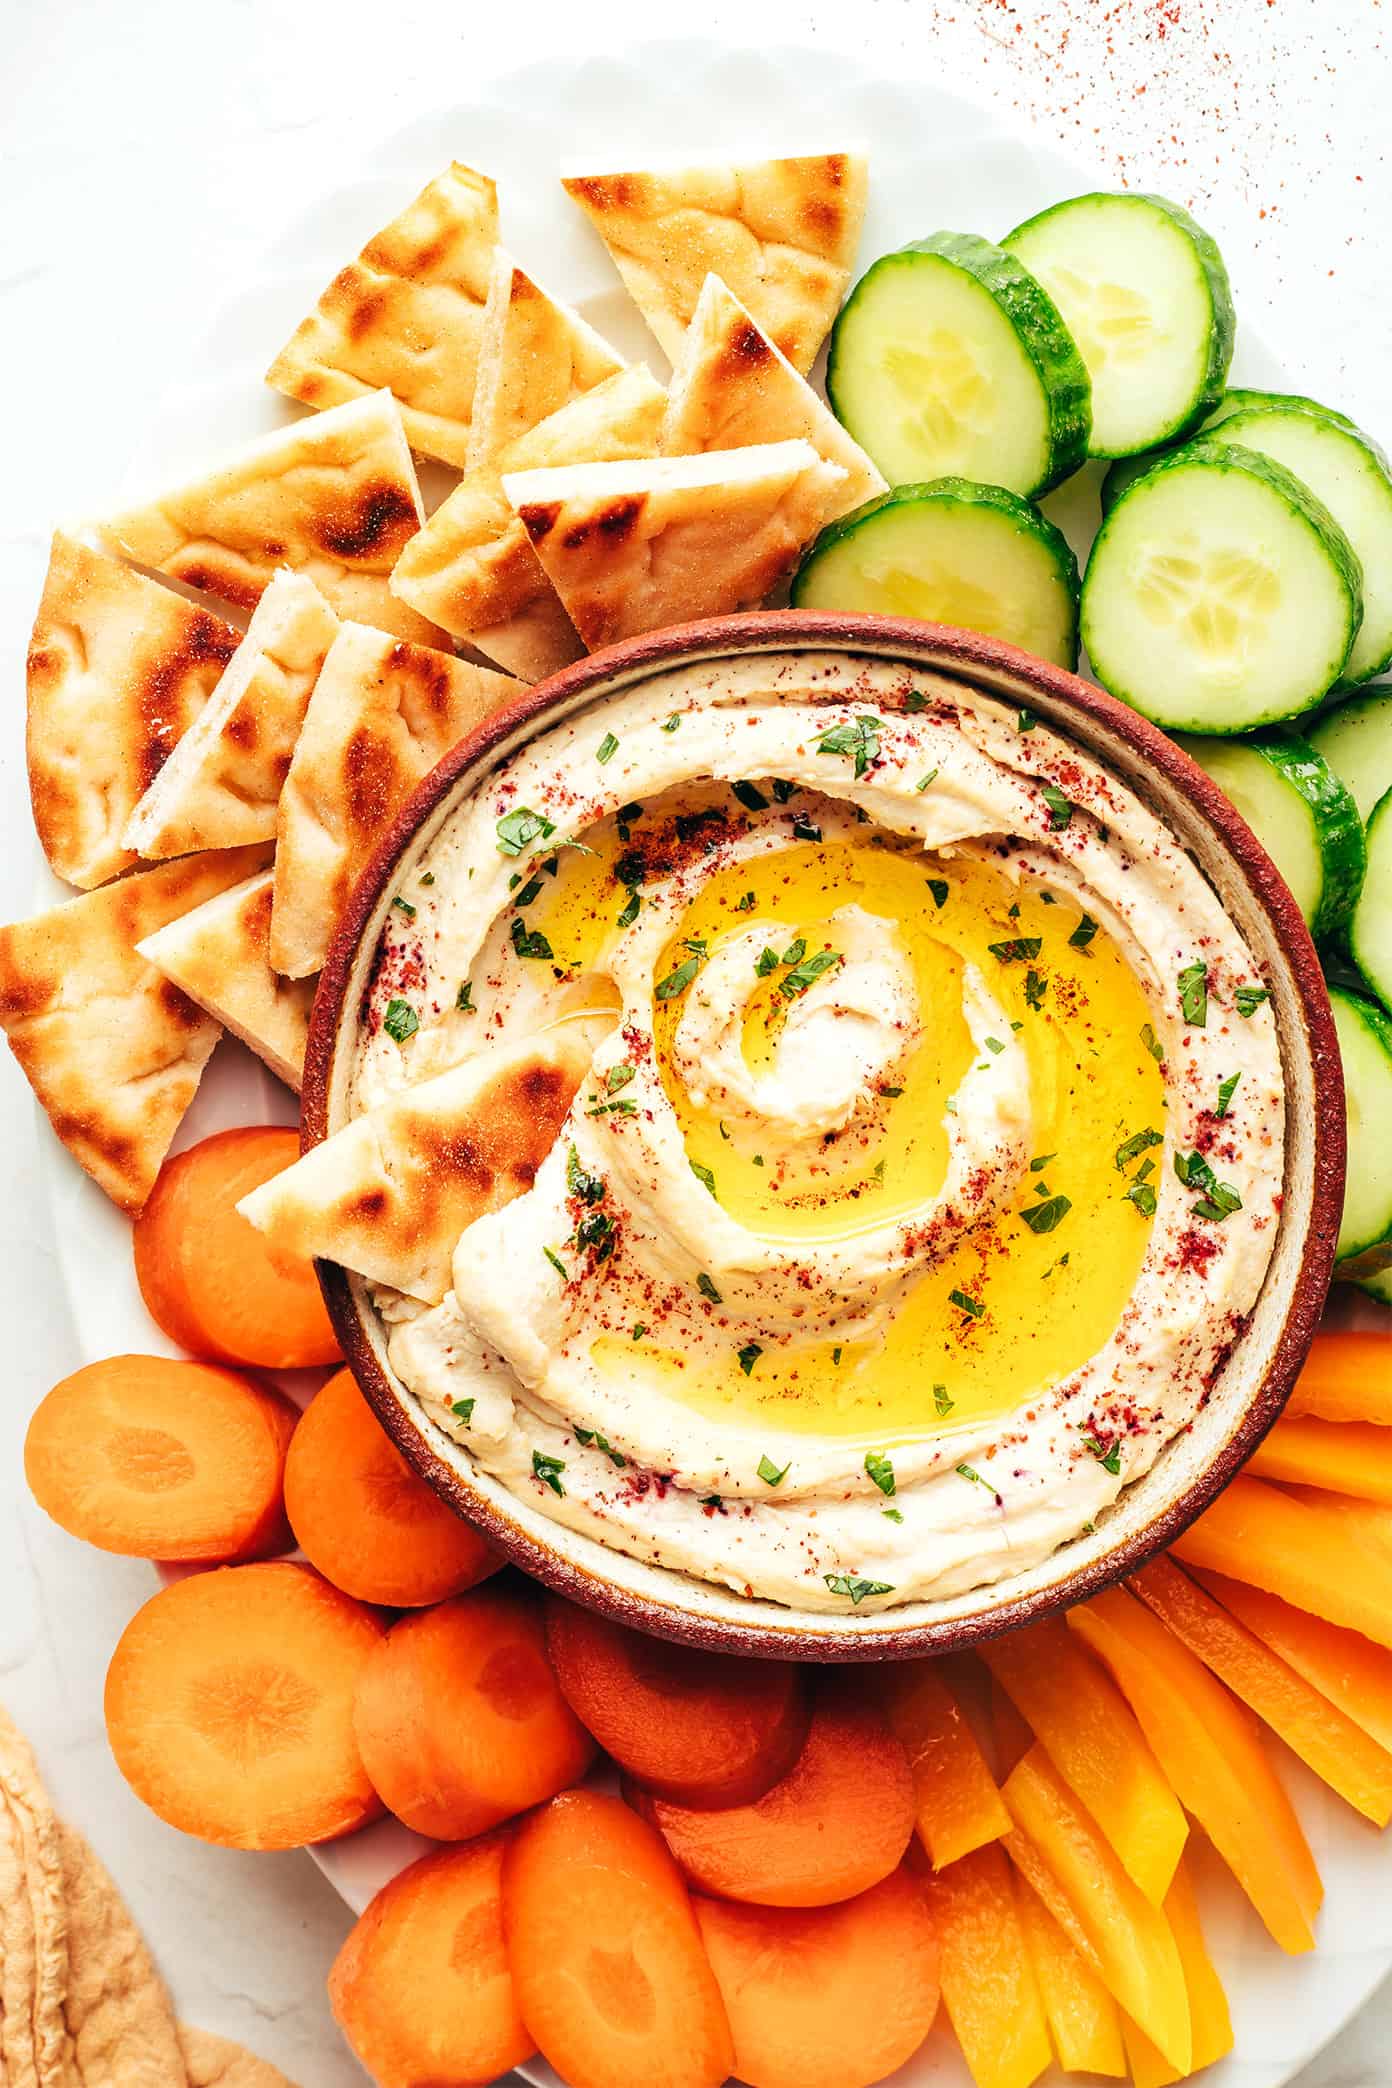
Then, of course, there are the toppings. For a classic batch of hummus, I recommend drizzling some olive oil on top of the dip, and then sprinkling it with either ground sumac or paprika, plus maybe a sprinkle of chopped fresh parsley. But the sky’s the limit with other toppings you could add! Toasted pine nuts, chopped roasted red peppers, and everything bagel seasoning are a few of my other faves.

How To Make Hummus
To make this hummus recipe, simply:
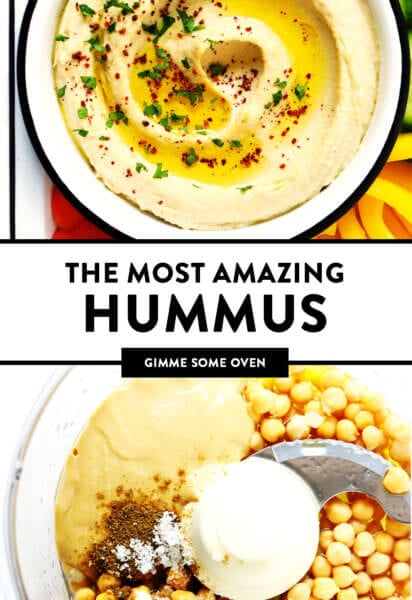
- Puree the first seven ingredients in a food processor until smooth. Tahini, cold water, olive oil, cumin, salt, garlic and lemon.
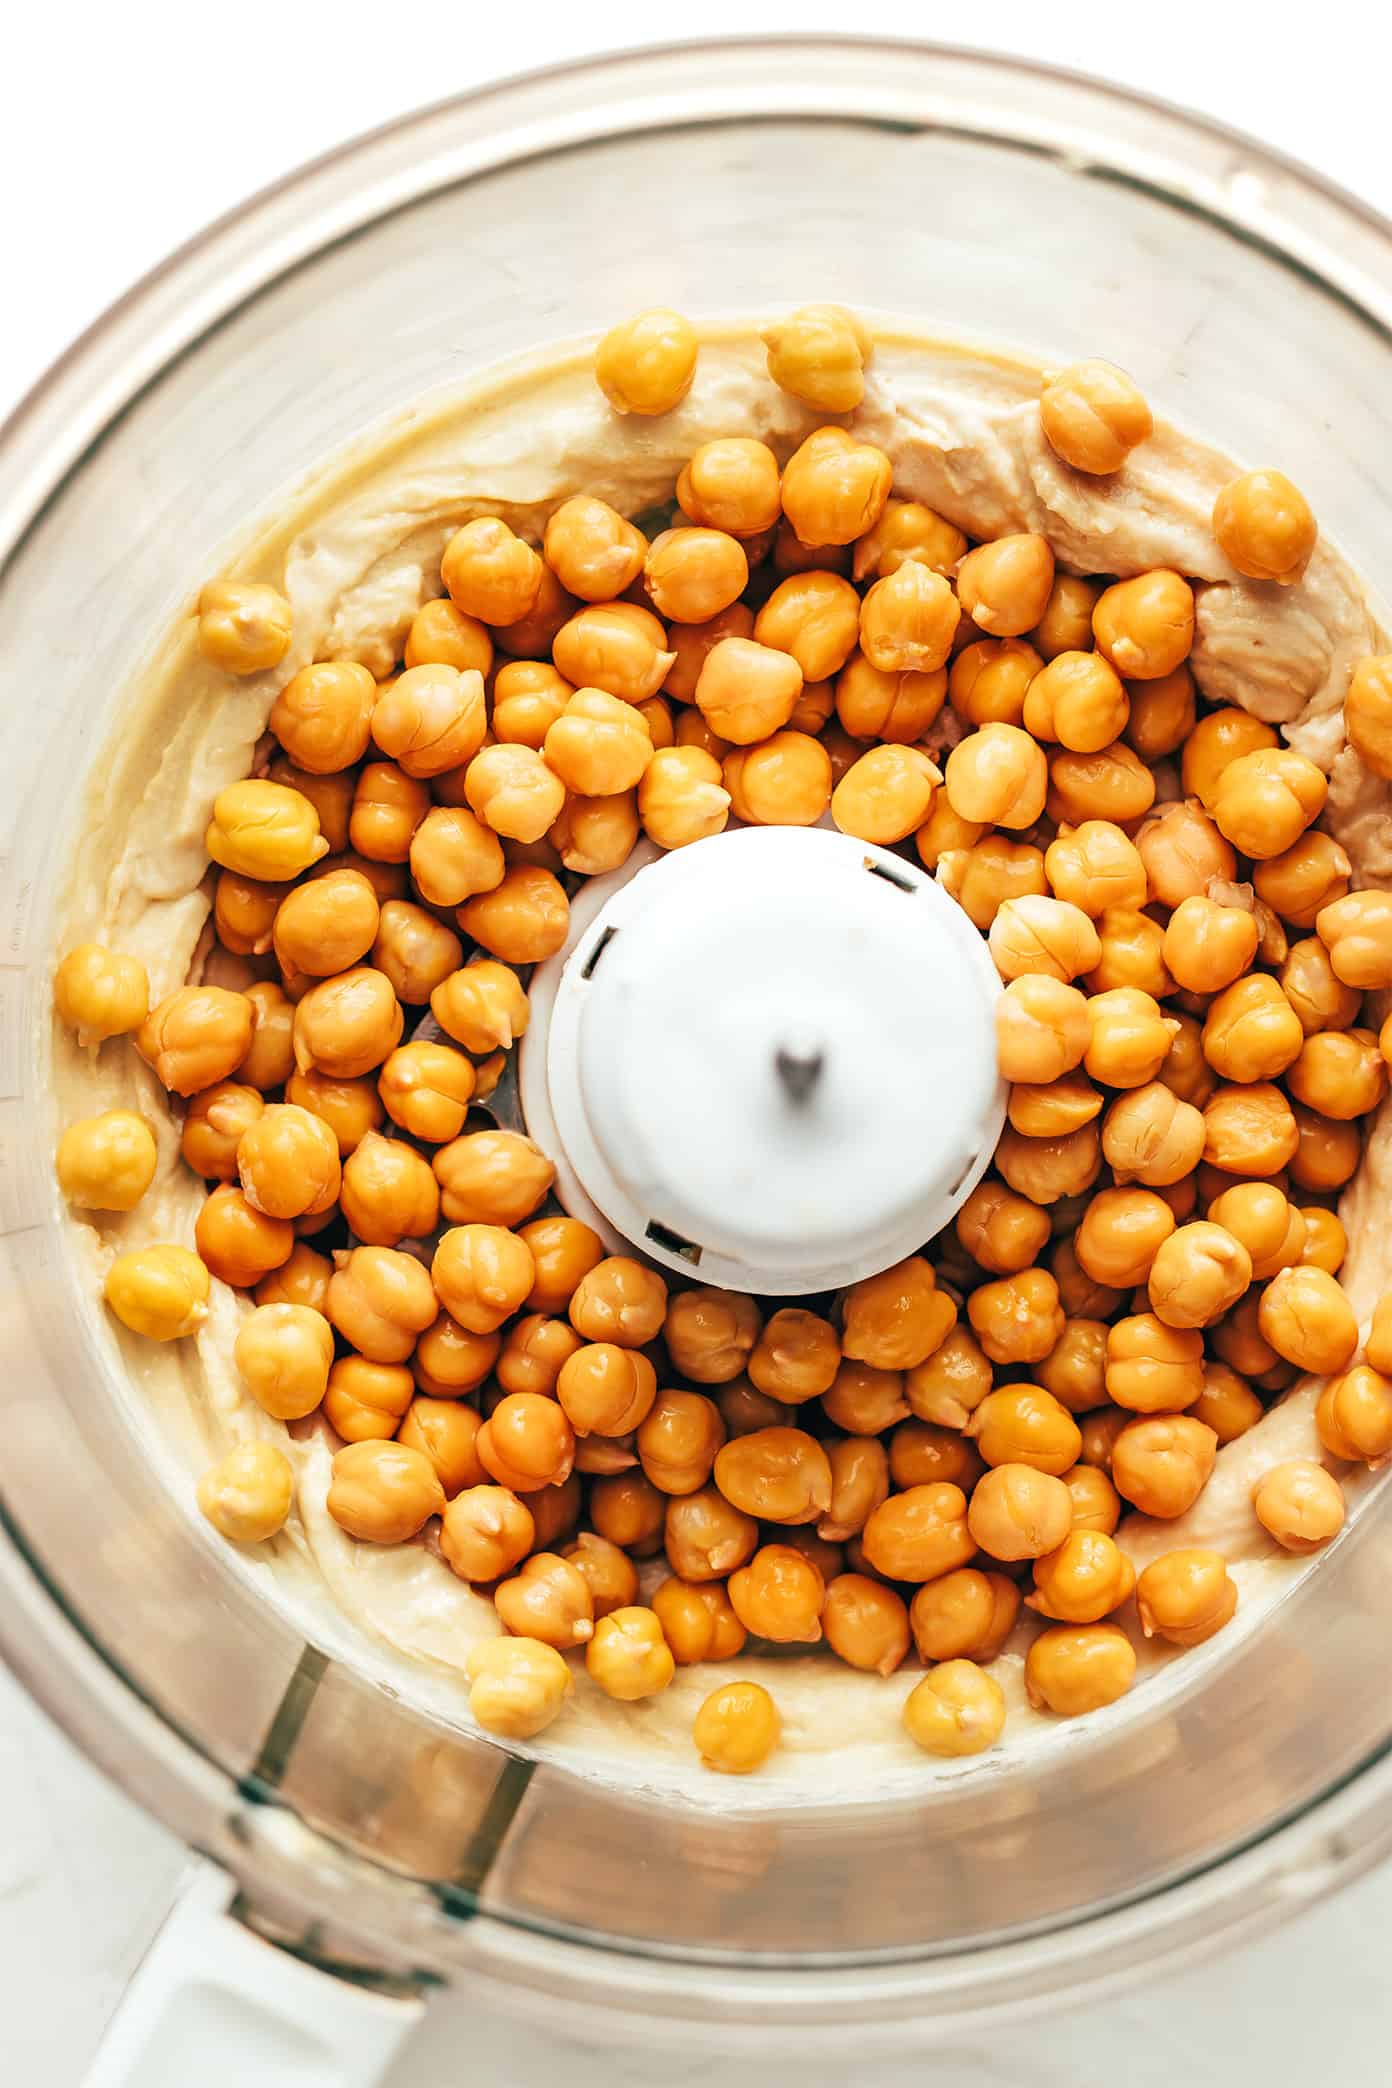
- Add in the chickpeas. One can, rinsed in warm water and drained.
- Puree for 3-4 minutes, or until smooth. Yep, put that food processor to work! Just keep it going and going until the hummus is nice and smooth, pausing once or twice to scrape the sides down. If the hummus seems too thick, feel free to add in an extra tablespoon or two of water too.
- Taste and season. Give the hummus a taste, and add in extra salt, cumin and/or lemon juice if needed.
- Garnish and serve. Transfer it to a serving bowl, add on any toppings that you would like, and enjoy!!
Hummus Recipe Variations
The sky’s the limit if you’d like to get creative and mix things up with your hummus! Some of my favorite variations include:
- roasted red pepper hummus: a classic, and even better with some crushed red pepper flakes sprinkled in too
- pesto hummus: store-bought or homemade, plus maybe an extra garnish of toasted pine nuts
- roasted garlic hummus: nix the fresh garlic in favor of a few cloves of rich, sweet, roasted garlic
Ways To Use Hummus
Of course, you can always use hummus as a dip. But it’s also delicious used in:
- toast: I’ve been on a major hummus toast kick this year (more on that coming soon!)
- burgers/sandwiches: just use the hummus as a spread for extra flavor
- wraps: similarly, hummus makes a great spread in wraps or gyros
- salads: mix in some extra lemon juice, water and oil, and hummus can double as a delicious salad dressing
- mixed into pasta: similarly, just thin the hummus out with some water, and it can be used as a sauce for hot noodles or cold pasta salads
- as a “crust” for chicken: this old hummus-crusted chicken recipe is still one of my faves
- deviled eggs: the flavors in hummus pair perfectly with deviled eggs!
- mashed potatoes: so good.
More Favorite Dip Recipes
Looking for more great dip recipes? Here are a few more of my faves:
- Easy Elote Dip
- The Best Salsa
- The Best Guacamole
- Buffalo Chicken Dip
- Spicy Greek Feta Dip
- Slow Cooker Spinach Artichoke Dip
Hummus
- Prep Time: 10 minutes
- Total Time: 10 minutes
- Yield: 6 -8 servings
Description
This homemade hummus recipe is quick and easy to make, super-smooth and creamy, and tastes so fresh and flavorful!
Ingredients
- 1/3 cup good-quality tahini
- 2-4 tablespoons cold water, or more if needed
- 2 tablespoons extra virgin olive oil
- 1/2 teaspoon ground cumin
- 3/4 teaspoon fine sea salt
- 2 medium cloves garlic, peeled and smashed
- juice of 1 lemon (2-3 tablespoons)
- 1 (15 ounce) can chickpeas*, rinsed and drained
- optional toppings: extra drizzle of olive oil, chopped fresh parsley, sprinkle of ground sumac or paprika, toasted pine nuts
Instructions
- Add tahini, cold water, olive oil, cumin, salt, garlic and lemon juice to a food processor. Puree until smooth.
- Add in the chickpeas. Puree for 3-4 minutes, pausing halfway to scrape down the sides of the bowl, until the hummus is smooth. If it seems too thick, add in another tablespoon or two of water.
- Taste and season with additional salt, cumin, and/or lemon juice if needed.
- Serve immediately, garnished with your desired toppings. Or transfer to a sealed container and refrigerate for up to 3 days.
Notes
Or, as mentioned above, feel free to instead use:
- Chickpeas that have been cooked from scratch: Either in the Instant Pot or on the stovetop. I recommend overcooking them a bit to slightly soften the chickpeas and loosen up the skins.
- Canned chickpeas that have been simmered for 20 minutes: If you have the extra time, just rinse and drain your chickpeas. Transfer them to a saucepan and cover with an extra inch or two of water. Then bring to a simmer, continue simmering for 20 minutes, and drain.
These two methods may yield slightly smoother hummus. But in my experience, the difference was negligible and arguably not worth the extra time and effort.

Just made this for an Easter treat and it is fantastic! Thank you for the recipe!
We’re so glad you enjoyed it Jess! :D
That hummus looks so good! I would love to try this recipe out.
Thanks Kylie – we hope you love it! :)
This looks so fresh and delish! I love that there are so many variations you can do, too. My husband likes it really spicy, and I like mine with mediterranean spices, roasted chickpeas (as a topping) and really good EVOO. thanks for sharing!
Thanks Sam — we hope you and your husband enjoy this version! :)
What is Tahini and were do you get it? Can the hummus be made without it? Is there a substitute?
Hi Carolyn! Tahini is a paste made from ground sesame seeds. Hummus can definitely be made without it, but most types of hummus have it, and we think it’s an awesome ingredient. You can usually find it in your regular grocery’s International aisle. We hope this helps! :)
Hi Ali,
I love your site. I noticed this recipe and it reminded me of my Mom’s cooking growing up and later of her teaching me to cook, especially Mediterranean dishes. Being of Mediterranean descent, I also remember, as a little boy my grandmother taking the uncooked garbanzo beans and drying them out on a rack in the summer sun before cooking them to make various dishes including hommous. My job was to keep the birds and critters away from stealing them. Hommous is very popular these days and I kind of chuckle at all the different varieties, some of which seem a bit odd to me, but am glad to see that you are a fan and are sharing a traditional hommous recipe. My grandmother used to reserve some of the water from cooking the beans to adjust the consistency (and in her day they didn’t have blenders or food processors but had to rely on muscle power). My Mom taught me to use a bit more tahini, and reserve some of the juice from the canned beans or use a bit more lemon juice (depending on your taste) to adjust the consistency. She also said you have the right consistency if, when you pour into a bowl and drizzle olive oil on top if the oil creates a little trough in the hommous as you are drizzling it on top. Its also important to note that putting it in the fridge for a few hours allows the hommous to thicken even more and the garlic and other flavours to really become infused in the dip.
Keep posting these great recipes. Thanks for these reminders of the best cooks in the world – Moms (at least mine was :-) )
Your follower,
Rob
We loved reading this Rob, thanks for sharing with us! We love your grandmother’s tip on reserving some of the water from cooking the beans — smart woman! :) Also, you are totally right, moms are the best cooks in the world. :)
Hi Ali, hummus is a class and always a hit! Wow, first posted 6 years ago? I bet your blog has come a long way – that’s a very long time! I’m not even a year in :) Your photos look fantastic. It’s encouraging to hear that you still go back to your favorite recipes and that it’s never too late to spruce things up on the blog. Keep up the awesome job! ✨
Thanks for your kind words Bita! :)
what dressing have you put on top of your finished hummus? :) thanks for re-sharing!!!
Hi Aja! We just drizzled a little olive oil on top. :)
Thanks for sharing with us this great Hummus recipe, love it, pinned
You’re welcome Maria — we hope you enjoy! :)
I eat hummus pretty much everyday. It’s so good!
Kari
Haha there are so many posts that I look back and realize that I should really reshoot them because my photography skills were not so on point back in the day. Definitely a learning curve in this industry!