This post may contain affiliate links. Please read my disclosure policy.
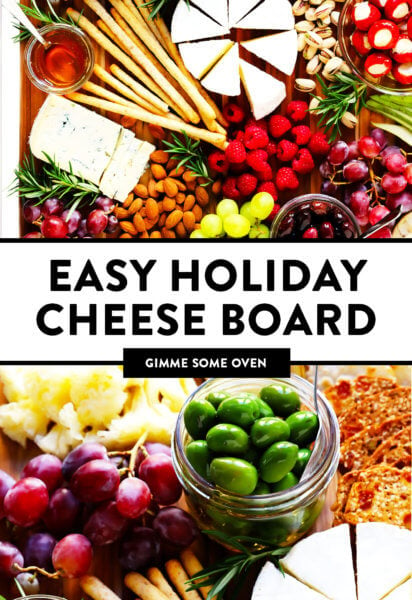
All of my best tips for how to make a fun and festive holiday cheese board — of any size!
Trying to decide what to serve at your next holiday gathering this year?
Guys, make a holiday cheese board! ♡
If you happen to follow along behind the scenes on Instagram, you probably already know that Barclay and I make cheese boards all the time at our house for pretty much — well — every occasion. (Completely obsessed.) But I have to say that we especially love a good cheese board this time of year because they are so easy to make, they can be completely customized to the size and food preferences of your group, and they are guaranteed to be a hit at any holiday party!
You can whip up a simple small cheese board for a holiday happy hour, lay one out as a fun appetizer for people to munch on before a holiday dinner, or hey, do what we do most of the time in our house and just make an entire meal out of it (placing your cheese board squarely in the middle of the table for everyone to enjoy all night long, maybe accompanied by a simple soup or salad on the side). Whatever the occasion, you can easily customize a cheese board to be as large or small, fancy or casual, inexpensive or splurgy, and charcuterie-y or vegetarian as your gathering may require. And best of all, for you — as the one throwing the party — a beautiful cheese board can be fully prepped before guests arrive, giving you more time to relax and stay out of the kitchen and just enjoy time together with those you love. Because more cheese and less stress is what we all need this time of year, right?!
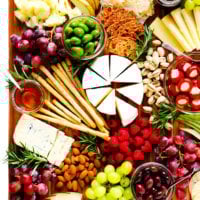
Anyway, I promise to be back here sometime soon with my full tutorial (that I’ve been meaning to share for ages) on all things Cheese Board 101. But for those of you looking for some last-minute holiday cheese board ideas, I thought I would pop in today and share a few pics that I snapped of the cheese board that we made for a Christmas calçotada party this past weekend here in Barcelona. I went with a festive red-and-green seasonal theme, added in a few simple sprigs of rosemary for flare, and the whole thing came together quickly in just 20 minutes. Everyone loved it!
Here’s a quick tutorial, plus a few of my tried-and-true cheese board tips…
Holiday Cheese Board Ingredients:
For this holiday cheese board, I went with a red-and-green theme made with simple seasonal ingredients, including….
Cheese: When selecting cheeses for a cheese board, think variety. You want different textures, shapes, flavors, ages of cheeses to keep things interesting! My go-to combination of cheeses, in the order I usually add them (depending on the size of the board — 2 cheeses, or 3, 4, 5, 6, etc.) typically includes:
Cheddar: I love a good aged white cheddar, which I typically thinly slice or crumble into large pieces.
Goat cheese: One of those cute little logs, maybe rolled in herbs or nuts or something fun.
Blue cheese: My personal favorite kind of cheese — either hard variety that you can slice or a soft and creamy blue cheese that you can spread.
Brie: My husband’s favorite kind of cheese, which we pre-slice nowadays to make it easier to serve.
Manchego: A must here in Spain (the land of Manchego), but also one of my cheese board faves anywhere because its creamy flavor is so delicious, plus it’s an easy one to pick up with your fingers and munch on plain.
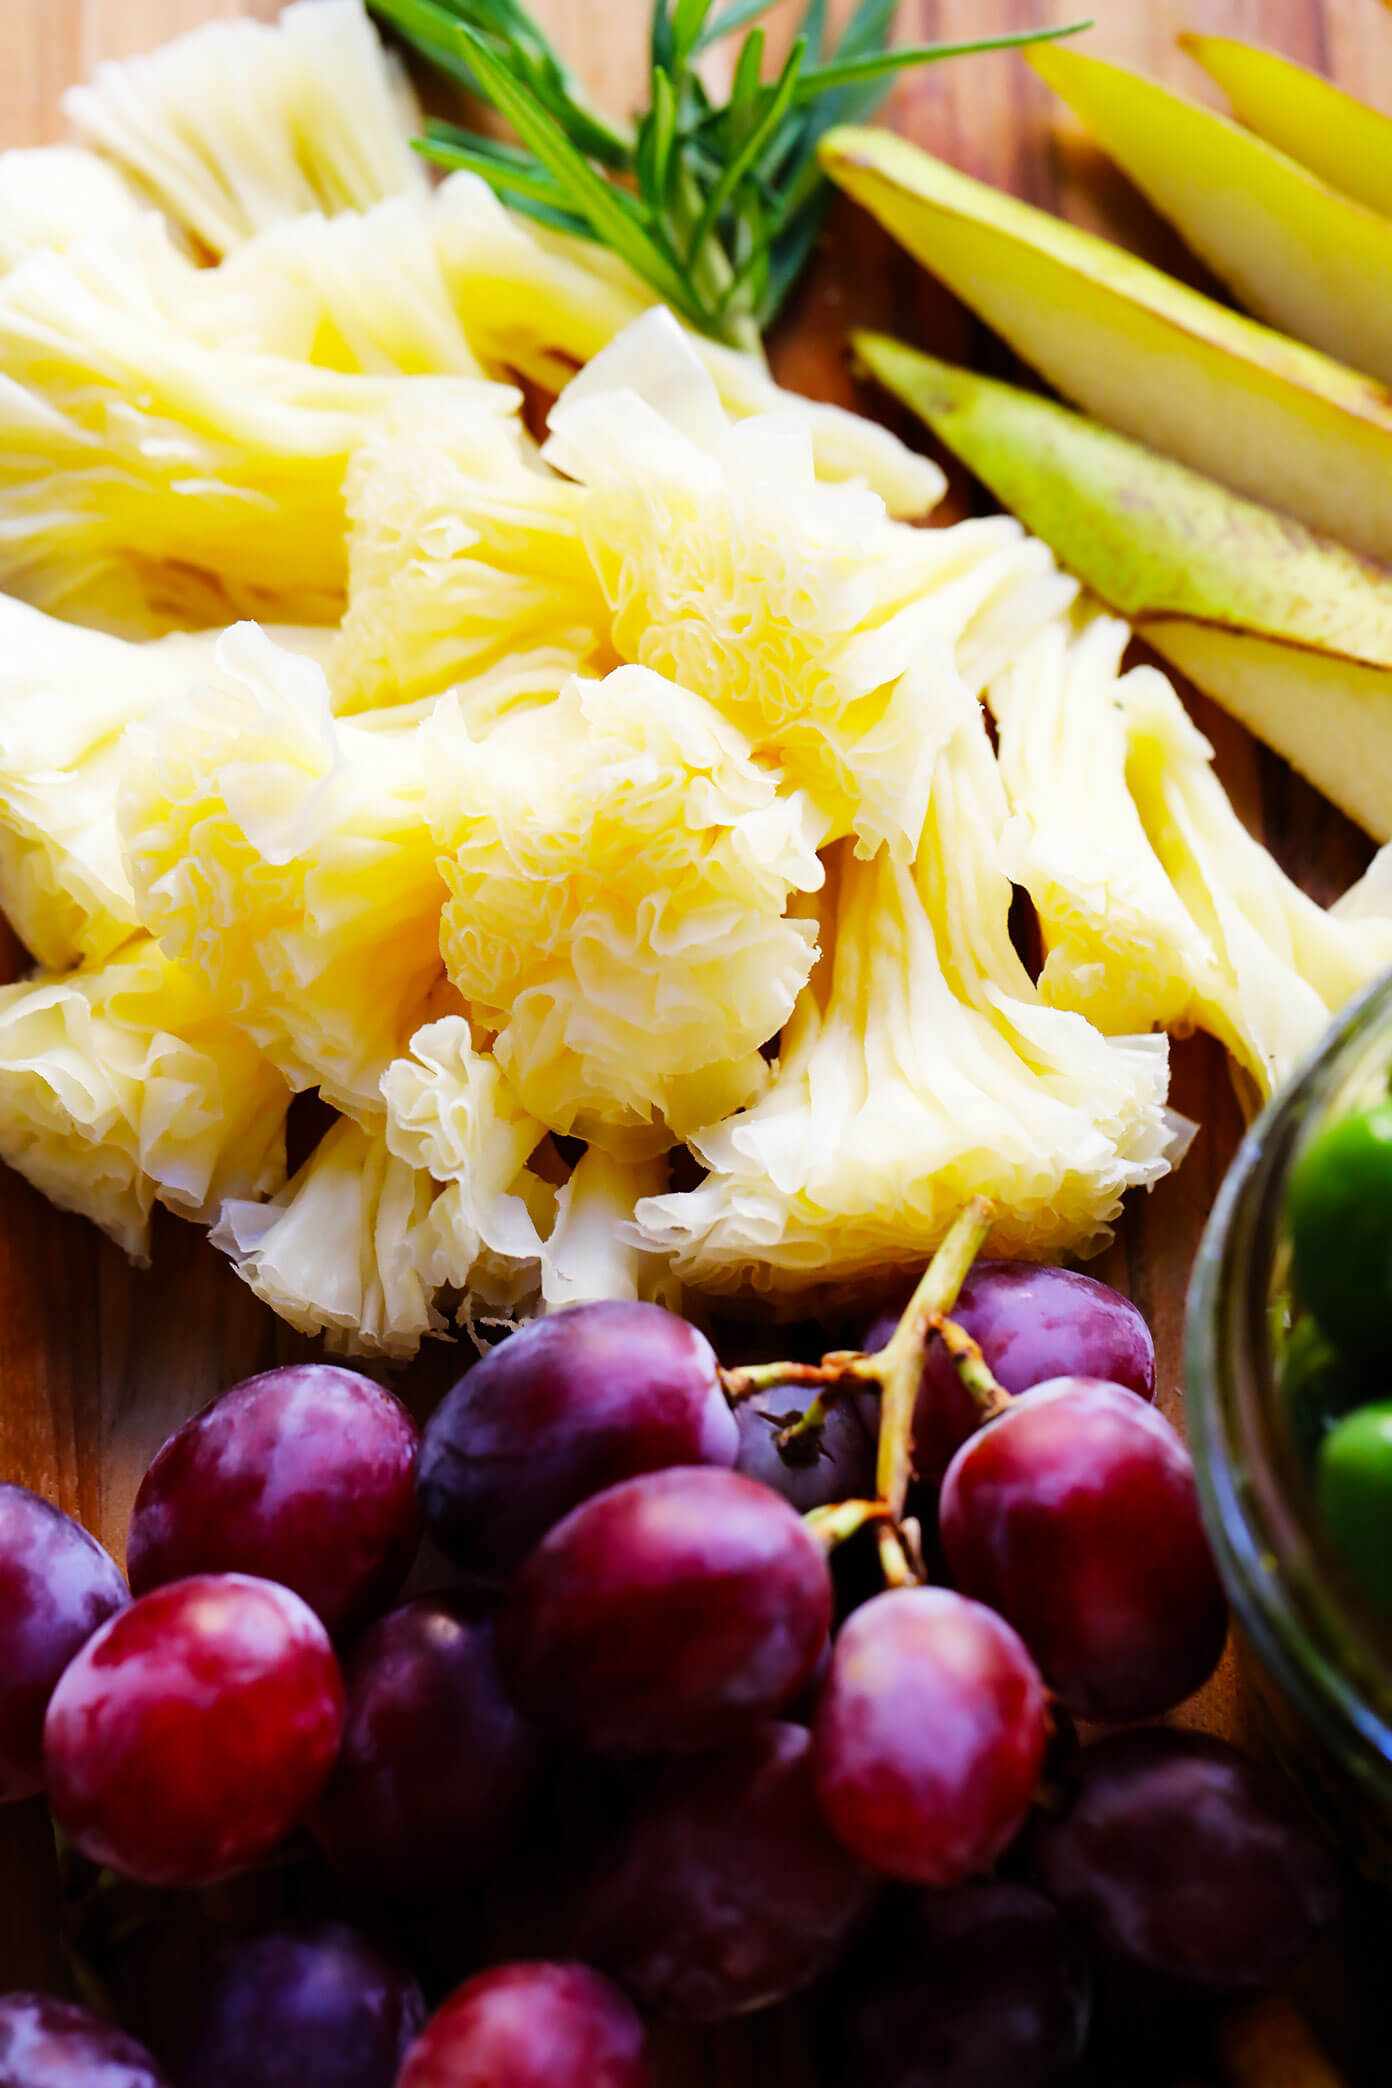
Wild card cheese: In addition to my usual standards above, I always like to pick one fun new wild card cheese each time we make a cheese board. For this board pictured above, I added some tête de moine, a popular European cheese with a mild creamy flavor that looks like delicate little white flowers. It’s always such a lovely one for cheese boards!
Olives/Peppers: I also picked up some red (well, purple) and green olives at the market. Plus a batch of cheese-stuffed peppadew peppers, which are a popular tapa here in Spain and always disappear immediately at a party.
Fruit: Also a red and green mix of fresh grapes, berries and pears. (Dried fruit would also be a good seasonal option in the wintertime.)
Crackers/Bread: Whatever mix of crackers, lavash, and/or fresh baguette slices that you might prefer. In my opinion, the more crackers (and the more shapes/sizes/flavors of crackers), the merrier. ♡
Jams/Spreads: I always love having some kind of jam in a cheese board, plus little jars of honey and Dijon mustard for spreading. (Pesto or bruschetta spreads would also be delicious!)
Nuts: Nuts are the perfect (also delicious) way to fill any remaining holes in your cheese board! We raided our pantry yesterday and added a handful of traditional almonds, marcona almonds and pistachios to this one. (Candied nuts would also be delicious this time of year.)
Garnish (Optional): Feel free to add in a few sprigs of fresh rosemary or thyme as a holiday garnish!
Cured Meats (Optional): We chose to keep our holiday cheese board vegetarian, but feel free to also add in any kinds of cured meats that you love.
Cheese Board Supplies:
To make a cheese board, you will also need the following supplies:
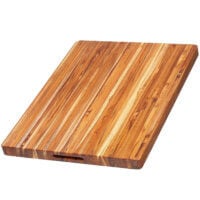
Board/tray: Really, just about any large board, tray, or cookie sheet that you have at home will work well as a cheese board. So no need to buy an extra one unless you would like to. For example, you are welcome to use…
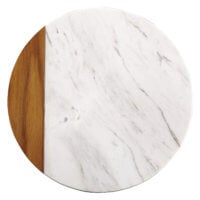
Marble pastry board: I also love to use this classy marble pastry board when making a large cheese board.
Cookie sheet: We often make cheese boards using any size of cookie sheet (preferably an older one, so that we don’t mind if it accidentally gets scratched up). I also love the clean look of this enamelware baking sheet.
Lazy susan: If you happen to own a lazy susan, it also doubles super-well as a cheese board, especially when served as your main course.
(Actual) cheese board: You can, of course, also purchase a designated cheese board for entertaining, such as this wooden/marble cheese board or a good slate board.
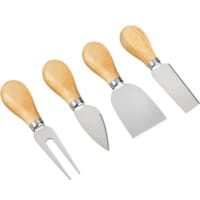
Cheese knife: Always a good idea to have a cheese knife or two on hand to serve with your cheese board.
Small bowls/jars: I often use mini mason jars or various sizes of small Weck jars on my cheese boards, to serve olives, spreads, pickles, etc.
How To Make A Cheese Board:
Alright, here are my best tips for how to make a cheese board! Simply…
Start with the cheese. Arrange your cheeses on the board so that they look nice and are evenly-spaced. Then go ahead and either partially (of fully) slice/crumble each cheese, and place a cheese knife (if needed) nearby so that people can easily serve themselves.
Add any jars/bowls. Next, place any jars or bowls that you will be using (such as for olives, peppers, pickles, jams, spreads, etc.) evenly around the board, along with serving spoons (if needed).
Add crackers/bread. Place crackers and bread evenly around the board so that they are easily accessible.
Add fruit. Use the fruit to fill in some of the remaining holes and add some pretty pops of color to your cheese board.
Add nuts. Sprinkle nuts around the board, to fill in any of the final remaining gaps.
Add garnish (optional). For a holiday-themed board, feel free to add in a few sprigs of extra rosemary or sage as festive garnish.
Serve. Then serve up your cheese board and enjoy!
Cheese Board Tips:
Here are a few tips I’ve learned over the years after serving approximately one million cheese boards…
Get the cheese started. If I’ve learned anything over the years with cheese boards, it’s that people are always reluctant to be the first to slice into a block of cheese! I recommend always pre-slicing at least part of the cheese, to make it look a bit more inviting.
Set out a few small bowls for shells/pits. It’s always nice to have a few designated bowls nearby for pistachio shells, olive pits, cheese rinds, etc. so that people do not have to pile them on their plates.
Have backup crackers ready. We almost always end up refilling the crackers and bread when we serve cheese boards, so have extras ready to go!
Don’t forget to cut the grapes. Common cheese board mistake — don’t forget to snip the grapes into smaller, individual-sized bunches. They are much easier for people to grab, and will prevent rogue grapes from accidentally getting tossed onto your floor.
Plan for a good cheese board to spoil everyone’s dinner. Ha, seriously though. If you are serving a cheese board as an appetizer before dinner, plan for smaller dinner portions because everyone will go to town on the cheese board and totally spoil their appetites beforehand. Said from experience. ;)
Please feel free to simplify. ♡♡♡ My sincere hope is that you will just use this post as fun inspiration, because when it comes to a good cheeseboard, you can totally simplify things and go with less items (perhaps spaced out into multiple piles) instead of more. I would recommend starting with 1-2 items in each of the ingredient categories listed above, and then you can always add more if you would like.
What To Serve With A Cheese Board:
Looking to serve a few extras along with your gorgeous holiday cheese board? I would recommend…
Green salads: We usually whip up my everyday salad (or an easy pear salad) to serve with a cheese board, you know, to balance things out with at least a few greens. ;)
To make a holiday cheese board, I recommend starting out with 1 or 2 items from each of the categories below — adjusting the amounts to fit whatever size of group you are serving — and then you can always add extra items if you would like.
Ingredients
Cheese: I recommend starting with a mix of aged cheddar, goat cheese, blue cheese and/or brie. Then you can also add in Manchego and a wild card cheese of your choice, if you would like.
Olives/peppers: Red and/or green olives of your choice, plus any extra pickles, cheese-stuffed peppadew peppers, bruschetta spreads, or tapenades that you would like
Fruit: A red and green mixture of fresh grapes, berries and sliced pears (dried fruit would also be a good seasonal option in the wintertime)
Crackers/bread: A mix of your favorite crackers and/or fresh baguette slices
Nuts: A few handfuls of your favorite nuts (almonds, pistachios, etc.), seeds (pepitas, sunflower seeds, etc.) or candied nuts
Cured meats (optional): Prosciutto, salami, etc.
Garnish (optional): Sprigs of fresh rosemary or sage
Instructions
Start with the cheese. Arrange your cheeses so that they are evenly-spaced around the board. Then go ahead and either partially (of fully) slice/crumble each cheese, and place a cheese knife (if needed) nearby so that people can easily serve themselves.
Add any jars/bowls. Next, place any jars or bowls full of ingredients that you will be using (such as for olives, peppers, pickles, jams, spreads, etc.) evenly around the board, along with serving spoons (if needed).
Add crackers/bread. Place crackers and bread evenly around the board so that they are easily accessible.
Add fruit. Use the fruit to fill in some of the remaining holes and add some pretty pops of color to your cheese board.
Add nuts. Sprinkle nuts around the board, to fill in any of the final remaining gaps.
Add garnish (optional). For a holiday-themed board, feel free to add in a few sprigs of extra rosemary or sage as festive garnish.
Ali, i have looked all around here for those tiny peppers which i LOVED at El Xampanyet! I’m so glad you shared the link…..Maureen’s getting these on her Christmas cheese board ! XOXO Merry Christmas! ?
 if you would like. It's the perfect easy make-ahead appetizer for Christmas, November, or anytime you are celebrating this season! | gimmesomeoven.com #cheese #board #charcuterie #appetizer #holiday #christmas #thanksgiving #makeahead #vegetarian")

 if you would like. It's the perfect easy make-ahead appetizer for Christmas, November, or anytime you are celebrating this season! | gimmesomeoven.com #cheese #board #charcuterie #appetizer #holiday #christmas #thanksgiving #makeahead #vegetarian")
 if you would like. It's the perfect easy make-ahead appetizer for Christmas, November, or anytime you are celebrating this season! | gimmesomeoven.com #cheese #board #charcuterie #appetizer #holiday #christmas #thanksgiving #makeahead #vegetarian")


What kind of cheese do you use to stuff your peppers?
Ali, i have looked all around here for those tiny peppers which i LOVED at El Xampanyet! I’m so glad you shared the link…..Maureen’s getting these on her Christmas cheese board ! XOXO Merry Christmas! ?
This is so beautifully well done! You did an awesome job!
Paige
This is gorgeous!
What cheese did you stuff the peppadews with?
I use cubed feta.