The 3 Edits I Make To Every Image in Photoshop
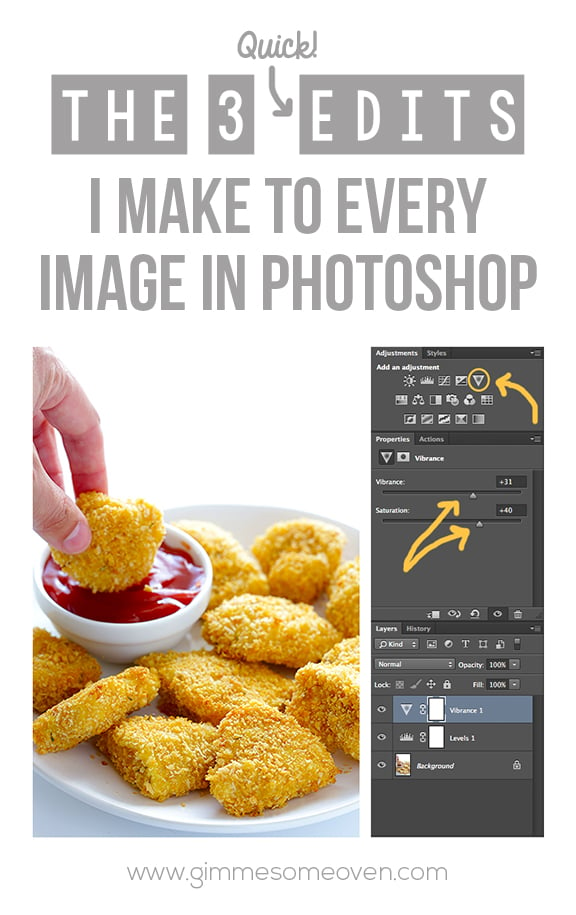
I have bloggers and readers emailing fairly often to ask about how I edit photos, and I always respond that there are 3 basic edits that I make to every photo in Photoshop: lighting, color and clarity (sharpening).
Sure, there are a few edits beyond those that I occasionally make. But most of the time, those are the big three that I look for.
Some might ask why you would need to edit photos to begin with. Well, my answer is always that I like photo editing because I believe it make the image subject look much more like it does in real life. Cameras have a way of distorting light, they certainly desaturate color, and depending on your camera they can sometimes soften the sharpness of the subject. So I spent an extra minute or two with each photo in Photoshop before uploading it to my blog to try and make it look a little more realistic.
Now granted, everyone has different preferences when it comes to photo editing aesthetics (and even what looks “realistic”). I love a bright, well-saturated photo — partly because I really love color, and partly because I feel like the “pop” just a bit more on Pinterest. So if that’s not your thing, hopefully these tips will still give you the tools to edit your photos in the way that feels good to you.
I will note that I primarily still edit in Photoshop, just because it’s how I began and I’m comfortable with it. But all of these adjustments can be made in other programs, such as Lightroom or iPhoto or PicMonkey too.
Alright, here are my 3 edits…
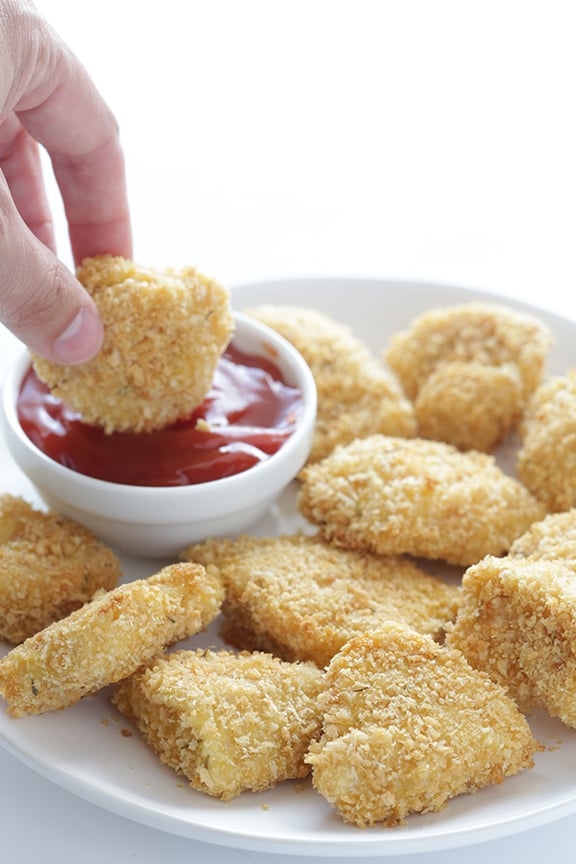
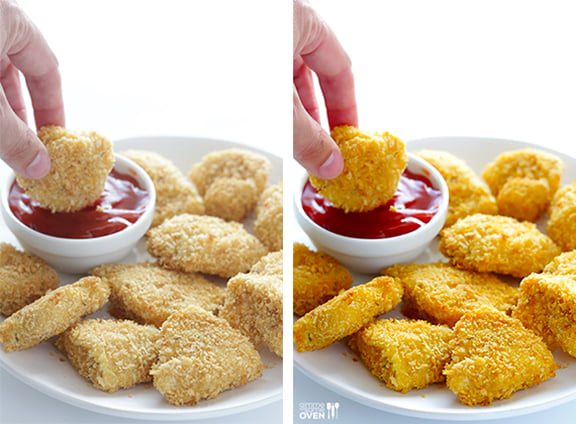
Well first, I think it would be easier to follow a photo from beginning to end to describe the edits. So here is a photo of my Parmesan Baked Chicken Nuggets fresh out of the camera (unedited).
1. Levels / White Balance
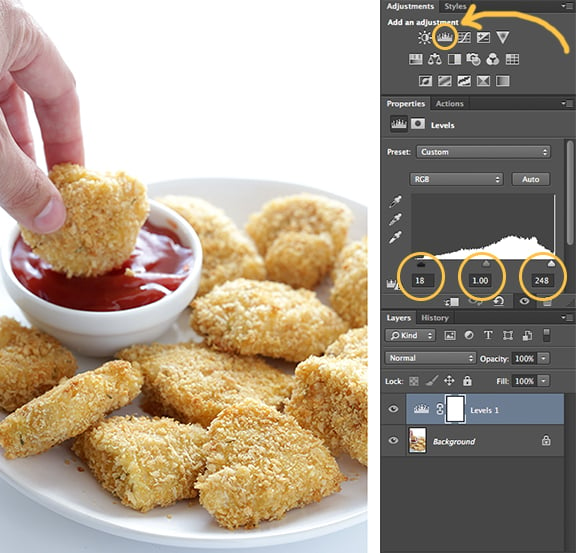
The first edit I always begin with is lighting. And I like to adjust it from within the “Levels” layer. You can find the Levels menu by either clicking the little bar graph button, or going to the top menu bar and clicking Image > Adjustments > Levels.
I usually begin by using the white eye-dropper tool to be sure that my whites are whites and get the photo in balance. (You can read my tutorial for that here.) Once the whites are ready, I then will adjust the sliders in the levels menu until I feel like the shadows, midtones and highlights.
I typically like a bit of contrast, so find myself adjusting the shadows (I bumped those to up 18) and highlights (I bumped those down to 248) in almost every photo. If you move them around, you will be able to find what looks good to you.
2. Vibrance / Saturation
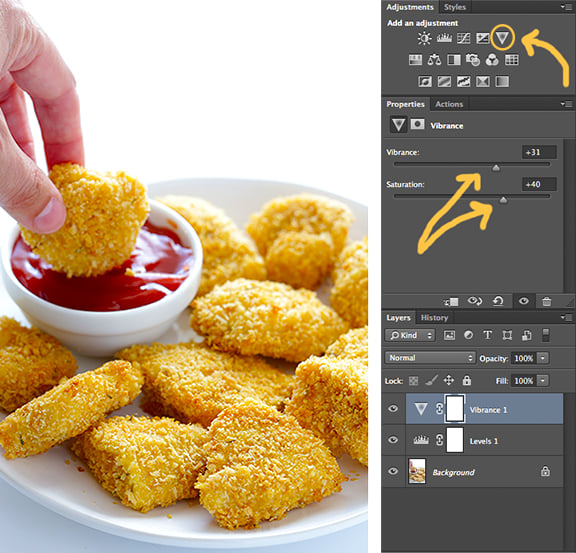
Next, I adjust the color via the Vibrance layer. You can find the Vibrance menu by either clicking the little “V” button, or going to the top menu bar and clicking Image > Adjustments > Vibrance.
I like this menu because it allows you to adjust both vibrance and saturation side-by-side. In this photo, I upped the vibrance to +31, and saturation to +40. Maybe a little bright, but believe it or not, these nuggets were actually pretty vivid in person when they were sitting there in the sunlight.
If the colors aren’t seeming quite balanced, I will often follow up this step by adjusting the Color Balance layer, and/or adjusting specific colors in the Saturation layer.
3. Noise Reduction / Sharpening
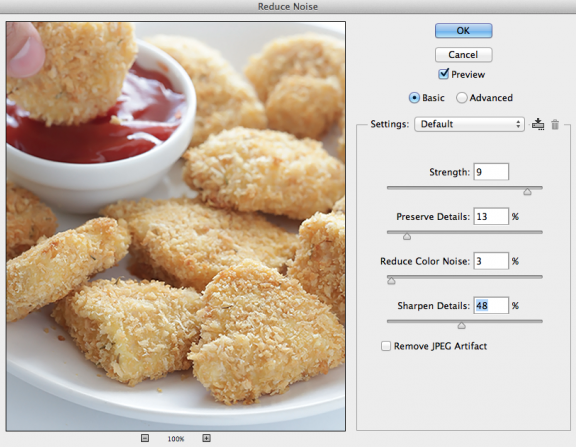
Finally, just before saving the photo, I do my favorite edit — Noise Reduction. You can access the Noise Reduction menu by clicking Filter > Noise > Reduce Noise.
You can read more about how I do this (and why I generally choose Noise Reduction over Sharpening) in this post about How To Make Your Photos Look Clear and Sharp in Photoshop.
I will note — as I mention in that post — that Noise Reduction works better on smaller sized photos. If I am dealing with a large high-resolution image, I will typically use the Unsharp Mask menu instead of Noise Reduction. (To find that, click Filter > Sharpen > Unsharp Mask.)
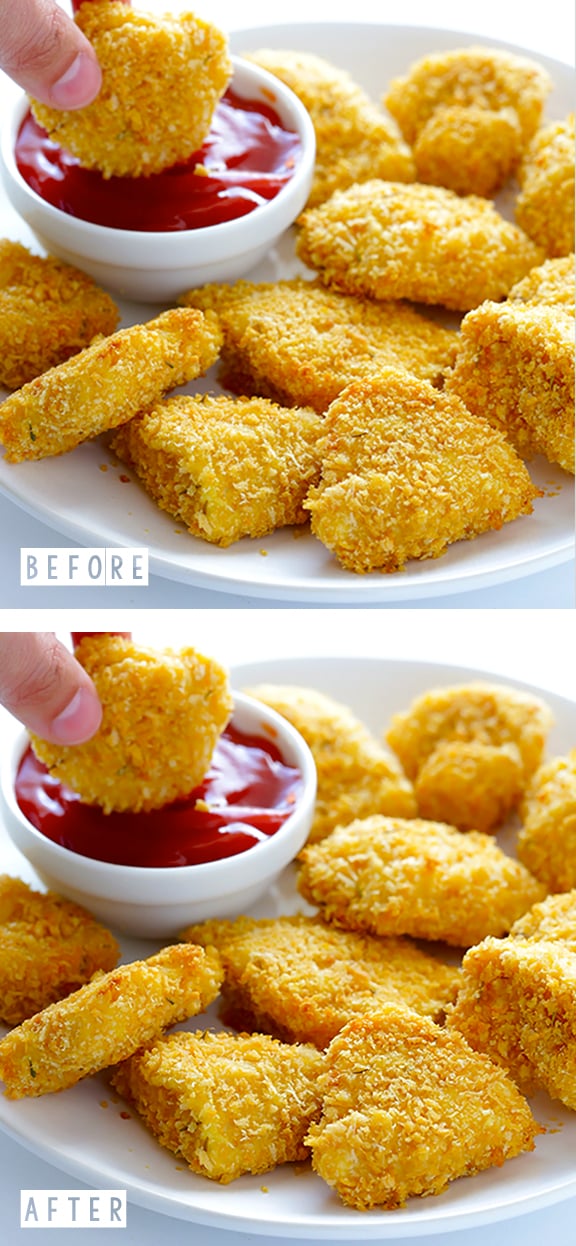
The difference in the before-and-after with noise reduction is super subtle, but I think it actually makes a significant difference in tightening everything up.
So here is the before and after with those 3 edits. This was kind of a dramatic example — many of my images aren’t quite this saturated — but that way you can at least see a difference.
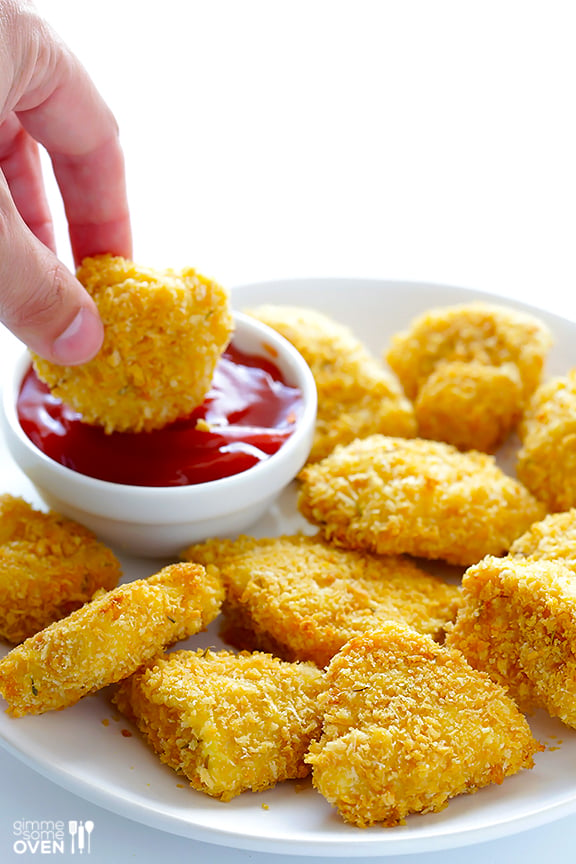
And here is the final image.
Or…..a shortcut
I feel like I should mention that there is one quick shortcut that will often take care of the first two steps (white balance and saturation) in one fell swoop. You can read about it here in The Trick That Will Make Your Photos “Pop” in Photoshop. But it’s not always a sure thing, and for those of you who don’t have Photoshop, these are the three steps to make everything happen manually in any photography editing program.
Hope this is helpful! If you have basic edits that you make to each photo, feel free to share below. I would love to hear what they are!



Just wanted to thank you for this post (and others)! Recently started my own food blog – crazy me and bookmarked this along with your post on using soft light as a one stop shop for adding some pop to your images. So great and useful! Definitely still working on my photography, but this was a HUGE helping hand in making my photos look a little purtier. Oh oh and I haven’t used my watermark brush on any of my images just yet, but used your post on creating that and I’ve been having so much fun playing around with it. Such a neat trick! Thank you SOOOO much!
Thanks so much for such a helpful tutorial! I am brand new to the food blog world so these types of how to’s are amazing. Thank you thank you :)
Great tips
Thanks so much for these great tips!
You’re welcome, we hope you found them helpful! : )
Hi Ali, thanks a lot for posting this simple tutorial. At least, with 2 edits (levels and vibrance) I can make a much better food pictures for my blog. -Dewi, from Indonesia.
You’re welcome Dewi, we’re happy you find it helpful! Cheers!
I am so inspired by your website, blog and pictures. Your style resonates with my vision that I have for my food pictures. As a newbie, can you tell me what version of Photoshop you use? I want to achieve the same bright white pictures, white dishes, crisp and vibrant colourful food. My friend photographers tell me to buy Lightroom but am worried that I won’t be able to achieve the same results as you. Also in your blog on studio setup, can you include a picture of the mini-blinds in use so that I can see what you mean and replicate. Cheers!
Hi Denise! Thanks for your kind words! Lightroom is awesome, but I mostly stick with Photoshop because I use the white eyedropper tool so often to help with white balance. :) And I’ll have to update with a pic of the blinds. They’re just the cheap mini blinds that came with my apartment, ha, but I love them!
I loved this article. The way you showed the step-by-step process of retouching is awesome. I’m definitely going to try this my home.